This post contains affiliate links. When you purchase through links on our site, we may earn an affiliate commission. Learn more about it here.
In this tutorial, I’m going to show you how to make your own magnetic bookmarks. If you own a cutting machine like the Cameo or the Cricut, making your own bookmarks is one of the few cool projects you can simply make at home.
If you don’t have one, it’s not that big of a deal since you can use a pair of scissors to cut the bookmarks. Don’t worry, I’ll cover how to make the bookmarks without a cutting machine in this tutorial too!
Table of Contents
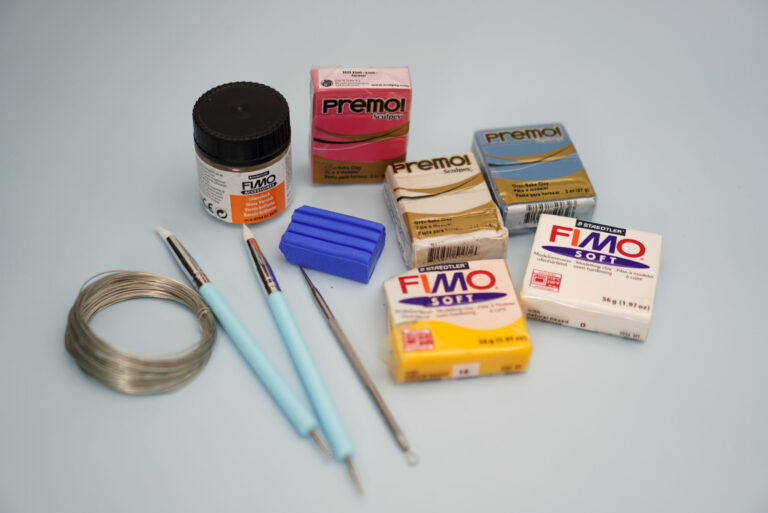
Before we begin, here are the items that we need to make our magnetic bookmarks:
- Photo paper matte or glossy, 230~250 gsm
- Clear transparent adhesive vinyl
- Cutting machine like the Cameo 4 or a pair of scissors
- Silhouette Studio Basic Edition
- Small magnets or adhesive magnetic dots
Step 1: Choosing your designs
To get started, you need to choose a design that you want to use for your magnetic bookmarks. You can literally use any image you like, so if you don’t want to draw the designs yourself, you can easily get them online.
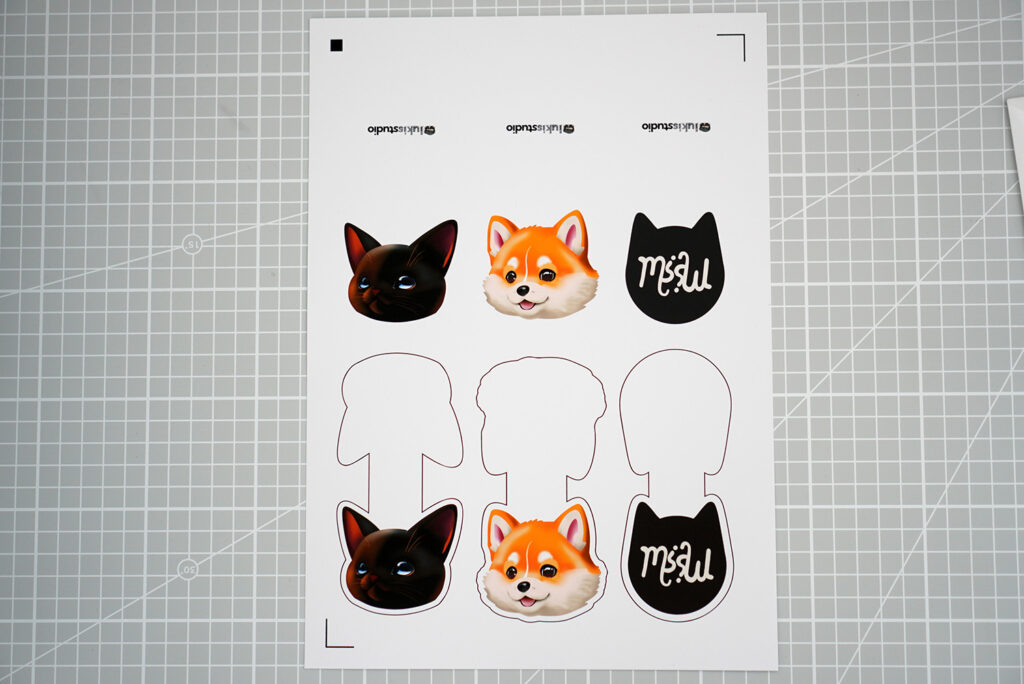
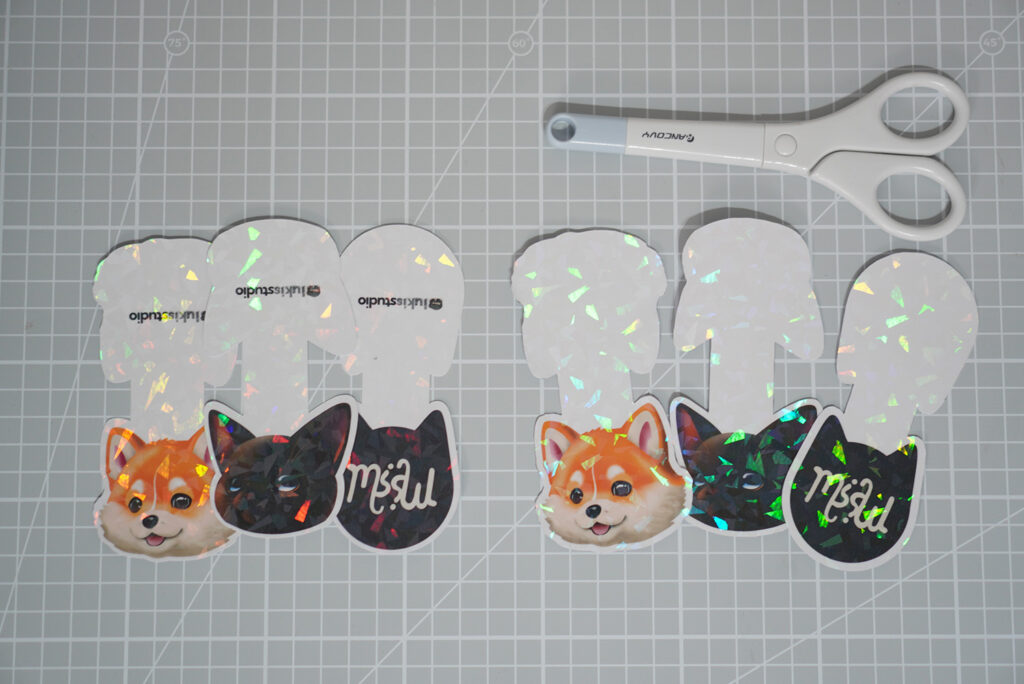
For this tutorial, I’ll be using these 3 designs to create my magnetic bookmarks. I drew them on the iPad using the app Procreate (great drawing app, by the way!).
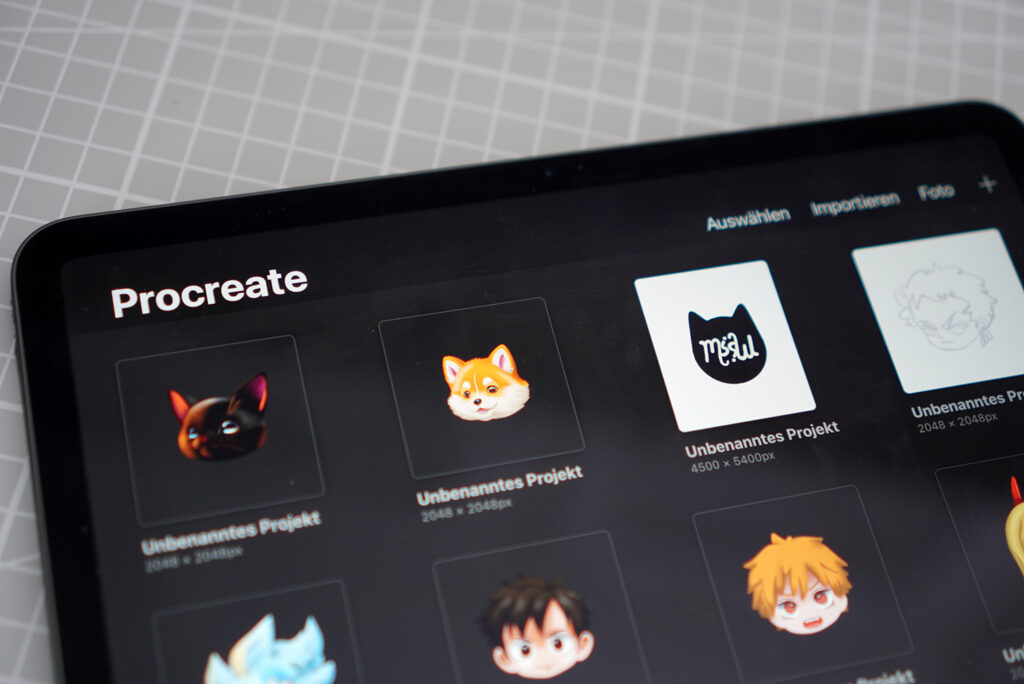
You can also create something so simple yet interesting, that doesn’t take an exorbitant amount of time to do. The miau design is actually a quick ambigram sketch that I did, and it took me like 5 minutes to design. So why not create an ambigram of your own name or logo for the design of your bookmarks?
You can use an online ambigram generator or you could learn how to do it yourself. The Tiktoker @writewordsmakemagic for example has a lot of videos where he teaches how to create ambigrams.
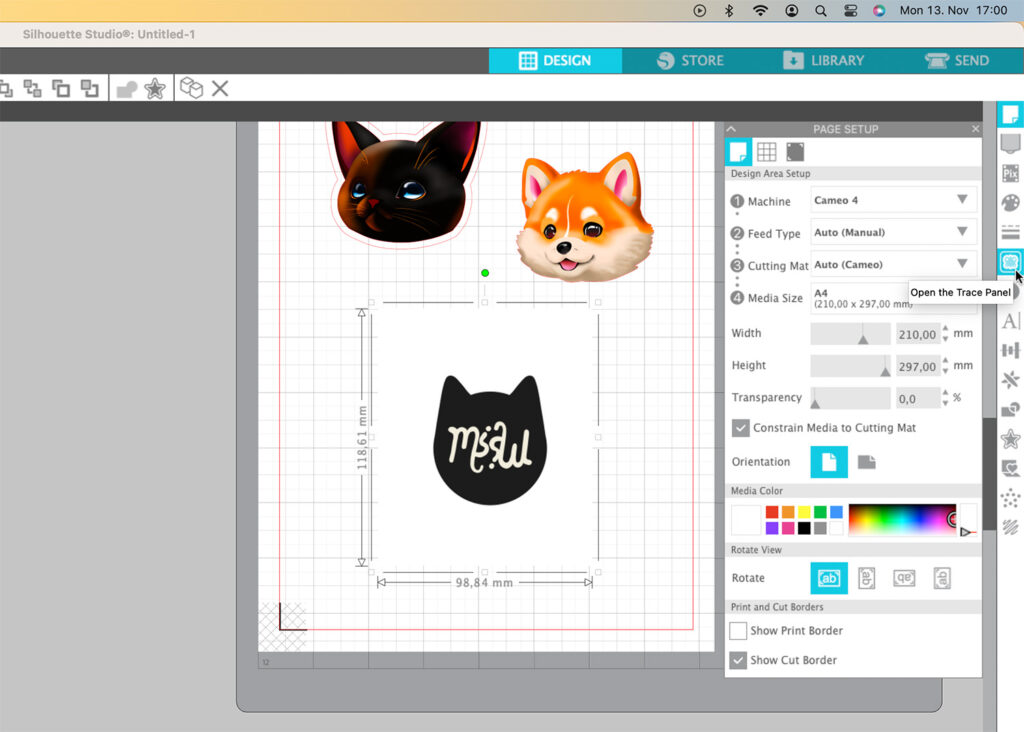
When you have the designs, the next step is to open them in an image editing software. In this tutorial, I’ll be using Silhouette Studio Basic Edition to edit the images.
Silhouette Studio Basic Edition is a completely free software, so if you don’t own their cutting machines and if you don’t have something like Photoshop, you could still download it and use it e.g., for creating the offset line around your designs. More about it in the later section of this tutorial.
Step 2: Creating an offset
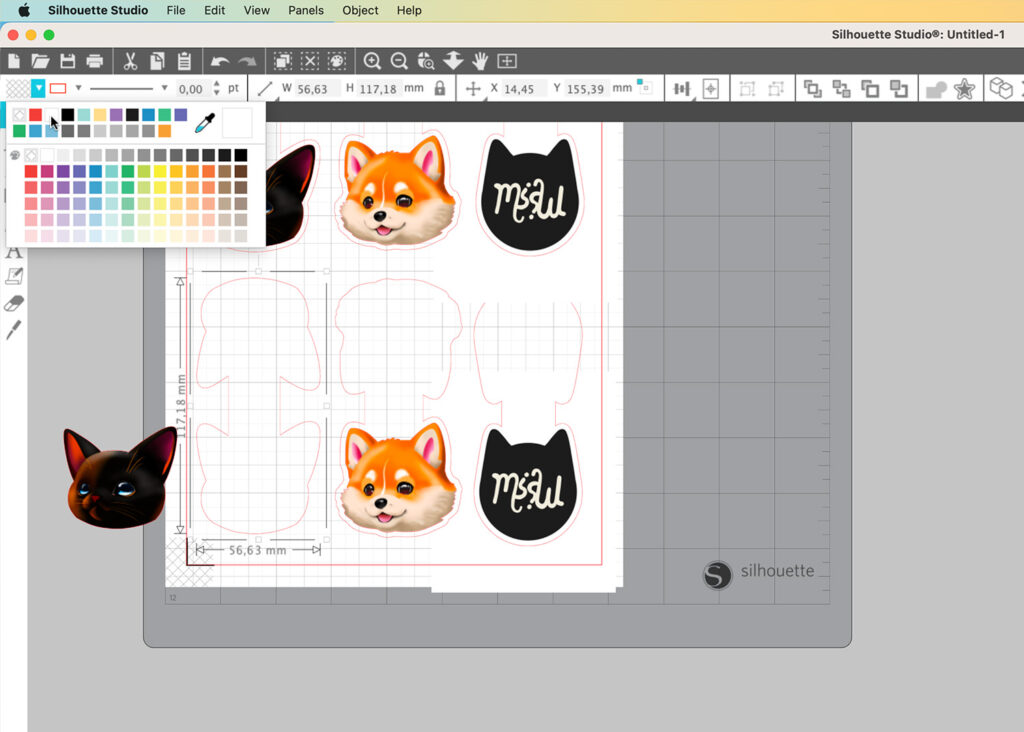
In Silhouette Studio, you want to import your designs. Since I have 3 separate files for each of my design, I’m going to import each one of them using the option Merge. Just hover to File and click Merge and choose your design to import it. Repeat the same steps to import the other designs.
Alternatively, you could just drag and drop the designs into the active workspace. Then resize and reposition your designs to your liking.
a) If your designs are in JPG/JPEG format
If your designs are in JPG/JPEG format, you’ll want to trace your designs first. To do that, select your design and click the Trace icon (it looks like a toast) which you can find in the right toolbar.
Then you want to click Select Trace Area. Highlight the design, then choose Trace Outer Edge.
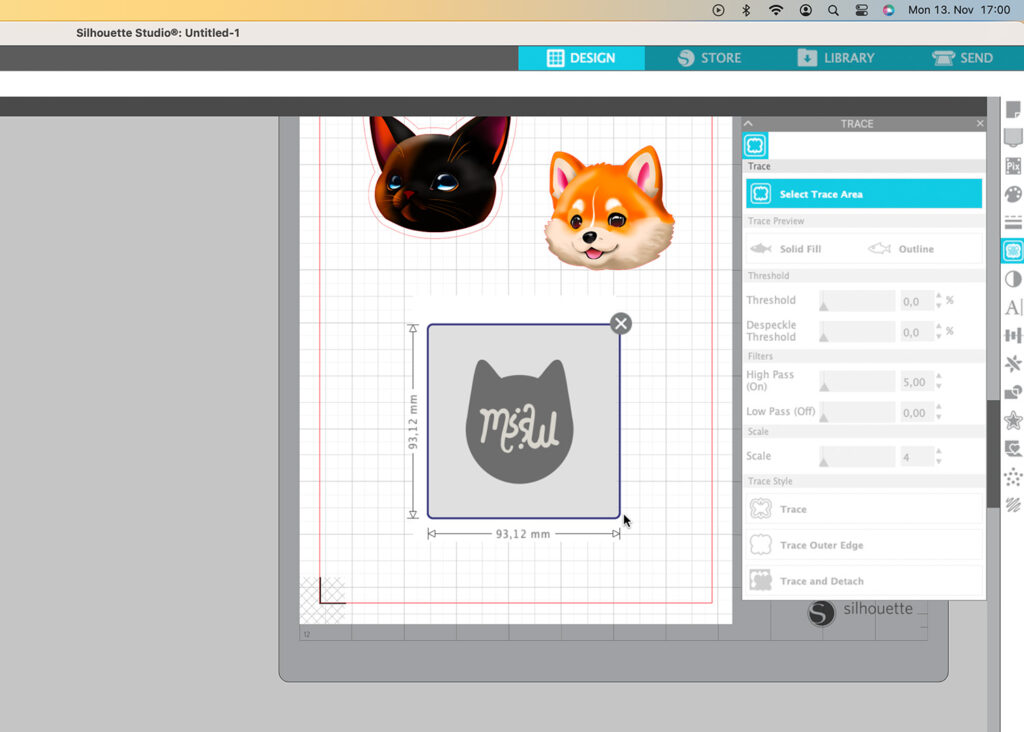
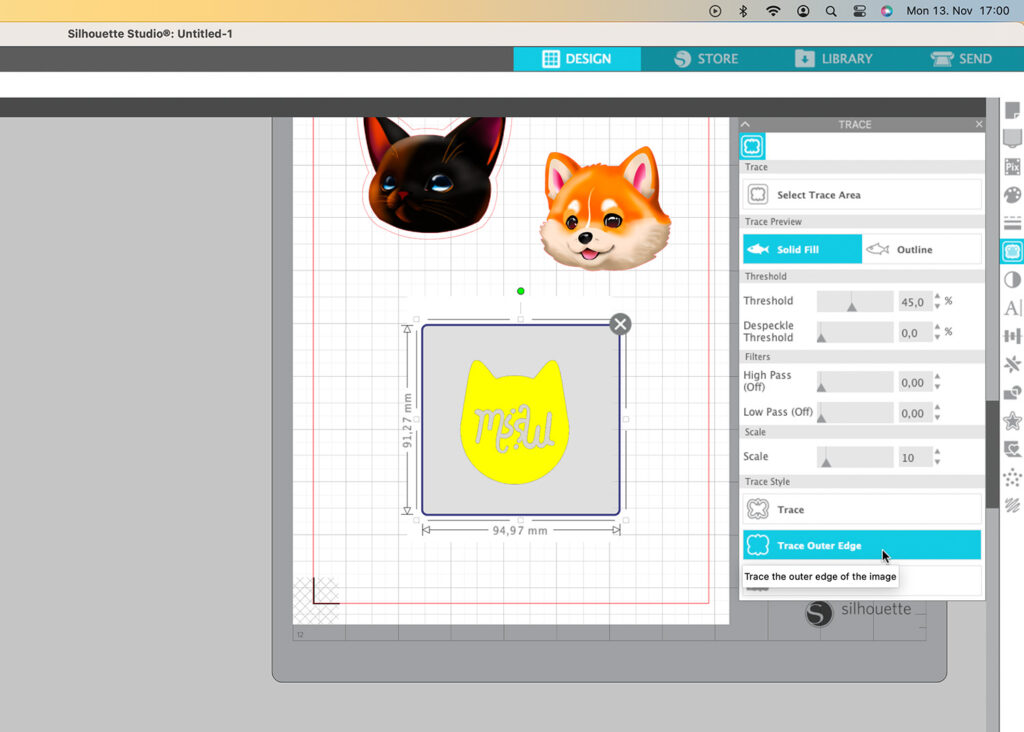
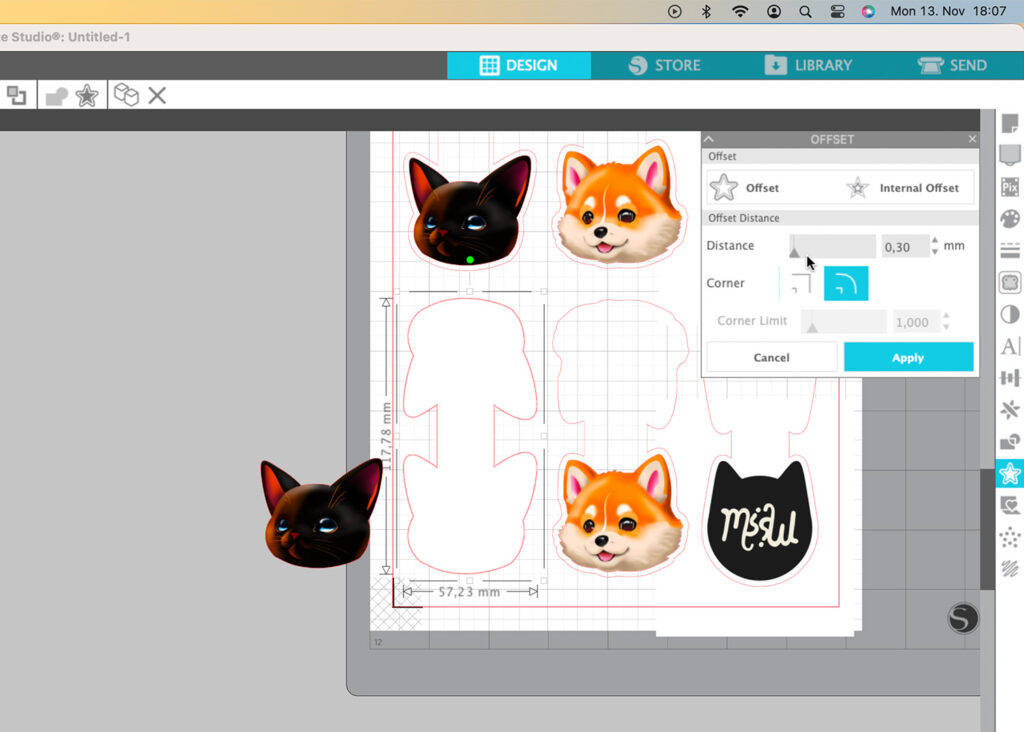
This will create a red border around your image. Next, move your design away so you could select that border. Select it, hover to the Offset icon which looks like a star and click on it.

Click Offset, change the thickness of your offset border to whatever you like and hit apply.
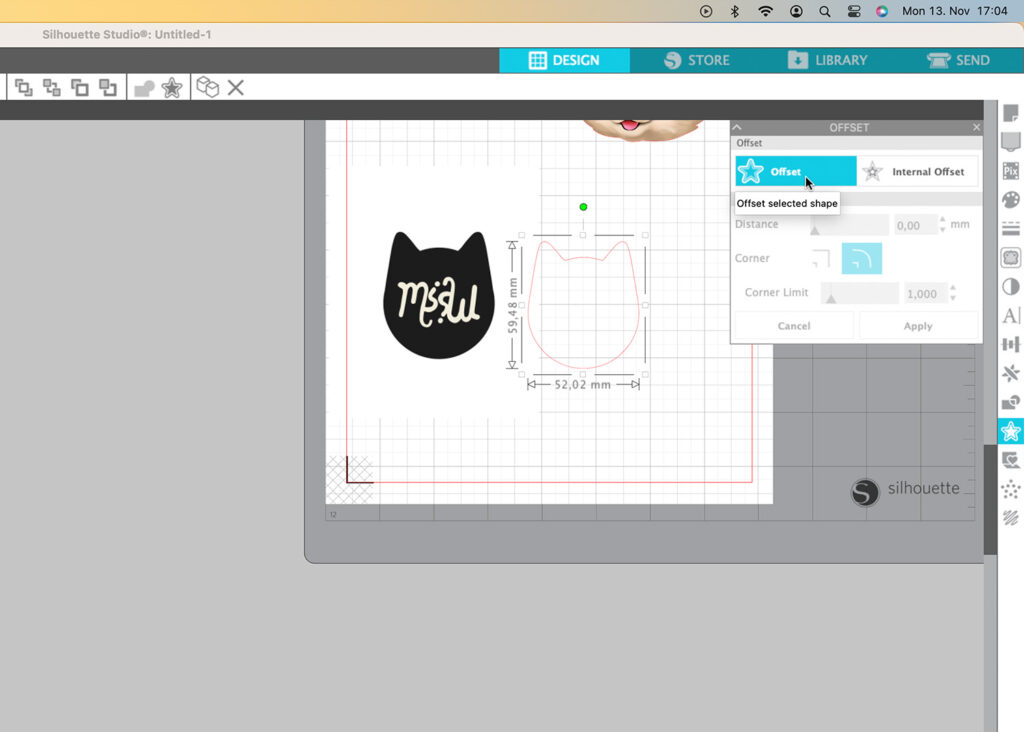

You wont be needing the inner border, so select it and delete. You can now move your design back to its original position.

b) If your designs are in PNG/SVG format
If your designs are in PNG/SVG format, you can create the offset without needing to trace your design. Refer the steps above on how to do it.
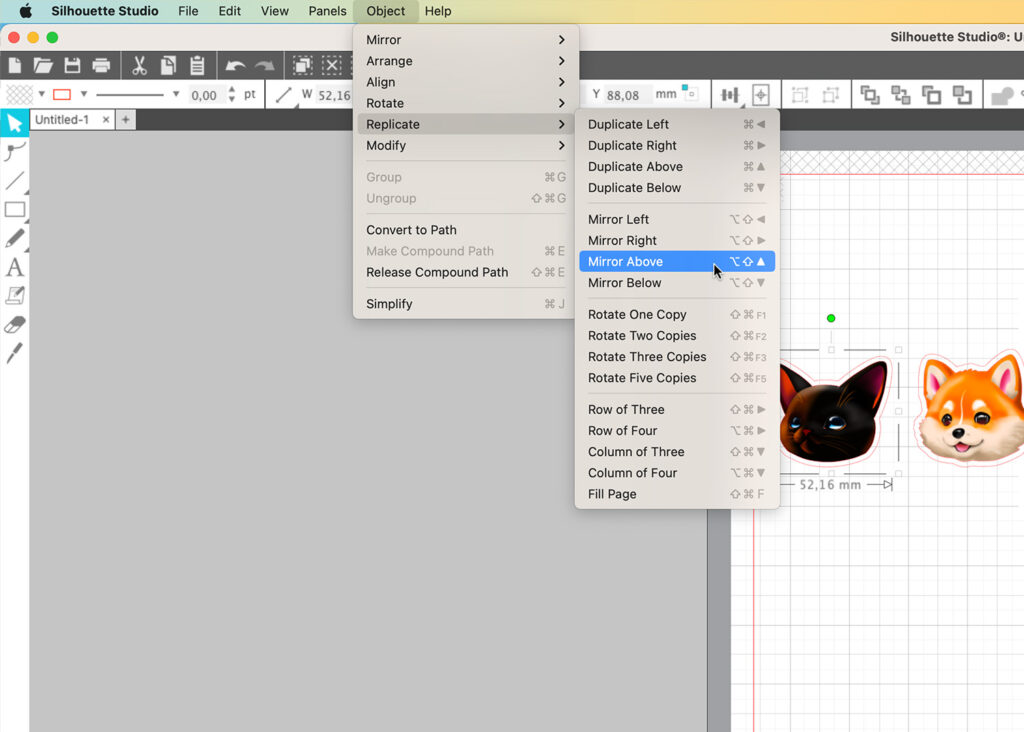
Next, we want to make copies of those offset lines. Select the offset border of one of your bookmark designs, hover to the menu bar and click Object. Then hover to Replicate and choose Mirror above. Do the same thing for the other remaining designs.
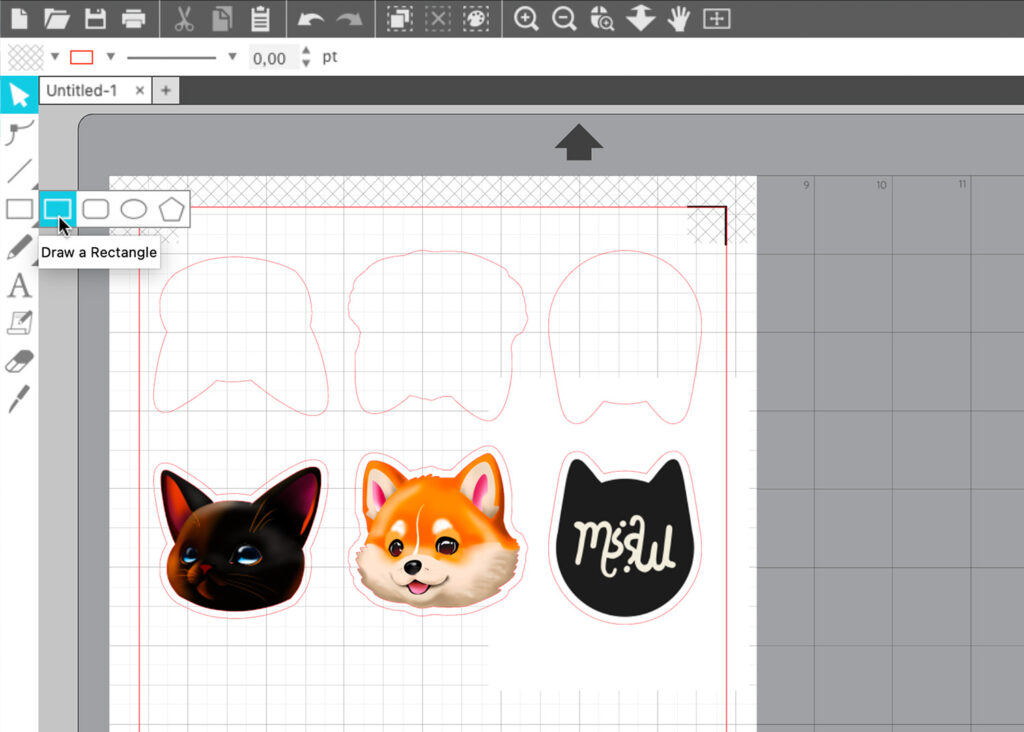
Now move the copies over your designs with the arrow on your keyboard. You want them to be about a 1/2″ to 1″ apart. Draw a rectangle using the shape tool to connect them together.
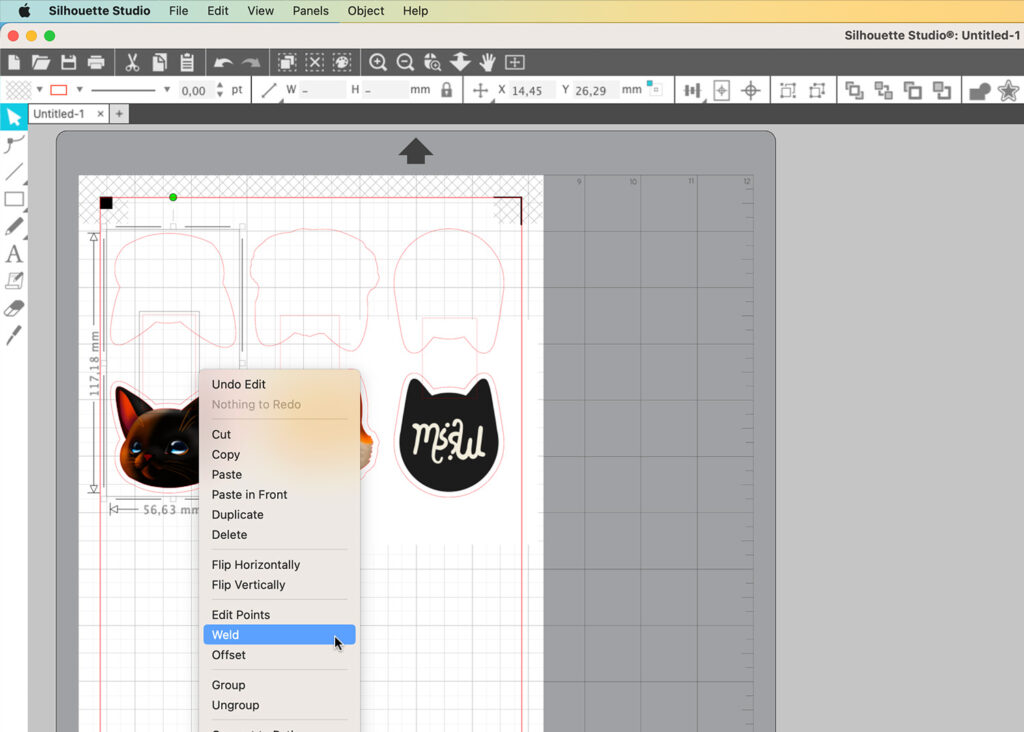
Then select those lines (only the lines, not the design), right click, and choose Weld. Now do the same thing to the other designs.
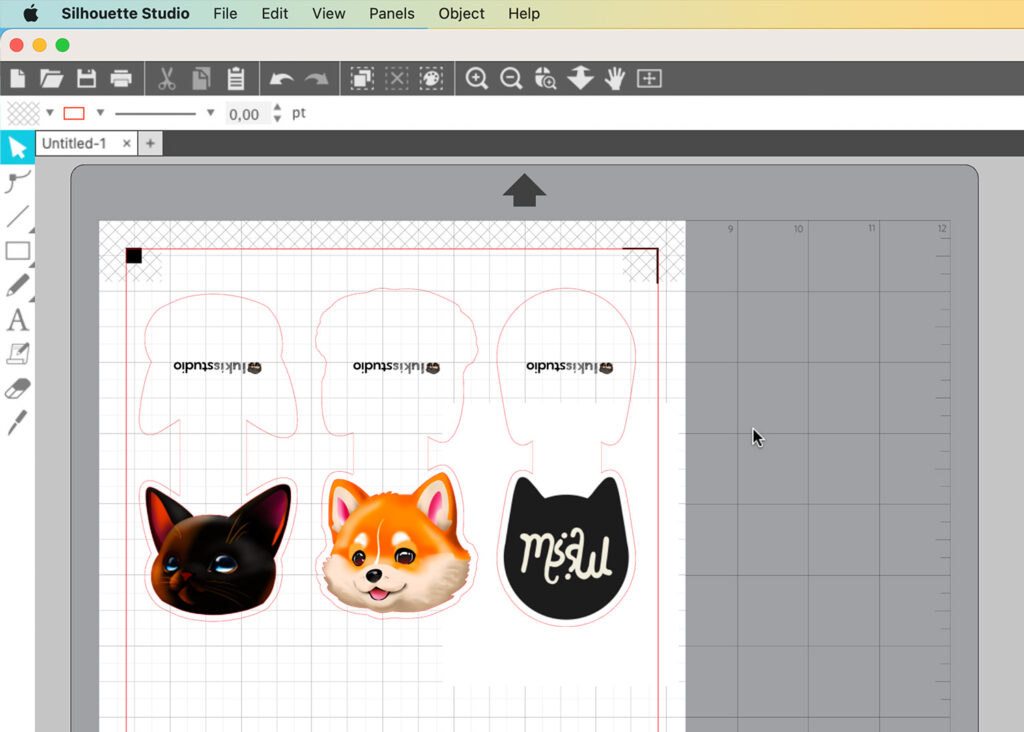
You can even add your own logo or texts to your bookmarks, just make sure that they’re upside down. Else, you can just leave them blank.
If you don’t own a cutting machine, here is the extra steps you need to take:
First, highlight the shapes and fill them with the color white. Next, create an offset and set the thickness to somewhere around 0.3 mm. Then fill in those offset borders with the color black.
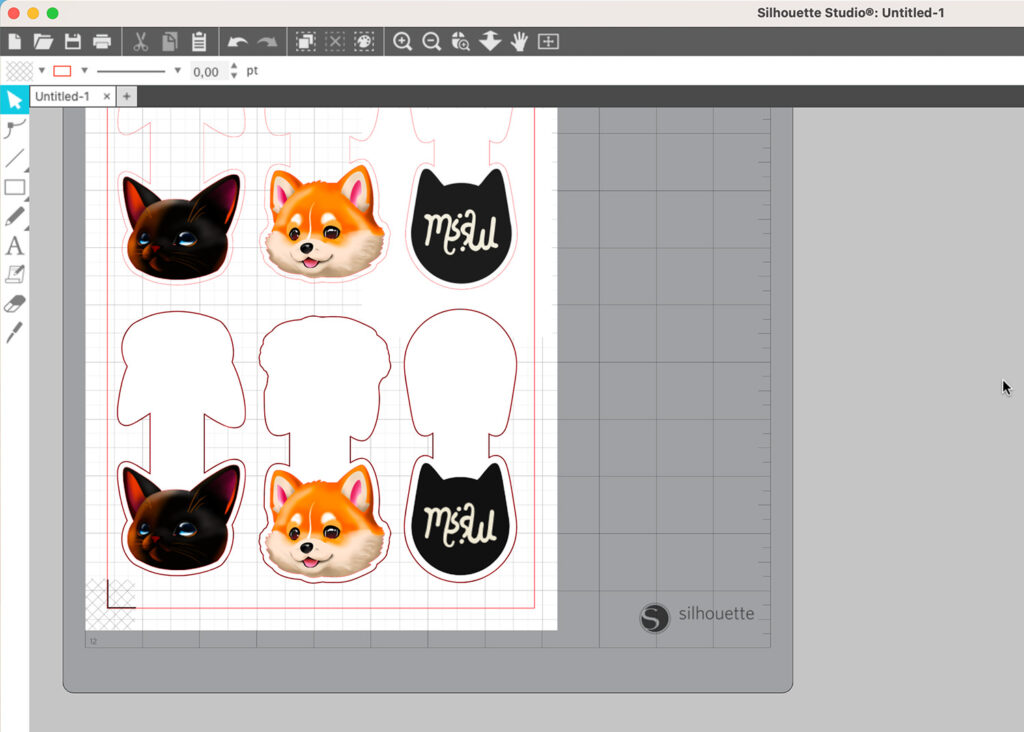
If you’ve done everything correctly, it will look something like this:
Step 3: Printing your bookmarks
Now let’s print our bookmarks! Make sure to use a high quality photo paper to print the designs on. For my bookmarks, I’m using 230 gsm matte photo paper from Schwarzwald Mühle.
I’m such a fan of Canon printers. In fact, my Canon Pixma ix6850 printer is my go-to printer to print any art related projects. Since it has such an amazing printing quality, I’m going to use it to print the bookmarks.
Of course, you can use any type of inkjet printer, but you should definitely invest in a high-quality printer especially if you plan to sell your prints or any printed products, like the bookmarks, in the future.
So to print, hover to File, the click Print. In the preview print window, click Print again. Here, you can change your printer settings under Printer Options. Set the Print Quality to High and set the Media Type to Matte Photo Paper (set it to Glossy Photo Paper if you’re using a glossy photo paper).
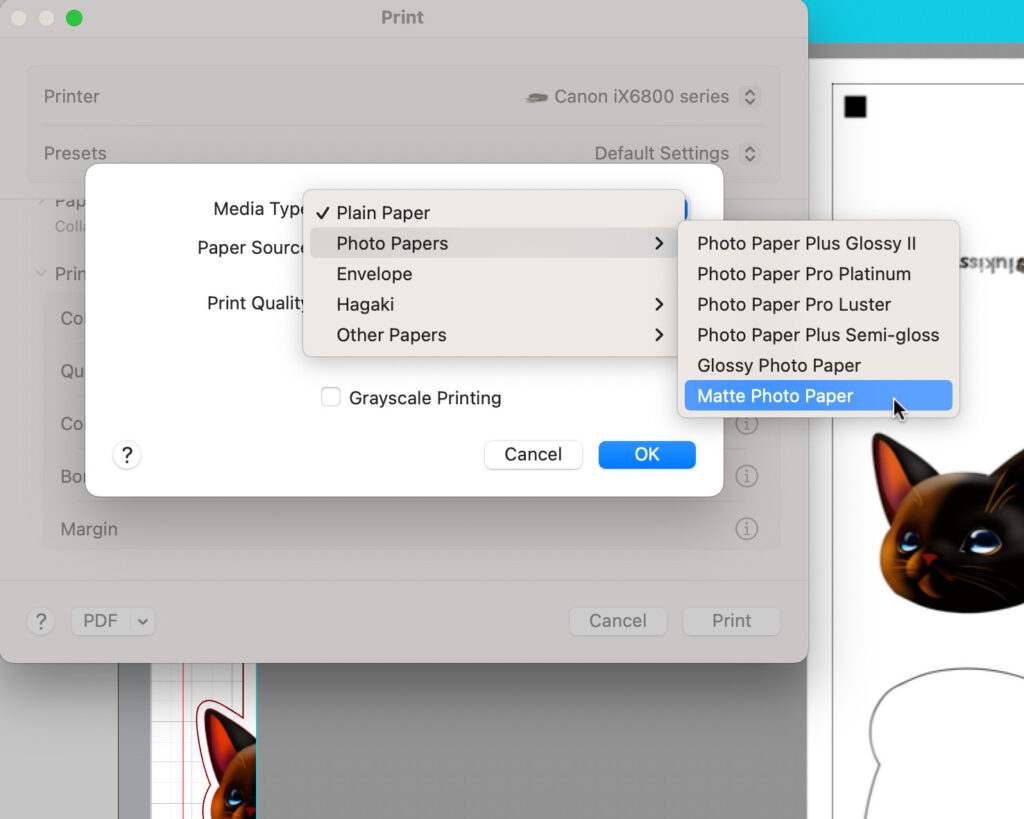

Finally, hit Print to start printing.
Step 4: Cold laminating your bookmarks
If you’ve read my other tutorial on how to make stickers, you know that I’m not a fan of using heat to laminate anything. The best and the easiest way to laminate your bookmarks is to apply a clear, transparent vinyl on them.
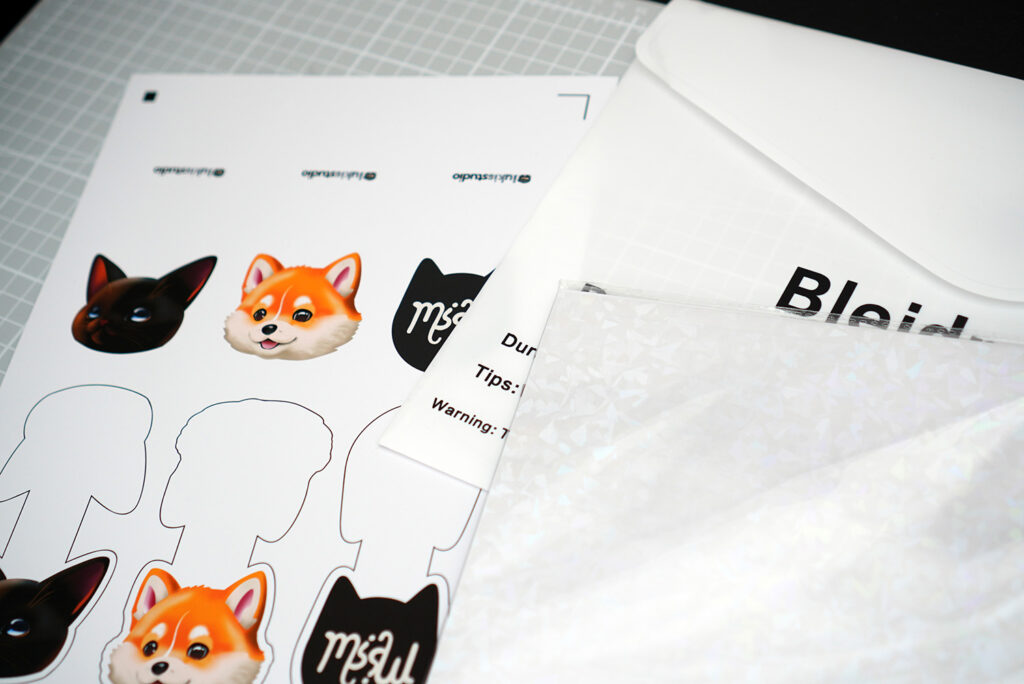
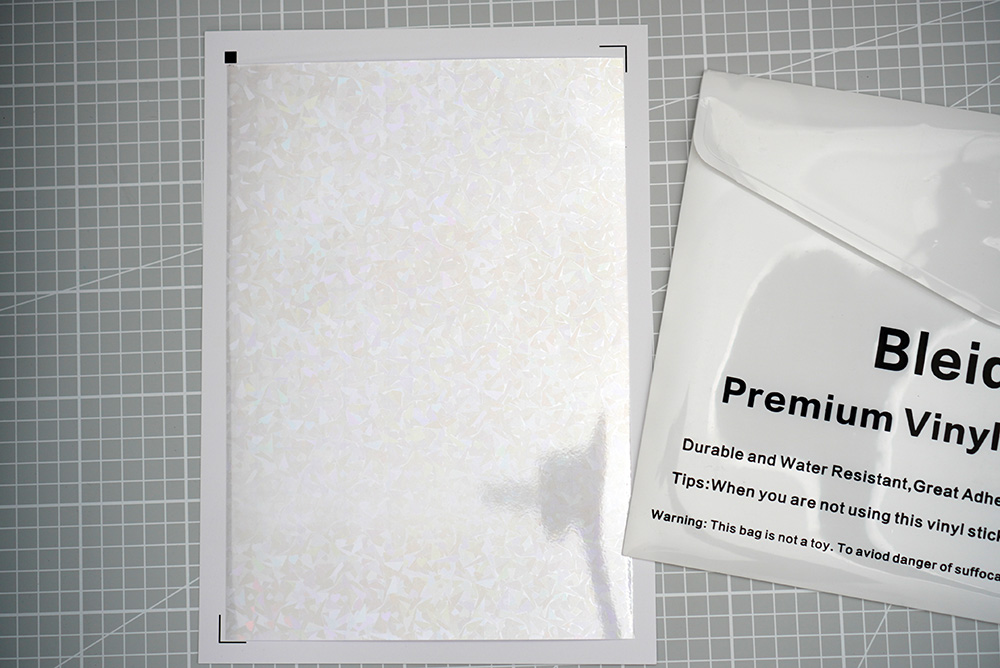
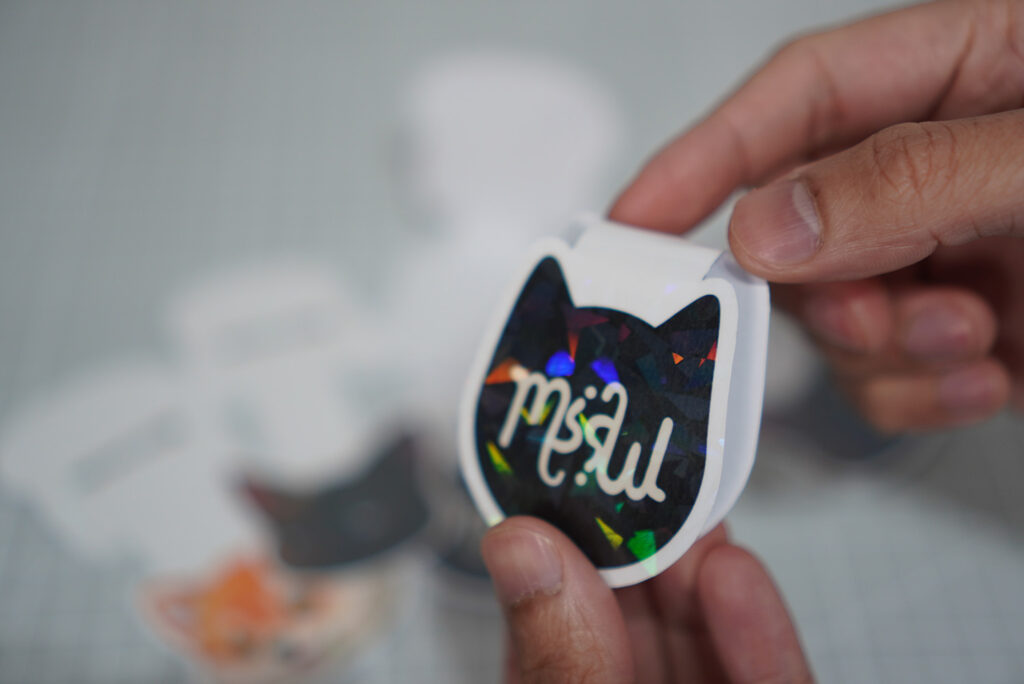
My favorite clear vinyl is the Oraguard 210 or the Oraguard 215 since it provides additional UV protection, but let’s use this broken-glass vinyl sticker this time to give our bookmarks that cool holographic effect!
You don’t need to apply the vinyl to the entire page. That would be wasteful. The vinyl just needs to be big enough to cover everything inside the border of the registration marks – you don’t want the vinyl to cover the registration marks anyway because that would hinder your Cameo to scan and read the marks properly.
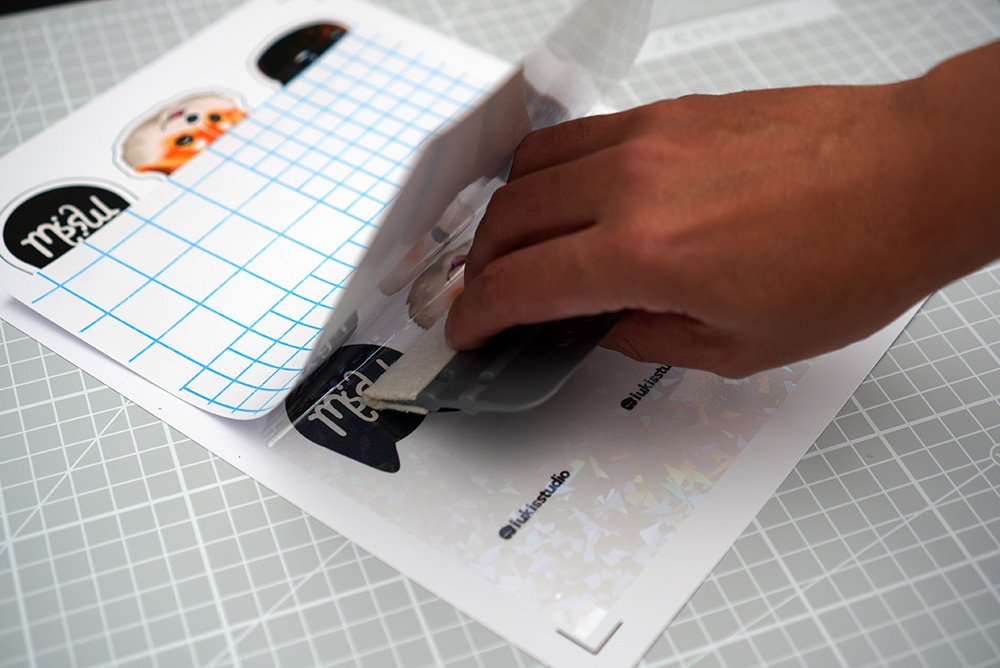
To prevent any creases and air bubbles, use a squeegee when applying the vinyl.
Step 5: Cutting your bookmarks
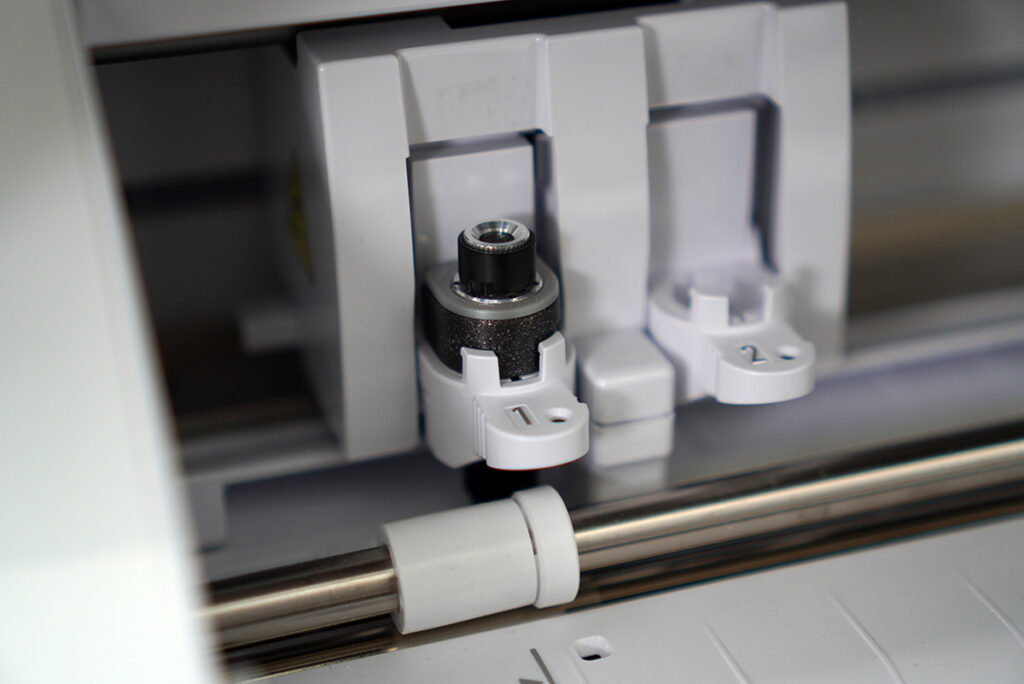
If you’re using a cutting machine, place your paper on the cutting mat. Make sure it sticks to your mat properly. Load it into your cutting machine, set your machine so it would die-cut the bookmarks and finally, click send to start the cutting process.
If your Cameo 4 is having problems to read the registration marks, try to close the lid. It seems like it can scan and read the marks better if there’s less light.
Your blade will wear faster if you use it to cut paper. You’ll end up spending a lot of money replacing your Auto-Blades more than you would need to. If you want to save money, you should definitely try to use alternative blades like the CB09.
In fact, I’m currently using the CB09 blade on my Cameo 4. If you want to know more about CB09 blades, make sure to check out this article.
These are my settings for die-cutting the bookmarks with the CB09 blade:
- Speed: 6
- Passes: 4
- Force: 10
- Protrusion of the blade: 0.4 mm
Thickness of the paper with laminate: 0.34 mm.
Please keep in mind that these settings might not work for you since your material thickness might not be the same as mine.

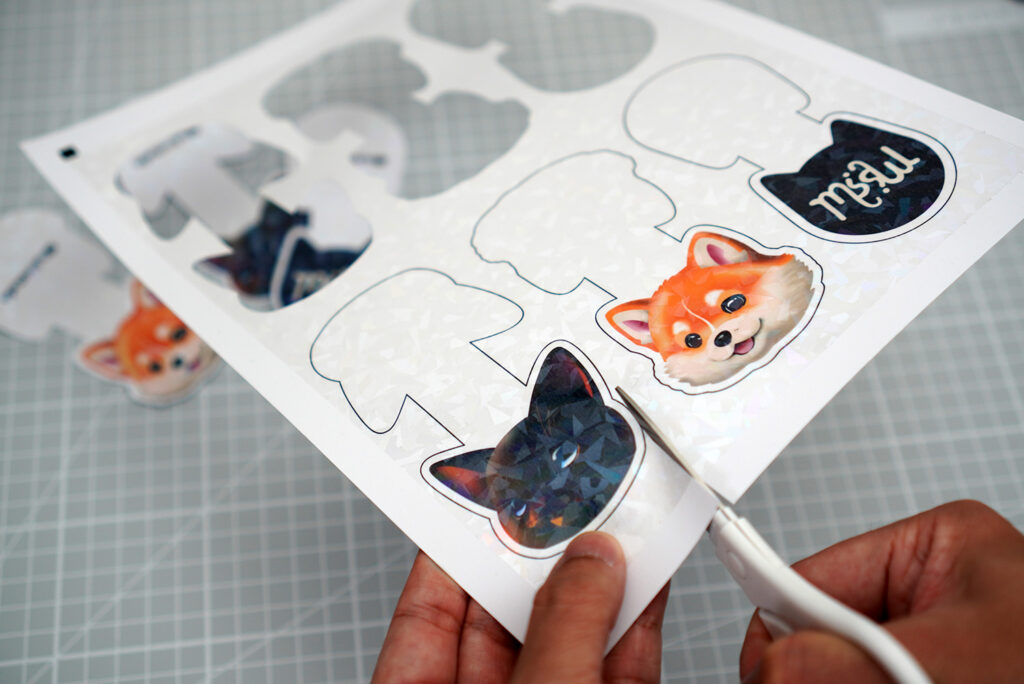
Of course, if you don’t have a cutting machine, just use a pair of scissors to cut along the lines that we’ve created earlier in Step 2. Try to carefully cut along the inside edge of the black line so the line won’t show in your finished product.
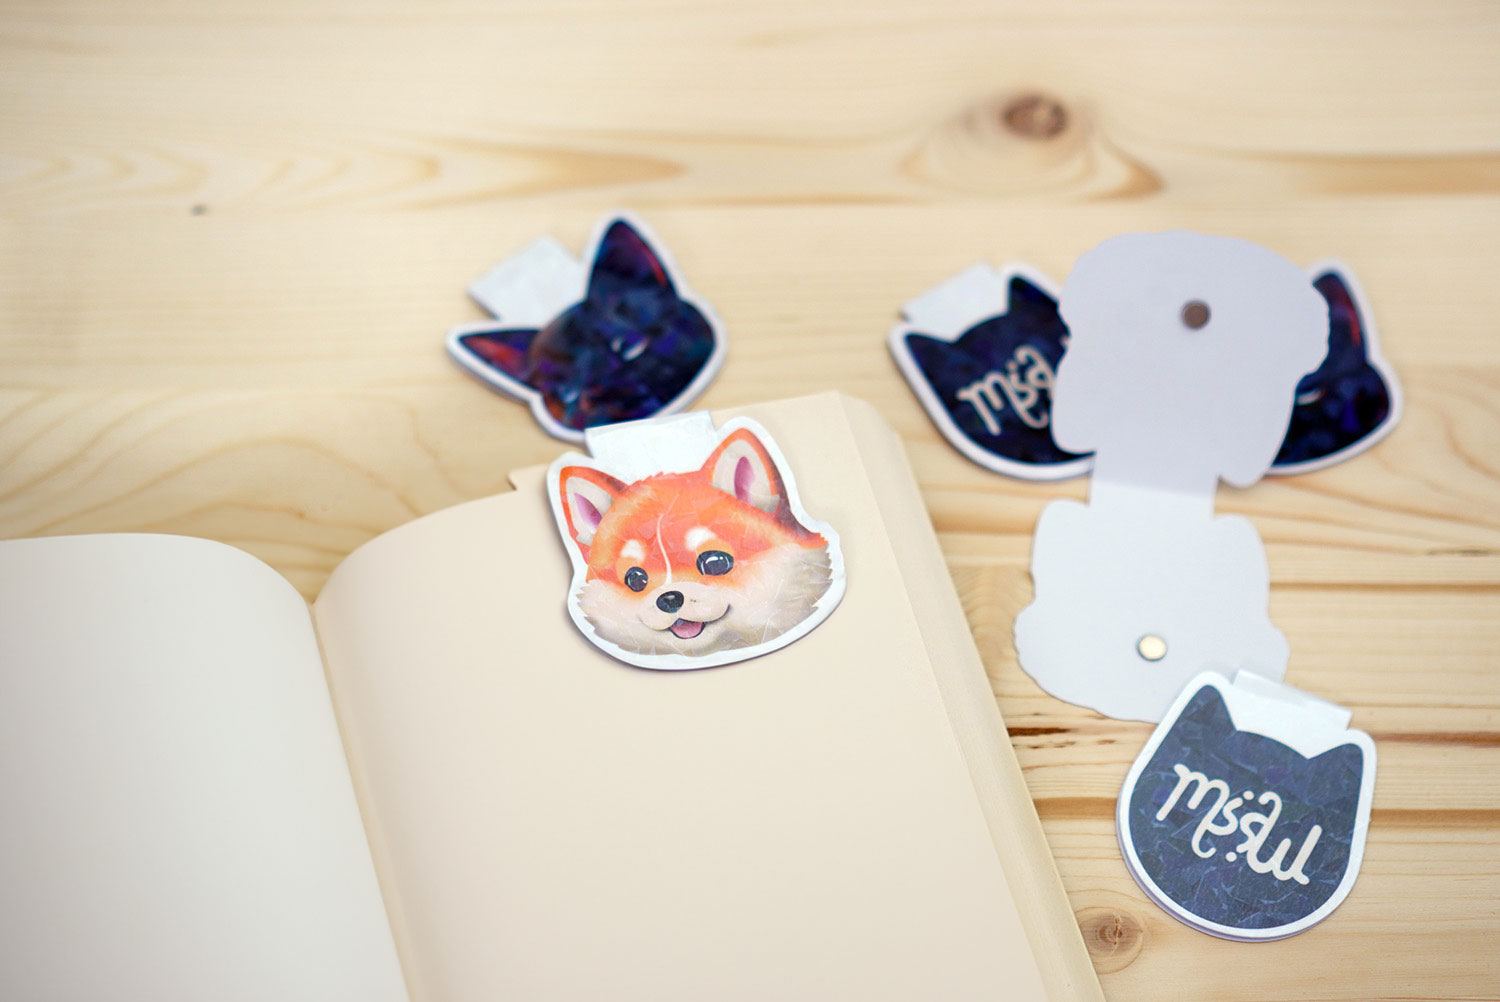
Step 6: Folding
Next, fold the bookmarks in half and make sure that both ends (the front and the back of the bookmarks) are perfectly aligned. If you have a score board, you can use it to create the creases.
Step 7: Magnets
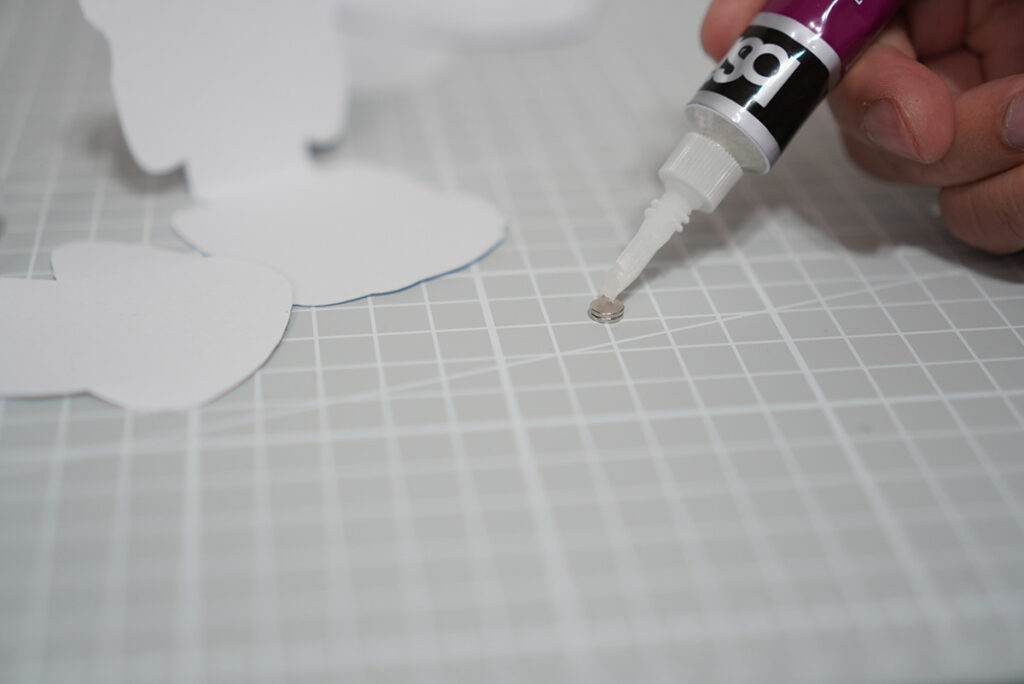
Lastly, we need to glue 2 magnets onto the insides of the bookmarks. You can use either super strong magnets like the neodymium magnets or something like the adhesive magnetic dots. Both will work just fine.


You need 2 magnets for each bookmark so if you use neodymium magnets, take 2 magnets without separating them and apply a small amount of super glue (gel-based) on both sides of the magnets.
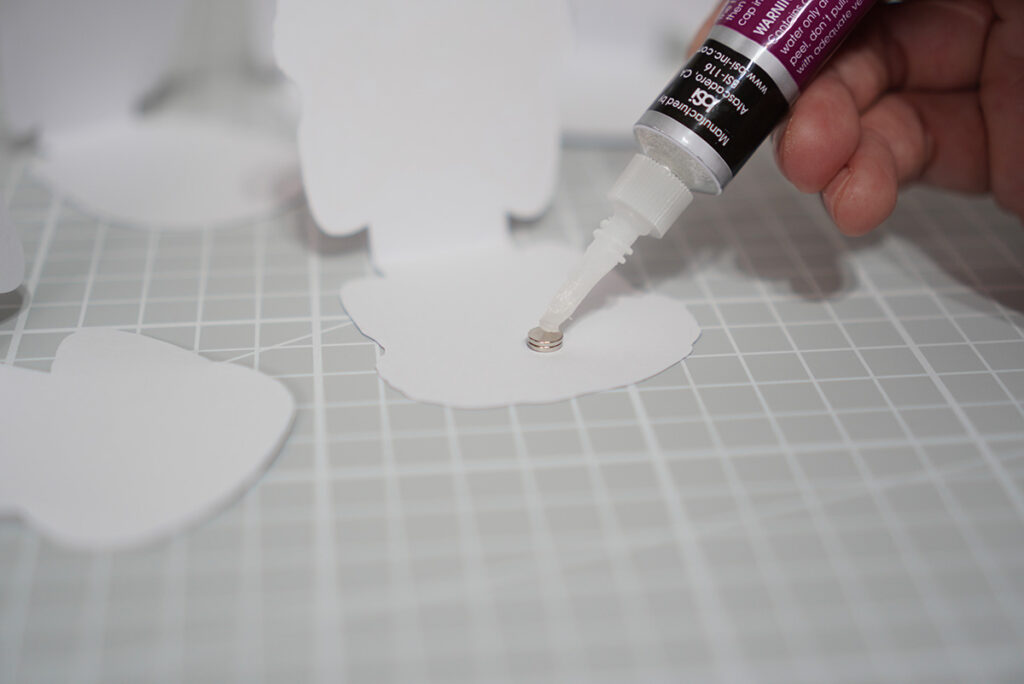
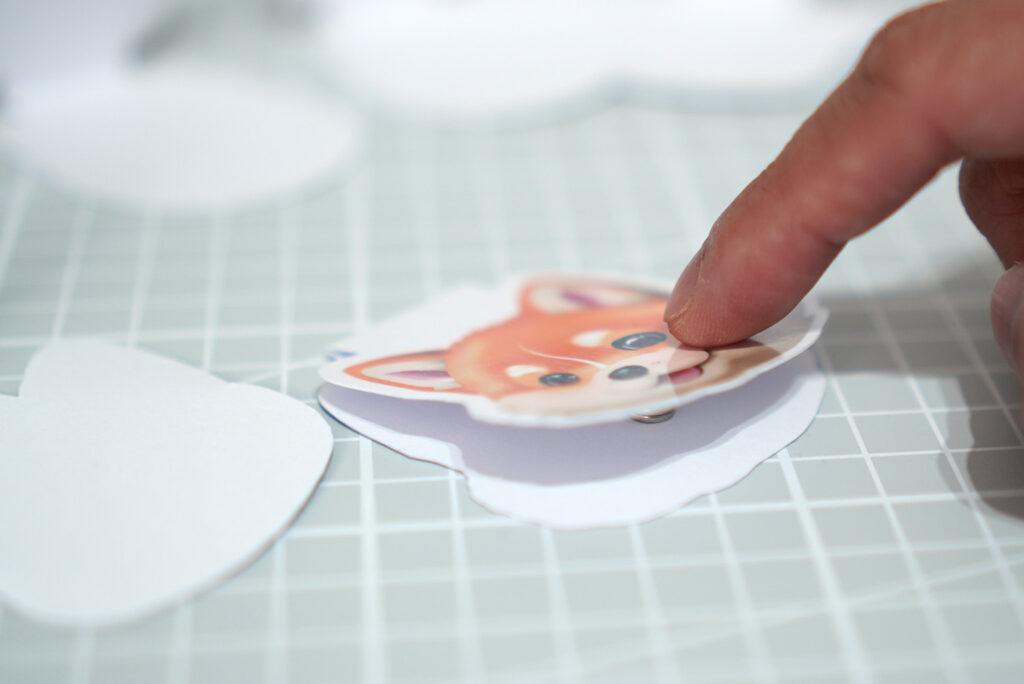
Place the magnets on one end of the bookmark and fold the other end. Wait for the glue to dry and you’re done!
Follow the same procedure if you’re using adhesive magnetic dots. Of course, you would then need 2 magnetic dots for each bookmark.
These bookmarks are so easy and fun to make. So let me know what you think of them!