This post contains affiliate links. When you purchase through links on our site, we may earn an affiliate commission. Learn more about it here.
Delving into the world of 3D printing can get pretty scary. Understanding how a 3D printer works and maintaining it is not something that you can learn overnight. It is complicated and it can get expensive pretty quickly. It is not a hobby for everyone.
In fact, those were some of the reasons why I’ve been shying away from getting into the hobby, even though I’ve been wanting to buy a 3D printer for so long.
But, it doesn’t even have to be complicated and expensive. I’ve been eyeing the company Bambulab for quite some time now and their 3D printing technology got me convinced, seeing how many users swear by their P1S or X1C 3D printers.
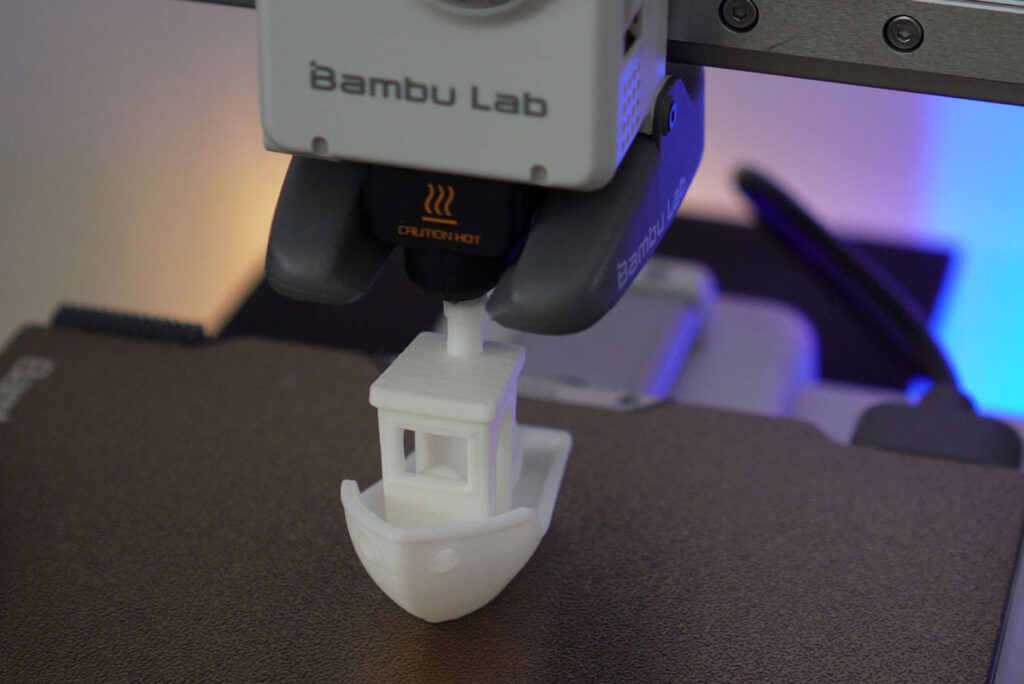
After they released their new 3D printer lineup A1 Mini just recently, which they claim to be a beginner-friendly 3D printer, I immediately made the decision to purchase it, my first 3D printer.
I’ve been using the printer for the last 3 weeks now, and this is my Bambu Lab A1 mini review, the best 3D printer for beginners.
Table of Contents
What is the A1 Mini 3D Printer?
A1 mini is a FDM (Fused Deposition Modeling) bed-slinger type 3d printer. What is an FDM printer? An FDM printer uses plastic filaments to print 3D models. It works by feeding melted filament over a print bed layer by layer.
Aside from FDM, there’s also the SLA (Stereolithography) 3D printing which uses liquid resin. It works by hardening each layer with UV light.
The reason why I didn’t go with a resin 3D printer is because I don’t want to deal with the mess. There’s also a lot of cleanups you need to do after you printed your 3D models.
So the decision to get a FDM printer was an easy one. I just needed to decide if I should get the bed-slinger type FDM printer or the Core XY type FM printer. Core XY printer is a rather popular type of FDM printer, and is often recommended in the 3D printing community.
So why did I get the bed-slinger type? Generally, bed-slinger printers are relatively cheaper and easier to operate and maintain, which is perfect for a beginner like me.
Price
A1 mini is the perfect entry-level 3D printer since you can get it for $199 USD. And that’s a great price for a 3D printer! Aside from filaments which you need to buy separately, you don’t need to get any other accessories to get started.
If you want to upgrade, you can also get the combo with the AMS lite for $349 USD in Europe. The AMS lite will allow you to utilize multi-color printing, which is great feature to have, if you ask me. I’m pretty sure 3D multi-color printing will be a new big thing in prosumer 3D print industry.
What’s included in the box?
I got the A1 Mini combo with the AMS lite. Surprisingly enough, both systems are packed inside one box, but you can really feel how everything is securely packed. It took me some time to take off the printer from the box though.
The whole content is wrapped in a big plastic bag, so you literally need to pull the plastic bag completely out of the box in one go to take everything out. I did it wrong the first time because I tore the plastic bag.

So if you buy the A1 Mini combo, you’ll get the following:
- A1 Mini 3D printer
- AMS Lite (plus the stand and the spool holders)
- Textured PEI plate
- 0.4 Nozzle
- Bambu Lab filament swatches
- Mystery gift (i got the Marble Run Components Kit-003. I wanted the mouse though!)
- 20 g PLA Basic filament
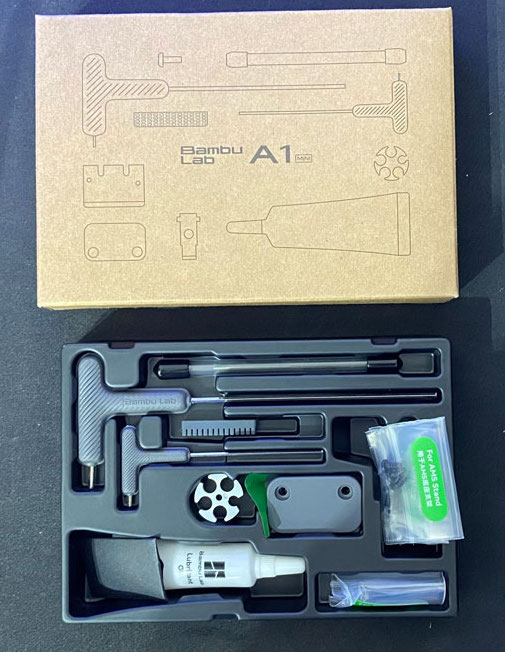
- Accessory kit which includes:
- 2 Allen keys
- Unclogging pin tool
- Cable organizer
- Lubricant in a small tube
- 1 spare nozzle wiper
- 2 spares filament cutter
- Scraper blade
- Spool holder base
- Screws for assembling various parts of the 3D printer
- Purge wiper
- PTFE tubes
Footprint
The A1 mini measures about 35 cm x 32 cm x 37 cm. Taking account the PTFE tube and the safety distance for the headbed movement (Bambu Lab recommends leaving a space of about a fist’s width in front and at the back of the printer), you need a footprint of somewhere around 38 cm x 39 cm x 49 cm.
Aside from that, you also need to consider leaving some space at the left side of the printer so you place a poop bucket.
If you printed this poop bucket here, add roughly 25 cm to the whole length.
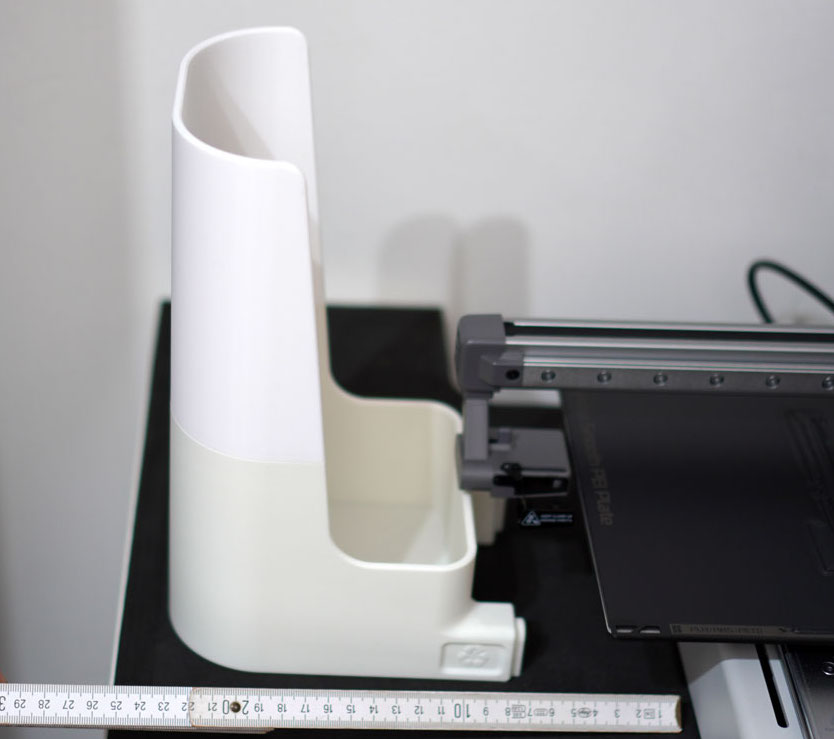
The printer itself has a small footprint, but that all changes if you get the AMS lite. The AMS lite takes a significant amount of space.

The A1 Mini, the AMS lite together with the poop bucket measure about 85 cm x 39 cm x 49 cm. That’s ironically a huge footprint for a “mini” 3D printer.
There are however, some cool mods that allow you to either mount the AMS lite on the wall like this mod here or mount it on top of the printer like this mod here.
You may try it at your own discretion though, because Bambu lab specifically mentions to not to mount it on the wall, see this article here.
Assembly
The best thing about this printer is that it comes almost fully assembled straight out of the box. And that is a huge selling point to beginners. There are, however, a few steps that you need to take and a few parts that you first need to assemble before you can start printing.
Nevertheless, it’s super easy to do it. Bambu lab promises that you can get everything set up in just 20 minutes. They even provide you with the necessary tools like the hex keys, so you basically have everything at the ready! How considerate is that?
The parts that need to be disassembled: foam padding, Z-axis limite, ziptie
The parts that need to be assembled: purge wiper, spool holder plate + the spool holder, PTFE tube (if you have the AMS lite: AMS stand, spool holders, PTFE tubes).
You also need to tighten the screws of the heatbed. Don’t overtighten them though.
Build Volume
The build volume of the A1 Mini is 180 x 180 x 180 mm. This printer is not designed to print big 3D models, but as a beginner, you want to start small anyway.
And even if you really need to print a big-sized model, you always have the option to cut it to smaller pieces.
Compatibility
A1 mini can print PLA, PETG and TPU filaments. It is, however, not suitable for ABS, ASA, PC, PA and PET because these materials require higher heatbed temperature. The heatbed of A1 mini can only reach up to 80°C. Plus, it has no enclosure which is a must if you’re printing ABS or ASA.
I know it can be quite overwhelming to learn about these different filament types, so I would recommend PLA as your starter filament.
PLA is normally cheaper than other type of materials and it is also easy to print so it’s a great material for beginners. You can get the filaments either from Bambu Lab directly or from other alternative brands.
Bambu Lab spools come with RFID chips, which means that your printer can recognize the color and the type of the filaments when you mount them on your AMS lite and updates the information accordingly.
I’ve been printing my models with SUNLU PLA+ filaments and they have been amazing. I ordered them directly from SUNLU and got them for about 11-12€ per spool during the Halloween sale, which was a steal!
If you’re new to 3D printing and don’t want to experiment with different brands that you’ve never heard of, I recommend just getting the filaments from BambuLab here. BambuLab filaments come with a RFID tag so your AMS Lite recognizes the type and the color of your filaments automatically. And since BambuLab tests their filaments with their printers, you can know for sure that they are reliable. But what’s AMS Lite?
AMS Lite
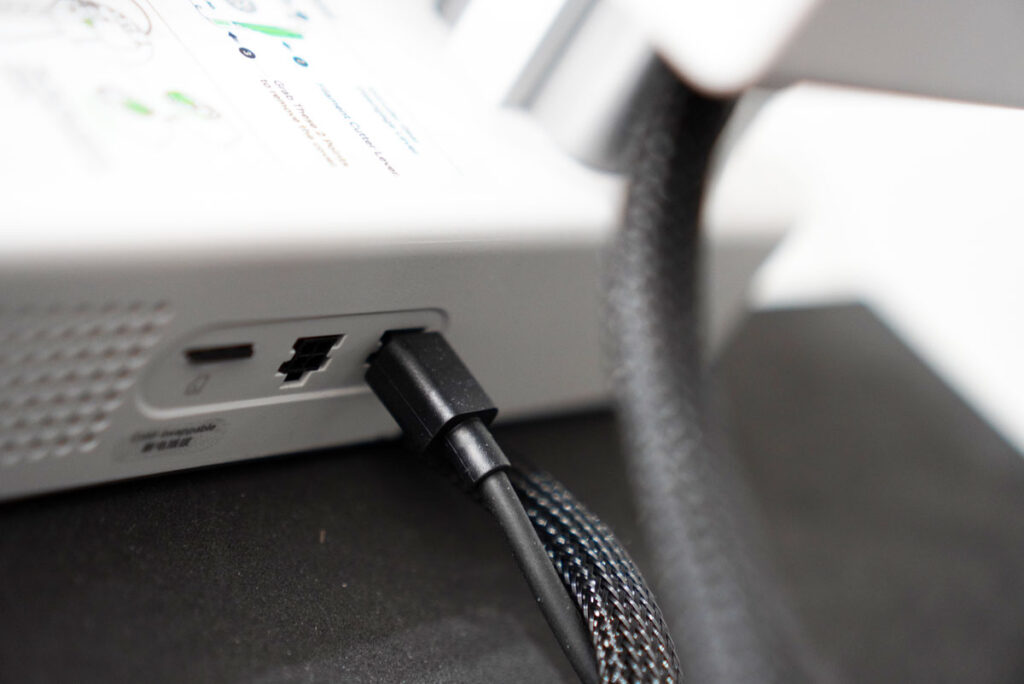
The AMS lite allows you to print multi-colored 3D models. Currently, the A1 mini can only print 4 colors at a time, though I’m quite certain that you could upgrade it to at least 8 colors in the future. (There is a second port which is identical to the port where the AMS lite cables goes into.)
The spool holders on the AMS lite can only support spools with a hole diameter of 53-58 mm. If you’re using alternative filaments like from eSun, Overture and Polymaker, you don’t need to worry because their spools will fit nicely on the AMS lite.
If you’re using Sunlu or GEEETECH filaments, you’re going to face problems since the hole on their spools is too big.


To solve this, you can print the adapter which you can find here:
I have both adapters and they both work amazingly with zero problems. I printed the first design because I wanted to save filament material, but decided to use the second design to print the rest 3 adapters because I like how clean it looks.
Which software do you need?
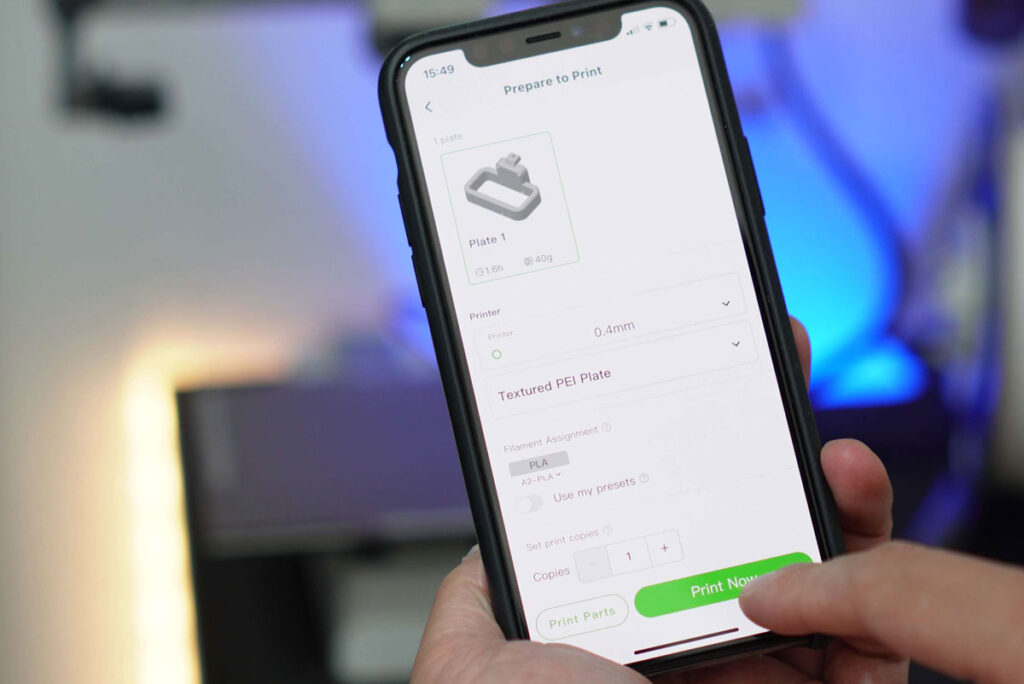
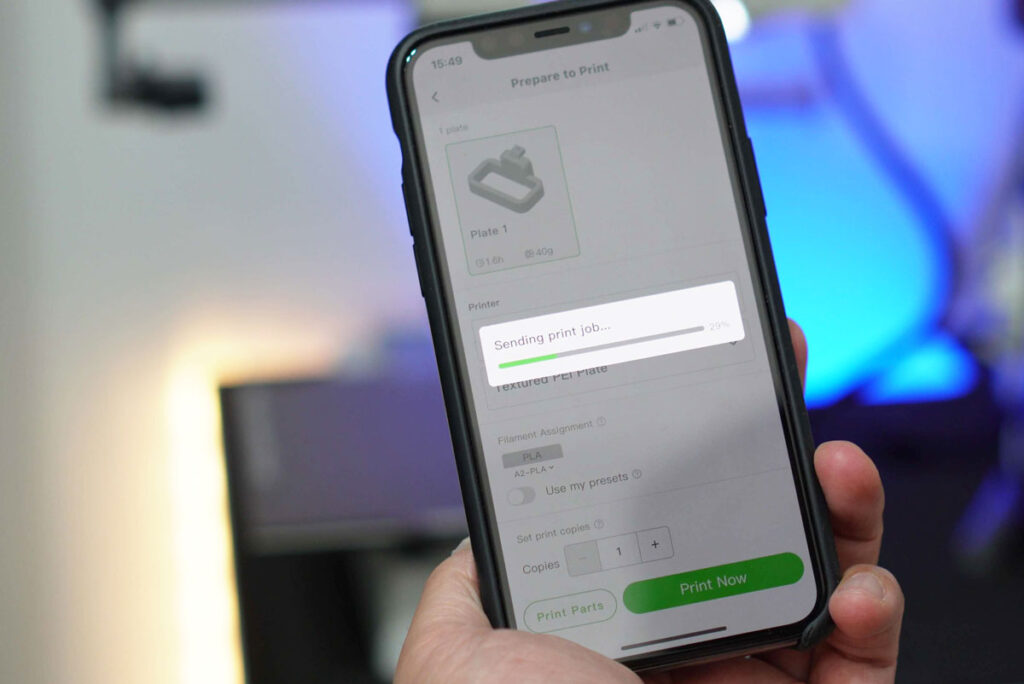
If you don’t want to do anything crazy or design your own models, you can use the app Bambu Handy to search for any models you like and print from there.
To use this feature, you need to connect your printer with your smartphone, which you can do while setting up the printer.
Bambu Handy is a community-based app where other users can upload their designs (and so can you!). The print settings of the designs you get from Bambu Handy are usually already optimized for your printer, so you basically just need to hit print and you’re good to go.
Although you can’t find everything on there, the community is ever growing and I’m pretty sure the library is going to get as huge as the other community-based 3D design websites.
The browser version for Bambu handy is Makerworld.com so if you’re on a desktop, make sure to bookmark the site! In case that you can’t find what you want on Bambu Handy or Makerworld.com, you can search on other websites like the:
- Printables.com
- Thingiverse.com
- Myminifactory.com
- Cults3d.com
Download the design you like and if the format of the file is either .STL, .3mf, or .STEP, you are good to go. After downloading the file, you need to open the file so you can send it to your printer somehow, right?
For that, you will need a slicer software. So what’s a slicer software?
Slicer
A slicer software is a software that convert your 3D files into printing instructions so your printer can understand. Just like the name suggests, the slicer software ‘slices’ your 3D models into thin layers and tells your printer how to print each of those layers.
There are a lot of settings you can adjust in the slicer like the layer height, nozzle temperature and much more. There are a lot of slicer softwares that you can get for free, but if you don’t know where to start, Bambu Studio from Bambu lab is a great slicer software for beginners.
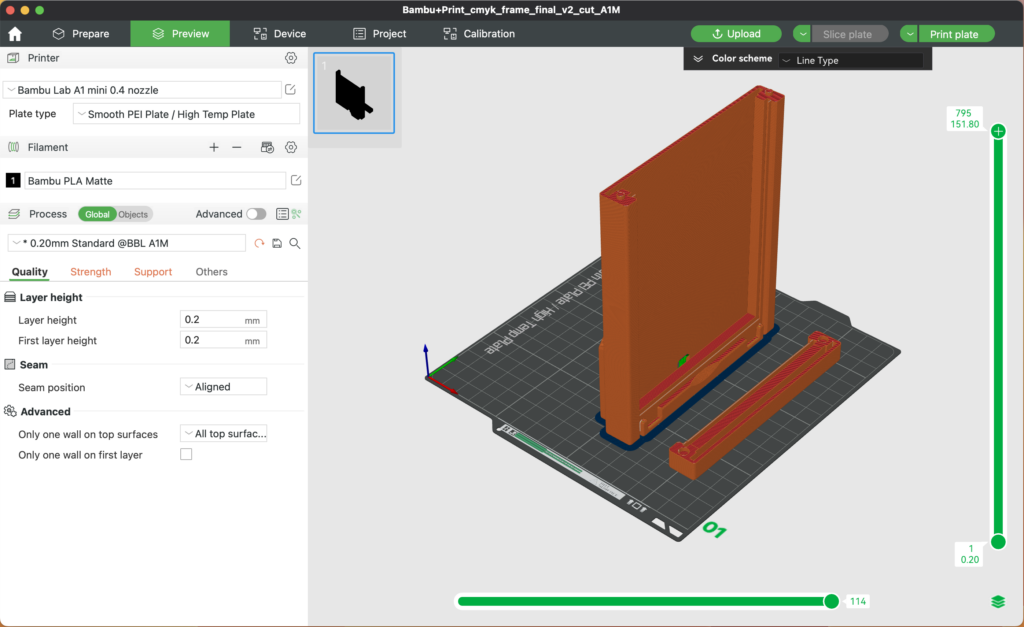
I find Bambu Studio easy to use and navigate, and you can even find a lot of tutorials on how to use it online.
Orca slicer is often recommended in the 3D printing community, and it’s supposed to be similar to Bambu Studio, but with extra features. It’s a definitely a slicer software that I would get after I master Bambu Studio.
Now what if you want to create your own designs? Which software should you get?
3D modelling Softwares
For precise technical models, use CAD programs like the Fusion 360 or TinkerCAD. For sculpting organic shapes use Blender or Nomad Sculpt for iPad.
Autodesk Fusion 360 for personal and non-commercial use version is free, but it has limited features.
What to print first?
Here are some ideas of what you can print with your A1 Mini for the first time:
Benchy
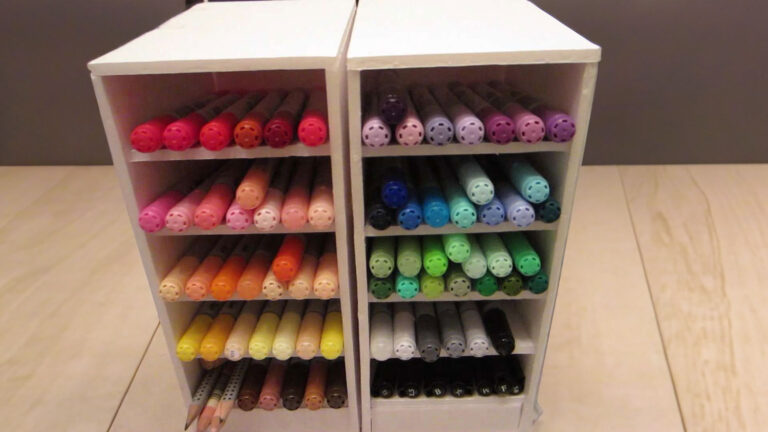
You get 20g of PLA Basic filament for free, so why not use it to print a benchy? Printing a benchy for the first time has been a tradition in the 3D printing community, so if you have no idea what to print first, printing one wouldn’t hurt!
Scraper
You can find the scraper blade in the tool kit when you buy the printer, so make sure to print it! It comes pre-sliced in the SD card which you also get for free. Just find the file in the print menu.

Others
To measure the capability of your printer, you can print any one of these following models:
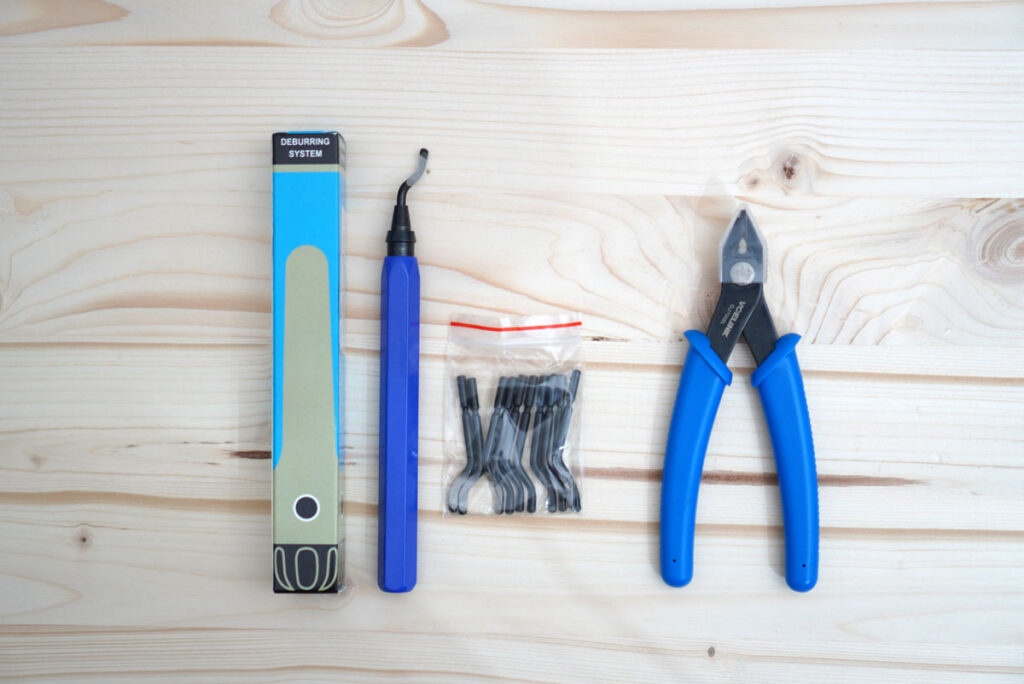
Must-have 3D printing tools
You don’t need a lot of 3D printing tools for starters. You can definitely get by with having just these 2 tools:
Wire cutter
If you don’t have a wire cutter already, make sure to get one or order one from Amazon like this one here. It is usually not that expensive.
You need a wire cutter to cut the tip of your filaments when you first unpack it. Notice that the tip is usually bent or taped to the spool? You want to cut the filament where it bends.
This ensures that your filament is fed through the extruder smoothly. You also want to get rid the part of the tip with that tacky residue left from the tape. You don’t want that residue to even come in contact with any inner moving parts of your printer.
You can also use the wire cutter to remove supports.
Deburring tool
The next tool to get is the deburring tool. This tool helps you to clean any sharp edges left after removing the brims of your print. It is such a useful tool to have, and it is not all that expensive. You usually get spare blades when you buy one.
Which spare parts should you order with the A1 Mini?
It’s also a good idea to have some spare parts at the ready, just in case something happens. And we know that something always happens when we least expect it!
You don’t have to go overboard and buy every single part though. If you don’t know which parts you should get first, here are some suggestions:
Spare 0.4 mm stainless steel Nozzle
The standard nozzle that comes with the A1 mini is the 0.4 stainless steel nozzle so why not get a second one? You can get the hardened steel one, but only if you’re planning to print materials that are abrasive like the PLA-CF or the PETG-CF.
If you get the 0.4 mm hardened steel nozzle, make sure to get the hardened steel extruder gear assembly as well.
PTFE tube (4 m)
PTFE tube is prone to wear so it’s no brainer to order some spare ones in advance. You can get any cheap ones on Amazon or you can order a 4 m-long tube from Bambu Lab.
I wouldn’t recommend getting the pre-cut ones though. It’s better to have the longer tube and cut it to your preferred length yourself. Maybe you want to place your AMS lite further away.
Silicone sock
Silicone sock is also a great inexpensive spare part to get. It is a part that needs to be replaced more often than not. I mean it’s only about 1$ each so just get the pack of 3 or more if you need to fill the shipping cost
Heatbed nozzle wiper
You only get the spare rubbery nozzle wiper when you buy the a1 Mini, but not the metal one tough. It’s such a bummer that they don’t sell the metal one separately, because you don’t necessarily need the rubbery nozzle wiper.
If you have TPU, you can even print your own nozzle wiper!
So to get the spare metal nozzle wiper, you need to buy it in pack with the rubbery nozzle wiper.
Part cooling fan & Hotend cooling fan
Fans are mechanical parts that are constantly moving and rotating rapidly at super high speed during every single print. If anything, they are the ones that are most likely to break. So you should definitely get either fans or both, if you have that extra money.
Optional
Smooth bed – if you prefer smooth printed surface
0.2 mm stainles steel nozzle – if you care for better printing resolution, but don’t mind the longer printing time.
Printing quality & my final thoughts
Being a new user, it is hard to gauge how good your new printer prints, especially if you don’t have any printed models to benchmark. The question is, how high do you set your bar?
As a casual user, I’m not planning to sell my prints (just yet!). There aren’t any major imperfections I can find on my prints, and the results have been outstanding. I mean look at this modified Bambu Lab litophane frame i printed. It looks amazing!

In any case, if you’re planning to sell your prints and turn this hobby into a business, you might want to invest more of your time and money to try out different printers. You can even just buy sample prints or finished products on Etsy and use them as your benchmark.
That said, I’ve been very happy with the quality of my prints, and in the end, that’s all that matters. My goal is to get into the hobby, build experience and keep learning new things about it every day.
And with the A1 Mini, it makes the learning experience so much fun and engaging. It is easy to use, intuitive and user-friendly. It is truly a plug-and-play 3D printer.
Here are some other cool features the A1 Mini 3D printer offers:
- Fast printing
- Fast multicolor printing (faster than with the standard AMS)
- Customizable print start and print end sounds
- Noise cancelling
- Automatic flow dynamics calibration
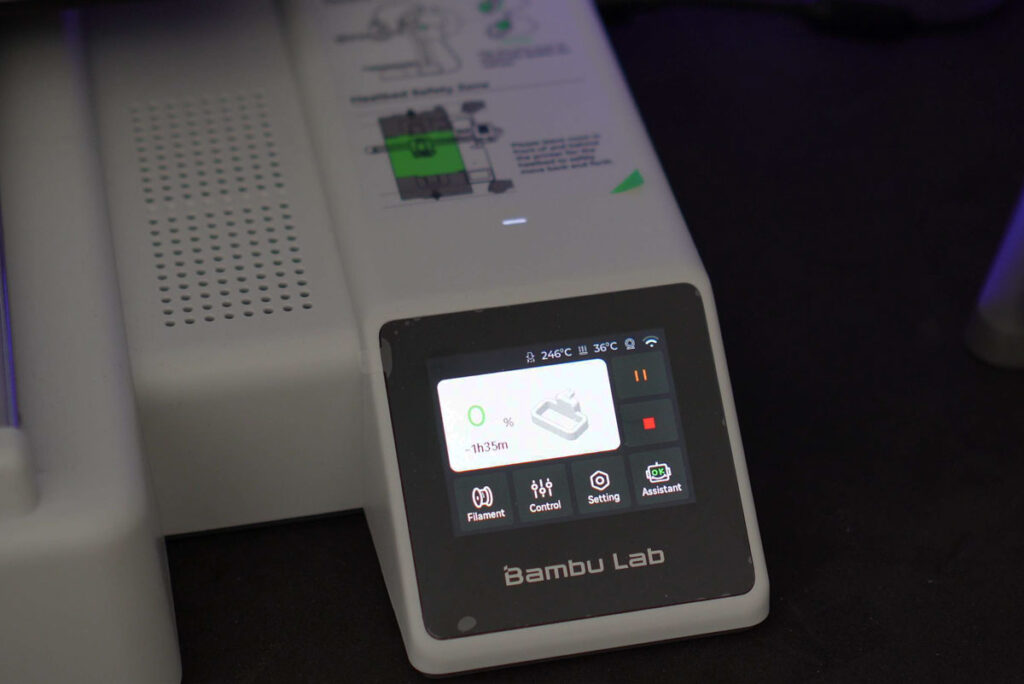
- 2.7″ color touchscreen
- timelapse video
- easy nozzle swapping
The A1 Mini is a 3D printer without an enclosure. So it can’t print materials like the ABS or the ASA, but having no enclosure also means that it will collect dust. So don’t forget to clean your heatbed before every print, else you’re going to get lint and dust on the first layer of your model!
They go on sale pretty often and the price has gone down to $179 USD for a short amount of time, so if you’re interested to get one, you can get it here.
Make sure to check out some of the 3D printing projects that i made using the A1 Mini: