In this tutorial, I’m going to show you how to place an image in text in Photoshop. It’s super quick and easy to do it, you can even do it under 10 minutes!
To get access to Adobe Photoshop, you can subscribe to the Adobe Creative Cloud Photography plan which you can find here.
So let’s get started!
Table of Contents
Step 1: Finding an image
Before you get started, you need to find an image which you want to place in your text. If you want to use your text as a logo for your business, or if you plan to sell it, make sure that the image isn’t copyrighted.
To not get into trouble, you can buy licenses for the images you would like to use. The website like istockphoto.com is a great source of images with license that you can buy. If you do not want to spend money on images, you can get royalty-free stock images which you can use for commercial purposes.
These websites have great collection of royalty-free images:
To make your text even more unique and personal, why don’t you use your own image or a scan of your drawing? In fact, let’s use one of my drawings as the sample image for this tutorial! Let’s use this newest wanted poster of Luffy I drew:

Step2: Creating a new document
You want to create a new file in Photoshop. For the canvas size, you can use any size you want, but I wouldn’t make it too small. If you make it too small and decide to enlarge it in your later projects, you will lose a great deal of the image quality.
If you have no idea where to start, why don’t you use these recommended sizes?
| Platform | Recommended size |
| YouTube Channel Banner | 2560 x 1440 |
| YouTube Video Thumbnail | 1920 x 1080 |
| Facebook Banner | 830 x 312 |
| Twitter Banner | 1500×500 |
| Twitch Banner | 1200 x 480 |
| Discord Banner | 960 x 540 |
| Pinterest Banner | 800 x 450 |
| Website Logo | 250 x 150 px |
Step 3: Typing in text
The next step is to type in your text. You can do this by using the Text tool.

You don’t need to worry about the color of your text, since we’re gonna fill the text with an image anyway. But if you don’t see your text, it’s probable, that the color of your text is the same color as your background. If that’s the case, change the color of your text with the color picker tool so it’s going to be easier to see.
We want to be able to see a good amount of the image, so it makes sense to choose a font that is very bold and thick. I’m going to use the font Inter Black.


Now if you plan to use the text for commercial purposes, you want to make sure that the font isn’t copyrighted. I know that it’s annoying, but there are so many free fonts you can find online, so it’s not that big of a deal.
System fonts that are installed on your Mac or your PC might be protected by copyright. So make sure to check what kind of license you have for your system fonts before you use them for commercial purposes!
The best source of free fonts is hands down, the Google Fonts. There is a huge collection of free fonts you can use both for private and commercial use. You could literally spend hours browsing on Google Fonts.
If you’re already a Creative Cloud subscriber, you’re in luck! You are free to use Adobe Fonts for both private and commercial use. To learn more about it, read here.
Don’t like Google Fonts and Adobe Fonts? Here are some other websites where you can get free fonts:
Make sure to read the license agreement in advance because they might change it from time to time.
If you want to be on the safe side, just get the fonts which you can buy the license for and be done with it. Dafont.com is one of the most popular websites where you can buy license for fonts.
Step 4: Importing image
Now you want to import the image into your document. Just drag-and-drop your image right over your text.
You can resize the image by dragging any small boxes on each corner either inward or outward. Once you’re done, double click on it.
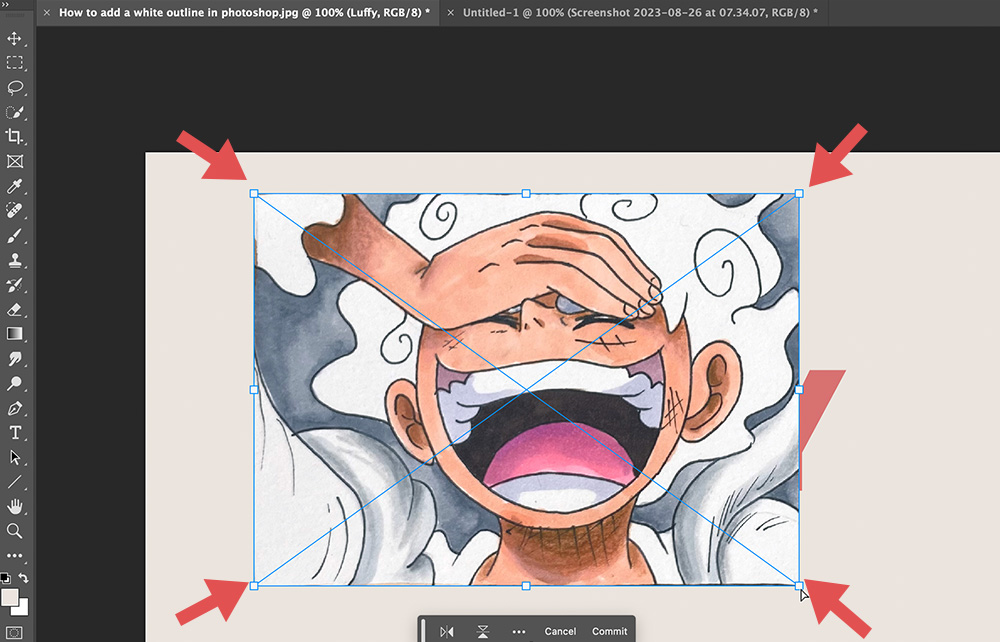
You can always resize your image later, so don’t worry too much about it now.
Step 5: Creating Clipping Mask
In your Layers panel, you want to make sure that the image is right above your text layer. Right click on your image and select Create Clipping Mask.

This will make your image sort of disappear into the background but not entirely. Your image is only going to be visible through the text you typed in.
You can move the image around using the Move tool.
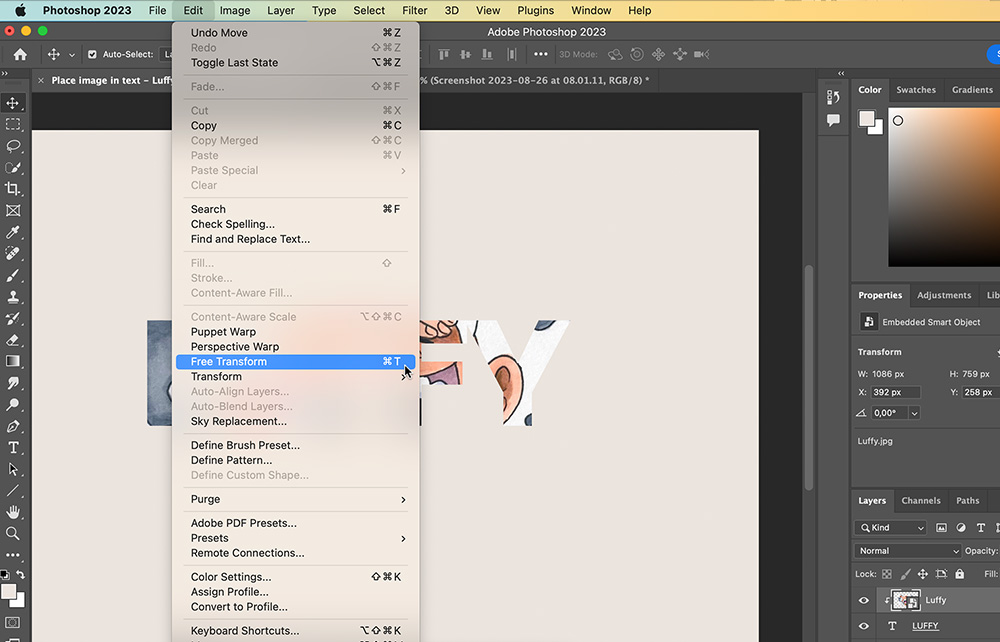
If you want to change the size of your image, hover to Image and select Free Transform. You can enlarge or reduce its size by dragging any small boxes on each corner either inward or outward. Alternatively, you can hit these shortcut keys: Cmd + T (PC: Ctrl + T).

Hold Shift while resizing the image to lock its aspect ratio.
Now if you’re already happy with how it looks, you can leave everything as is and export it a JPEG format image.
If you want to add outlines to the text and save it as PNG, keep on reading.
Step 6: Adding an outline
This step is completely optional, but if both your image and the background have similar color, you won’t have sufficient contrast between the image and the background so it’s gonna be hard to see or read the text.
In this case, it might be a good idea to add outlines to your text. To do this, select your text layer. Hover down to the bottom of the Layers panel and click the fx button then select Stroke.

This will open up the Layers Style window, where we can adjust the outline to our liking.
Let’s change the outline color to a dark brown color and set the thickness of the outline to 5 pixels. Make sure Position is set to [Outside] and Blend Mode is set to [Normal].

That’s looking really good already, doesn’t it?

If you want to learn how to add outline to images in Photoshop, click here.
Step 7: Saving image as PNG
The last step is to save, or to export your image as a PNG format image. To do this, we need to deactivate the background layer. You can simply do this by clicking the eye icon on the left side of the layer.

And you are done! There are a lot more things you could do like adding shadows, glow etc. to your text. Feel free to play around with the style options and see if you like it!