This post contains affiliate links. When you purchase through links on our site, we may earn an affiliate commission. Learn more about it here.
In this beginner’s guide to polymer clay, you will learn about what polymer clay is, what basic tools you need and some tips and tricks to help you get started.
Now before we dive into it, you need to know that there are a lot of different types of modelling clay.
Polymer clay is a PVC-based modelling clay that hardens with heat. It is also often referred to as oven-baked clay since you need to bake it in the oven to set it.
Polymer clay is the most popular type of clay used for making charms, keychains, jewelries, sculptures, or figurines at home.
There are also other types of clay like the porcelain clay, air-dry, earthenware clay and so on. They are often used for pottery. If you want to learn more about those types of clay, this blog post can give you a head start.
There’s also air dry clay that becomes squishy after it hardens. This type of clay is perfect for kids as it doesn’t break easily after it hardens. I’ve to admit that I had a lot of fun working with this type of clay. The YouTube creator @squashclay is one of many artists that work with this type of clay.

Table of Contents
Polymer Clay Brands
So which type of polymer clay you should get and from which brand? It could be overwhelming if you’re a beginner since there are so many to choose from! If you’re on a budget, you could get the cheaper ones which you find on Amazon.
But if you’re looking for something that’s higher in quality, you can get either the FIMO polymer clay from Staedtler or Sculpey from Polyform. These 2 brands of polymer clay are the most popular brands out there so you can’t go wrong with either one.
Now here comes the hard part. There are different types of FIMO and there are different types of Sculpey polymer clay. So how do they differ?
Sculpey Premo, FIMO Classic, FIMO Professional – they are firmer type of clay, so they are best for sculpting something with a sturdier shape like sculpting faces or sculpting something intricate like hands and fingers.
They are also perfect if you live in a warmer climate, since they don’t get soft that quick. (The sweat and oil from your fingers can make the clay softer, so keep that in mind!)
if the clay gets too soft, you could put it in the fridge for like an hour or so to let it harden a bit. You could also pre-bake the clay for like 10-15 minutes.
Sculpey Souffle, Fimo Soft – they are softer type of clay, so they are perfect if you’re working with simple shapes that don’t require a lot of time sculpt. Since they are soft to begin with, they aren’t suitable to use in a warm climate. So if you live in a colder climate, these are the ones for you.
Sculpey III – this is the softest clay in Sculpey’s lineup, so it’s perfect for beginner since you can work with it right away and you don’t need to worry about conditioning it first.
Fimo Effect, Sculpey Premo Accents: these are special types of polymer clay with effects like glitter, metallic and so on. They have different hardness so keep that in mind.
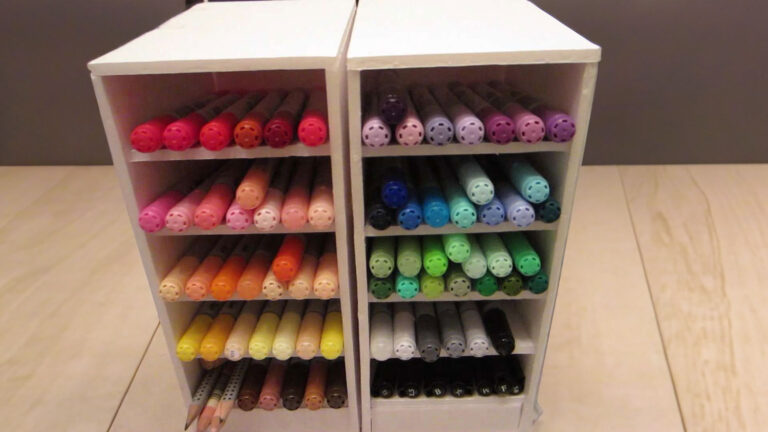
Multicolor or one color?
If you don’t want to work with multiple colored clay, you can just get one color, white for example. You can then paint your clay with acrylic paint after baking. You could also scrape off colored soft pastel and mix it with your white clay to give it color.

If that’s not your thing, you can get clay in 3 prime colors – red, blue, and yellow including white and black. Mix them to get the color you want.
Or you can get all 50+ colors that Staedtler / Polymer offer in their polymer clay lineups, so you don’t have to worry about painting and mixing colors. In the end, it is simply a matter of preference.
Storage
Since you don’t want your clay to dry out, it is best to store them in an airtight container. But you don’t need to worry about it too much though. If the clay becomes too dry and hard, there is a trick that you can do to “re-activate” it.
Just break off hard clay to smaller pieces and add a few drops of baby oil and knead. If you don’t have baby oil, cooking oil works too!
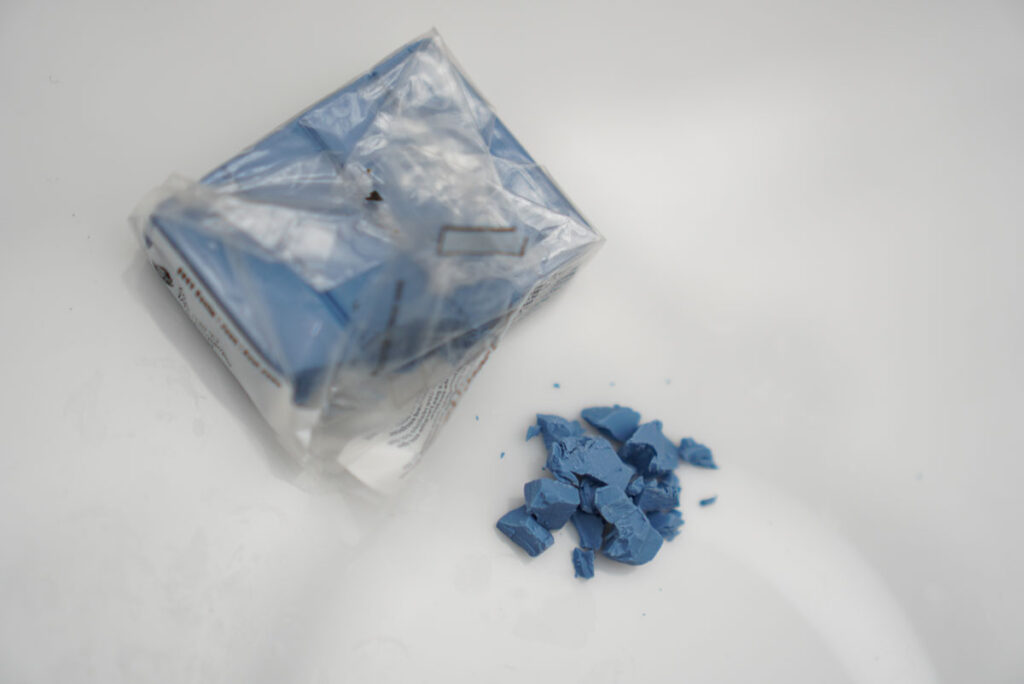
If you’re not convinced, look at these 10-year-old rock-solid clays after I conditioned them:

Conditioning
Conditioning is a step to make the clay soft and flexible enough so that it is easier to work with.
If the clay is hard and dry, you can either knead it with your fingers or feed it through the roller of a pasta machine repeatedly until it gets softer. Any pasta machine would work, but I would get a dedicated pasta machine for any polymer clay projects if I were you, though.
Materials that you need
You can find most of the tools and the materials that you need down below.
Needle tool
Needle tool is a very versatile tool. You can use is to create texture, sculpt fine details, or to poke holes. If you don’t want to spend money on needle tools, alternatively, you can use a skewer or a sewing needle. They work just as good.

Dotting tool
You can use a dotting tool to make round indentations. You can even use it to smooth out the surface or blend layers.

Blending tool
Another tool you can use to blend clay layers is a blending tool. Usually, it has a flexible silicone tip and comes in different kinds of shapes.


Clay Roller
Clay roller, as the name suggests, is used to roll the clay to flatten it. Clay roller is usually made of acrylic material. You could also get a tube-type ones which is normally slightly cheaper.
If you want to roll clay out to even thickness, consider getting a pasta machine. A pasta machine is also a great machine you can use to mix clays of different colors.

Finger
Don’t have all these tools? Don’t worry, your fingers are the most valuable tool that can pretty much do everything. Use the tips of your fingers to sculpt smooth shapes and your fingernails for the details.
Just make sure to clip your fingernails and keep everything tidy and clean.
Cutter
An X-acto knife is a great tool to cut clay to your desired shapes. If you don’t have a needle tool, you can literally use your X-active knife to do the same thing. If you want a long, nice straight cut, you probably should get a clay cutter which is basically just a long metal blade.
It is super versatile too, since you can bend it to cut curved shapes, and you can use it as a spatula to scoop up your clay from underneath.
Cookie cutter
Cookie cutters are super useful to cut clay to certain shapes quickly. There are so many different types of cookie cutters, so the possibility is endless!
Plier
Pliers and round-nose pliers are great tools to have at your disposal. You can use them to cut and bend wires e.g., when making wire armatures for your sculptures or even when making jewelries!
Work surface
You need a smooth surface when you work with clay. It could just be your desk. But if you’re worried that you might damage the surface of your desk, you can invest in something like a ceramic tile, an acrylic, or a glass plate.
You can clean these surfaces e.g., with alcohol without worry. If you use a ceramic tile, you could even bake your clay with it.
If you want something that’s disposable, you can use a parchment paper or wax paper.
Liquid Clay
Liquid clay like the Liquid Sculpey or the FIMO Liquid can be mixed with clay to get a softer, even gooey clay consistency. There are so many things you can do with it. It is also a great medium that acts as adhesive, so you can use it to join two pieces of clay together before baking.

Adhesive
What if you want to join two clay parts together after baking? Or if you want to glue a magnet onto your clay? In this case, I would go with a super glue. You don’t want the liquidy ones though, gel-based super glue works the best.
Aluminum foil
Aluminum foil can be used as a filler, so you won’t need a huge amount of clay when sculpting something big. Make sure to scrunch the foil tightly to avoid any air pockets before you cover it with a layer of clay.
Don’t know what to do with your scrap clay? You can use it as a filler too!
Glaze
You can apply varnish to you clay after baking it to give it a glossy finish. You can get something like the FIMO glaze:

Just apply a thin layer of the glaze liquid with a paint brush to your baked clay and let it dry. If you paint your clay with acrylic paint, glazing is a great way to seal the paint.
Do you really need to varnish your project? Well, it all depends on your preference. If you prefer the matte finish, then you don’t really need to though.
Other Accessories
Neodymium Magnet – thin, small neodymium magnets are perfect for making fridge magnets.
O-rings, eye- pins, lobster-clasps are perfect for making keychains.
How to keep your Polymer clay clean
Before you begin, you want to make sure that you clean your hands thoroughly. You also want to clean your work surface, ideally with alcohol e.g. isopropyl.
You can also use a white or a translucent clay to dab and rub your work surface with. Don’t forget to clean your tools too. This will prevent any dust or leftover clay from your previous clay project from sticking to your new clay.
You might want to repeat the cleaning process again if you’re changing color, especially if you’re changing from a dark color to a light one.
It is almost impossible to avoid any dust or lint though, but you can minimize it by not wearing a dark t-shirt or a fuzzy sweater. Just wear an old, worn-out white or light-colored t-shirt while working on your clay project.
How to bake your Polymer clay
To bake the clay, your home oven is your best friend. If you don’t want to use your kitchen oven to bake your clay projects, you can get a mini toaster oven, which isn’t all that expensive.
You want an oven with temperature control because different types of clay require different temperatures and time to cure. Since it could get confusing pretty quickly, I’ve summarized both parameters for each type of clay in the table below:
| Baking Parameters | FIMO Soft, FIMO Professional, FIMO Effect, FIMO Classic | Sculpey Soufflé Sculpey III, Sculpey Premo, Sculpey Accent |
| Temperature | 110°C (230°F) | 130°C (275°F) |
| Baking Time | 30 min | 30 min |
How to clean your Polymer clay after baking
If your clay is dirty, smudged or has dust on it, you can either remove it physically or chemically. Try to use a sandpaper to sand off the smudge.
If you’re brave enough, you can scrape the dust (or the smudge) off with a knife. Just do it carefully to avoid damaging the surface of your clay.
Another way to clean your clay is to use acetone which is a clear solvent that is usually found in nail polish remover.
Use a cotton swab soaked with a little bit of acetone and rub the surface of your clay in a circular motion until the dirt disappears / lifts off. Using this technique, you are basically using acetone to melt the outer surface of your clay so please keep that in mind and do it moderately.
If both methods aren’t for you, you can always paint over your clay with acrylic paint. Don’t want to deal with messy paints? Why not use POSCA markers to do it?