This post contains affiliate links. When you purchase through links on our site, we may earn an affiliate commission. Learn more about it here.
In this tutorial, I will show you how to make your own sketchbook.
I don’t usually draw on a big piece of paper. Normally I just cut my A4 paper in half and use that half for drawing. The other half always ends up laying around somewhere. And by somewhere, I mean disappear into the oblivion, never to be found again!
So I thought it would be a great idea if I could pre-cut all of my A4 papers and bind them somehow.
I then searched for ways to bind books. I thought about going for a cheaper route, but it’s either aesthetically unpleasing or it’s way too complicated. That’s when I discovered the binding machine, The Cinch.
I have to agree that it is not the cheapest way to bind books, but it is a great investment in the long run as I don’t have to spend money on expensive sketchbooks anymore. I could just buy loose papers in large amount which is normally cheaper.
Table of Contents
So I’m going to teach you how to make your own sketchbook in few easy steps using The Cinch. If you don’t already have one, you can get it here:
We R Memory Keepers, The Cinch book binding machine
- Hole pitch 2:1
- can punch through up to 20 sheets of paper

Before we start, these are the items that you would need to make your own sketchbook:
- Paper
- Chipboard
- Paper trimmer
- We R Memory Keepers The Cinch binding machine
- Spiral binding wire
- Printable vinyl sticker paper
- Self-adhesive laminating sheets
- White sticker paper
- Box cutter
- A pair of scissors
- Wire cutter
- Optional: Round nose plier
Step 1: Choosing the paper format
Since The Cinch is made in the US, it does better job at binding US paper formats. So if you’re trying to make A4, A5 or A6 sketchbooks which are popular formats outside of the US, it’s not as straight forward, as you do need to do a little bit of tweaking. But you can certainly make it work. After all, you can practically bind books of any size with it!
I’m going to make an A6 sketchbook, so I’ll show you how to use The Cinch to make sketchbooks in non-US paper format in later part of this tutorial.
If you’re not familiar with these paper formats, they are basically standard paper formats that are used everywhere across the world except in North America and some parts of Central & South America. The sizes are specified in the ISO 216. If you don’t know which size to go for, check out all different formats here for some inspiration
Step 2: Cutting items to size
After you’ve decided on the size, you want to cut all items to size. That includes the papers, the chipboard, the vinyl sticker paper and the sticker paper.
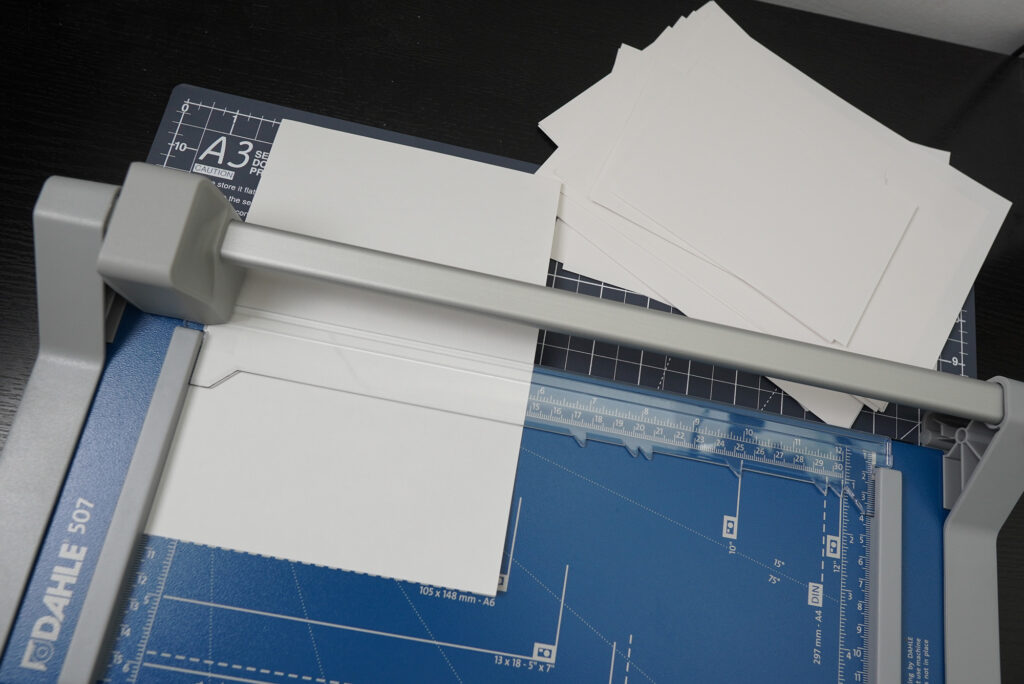
Cutting the paper
So how many sheets of paper should your sketchbook have? That’s entirely up to you to decide, but just keep in mind that your sketchbook should be no thicker than 3.1 cm. That’s the maximum book thickness that the machine can bind.
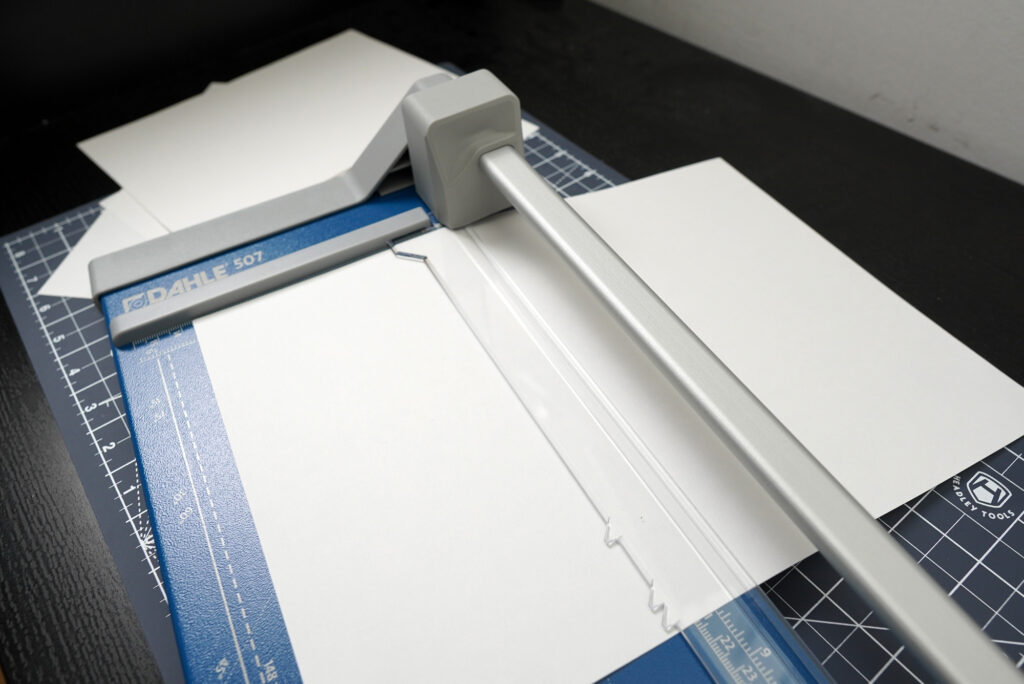
For my sketchbook, I’m gonna go with 40 sheets of A6 papers. That means I’ve to first cut 10 A4 papers in half, then cutting them further in half. I’ll be using my Dahle rotary paper trimmer for this job.
If you don’t have a rotary paper trimmer, you can use a cheap paper trimmer like this one:

For the price, it does quite a good job. I wouldn’t use it to cut multiple sheets at one time though. It is a great tool to have if you need to cut a thin piece of paper really quick, but it’s not made for heavy-duty cutting jobs.
If you don’t have a paper trimmer, use a box cutter or a pair of scissors.
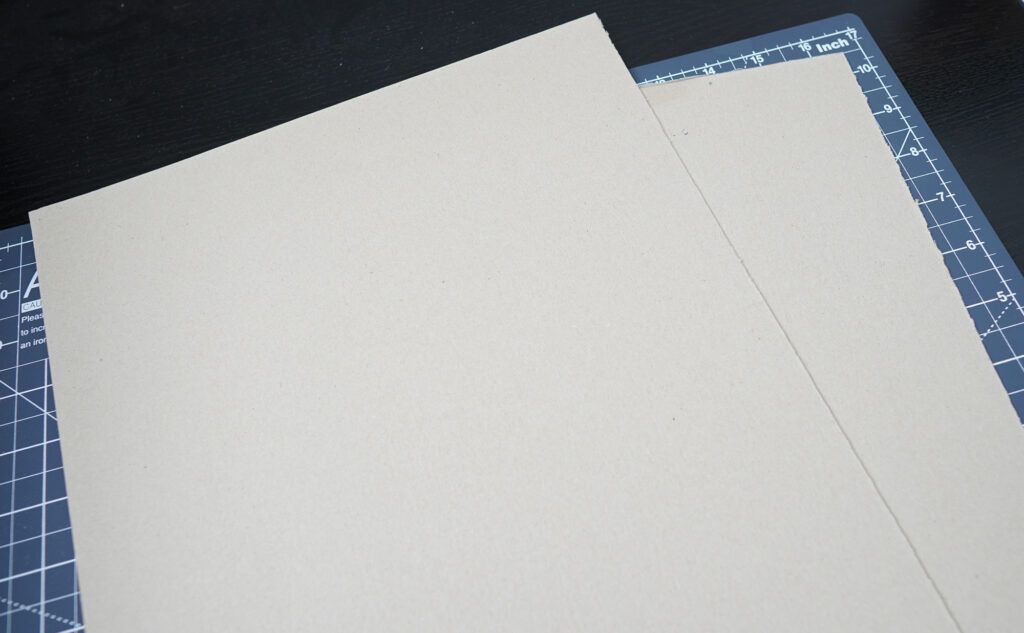
Cutting the chipboard
Your sketchbook needs a front and a back cover. So you need to either buy pre-cut chipboard that’s already in the size of your sketchbook or you could buy a bigger chipboard and cut it to size.
If you don’t want to spend money on chipboard, you can use anything that’s accessible to you. Maybe you have a calendar with a thick cardboard backing? Use that. Maybe you have an old sketchpad? Take its back cover.
I have these cardboard back covers of my old sketchpads that I never threw away so let’s use them.
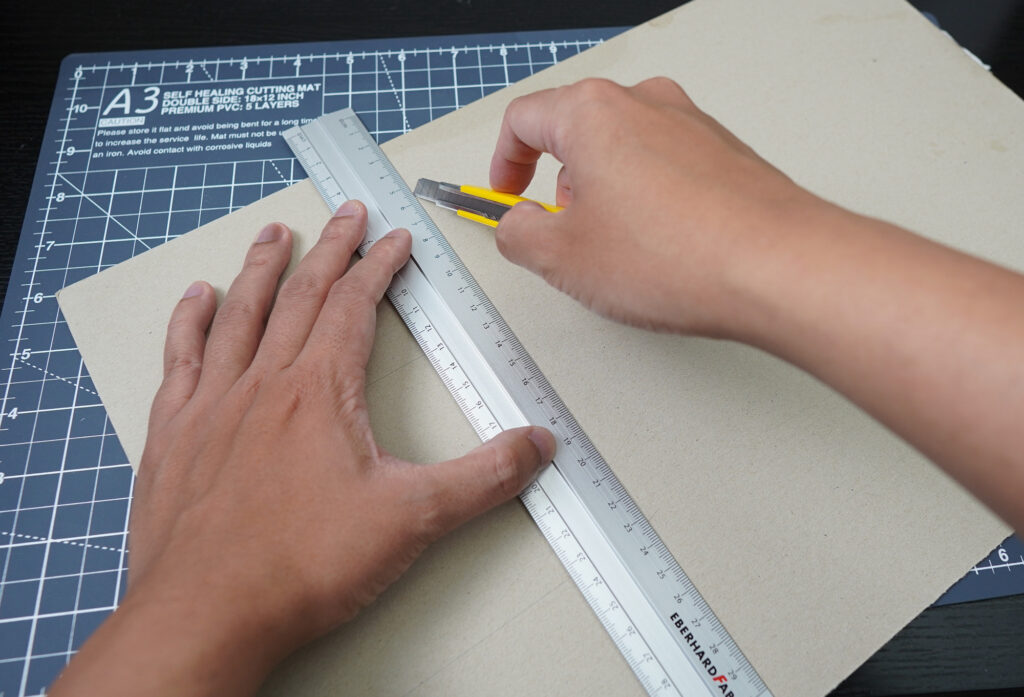
I don’t want to risk damaging my rotary trimmer so I’m going to use a box cutter to cut it. If your trimmer can handle thick chipboard, go ahead and use it.
Some sketchbooks have covers that are slightly bigger than their interior pages. If you prefer it that way, just cut your covers slightly bigger
Cutting the vinyl sticker paper
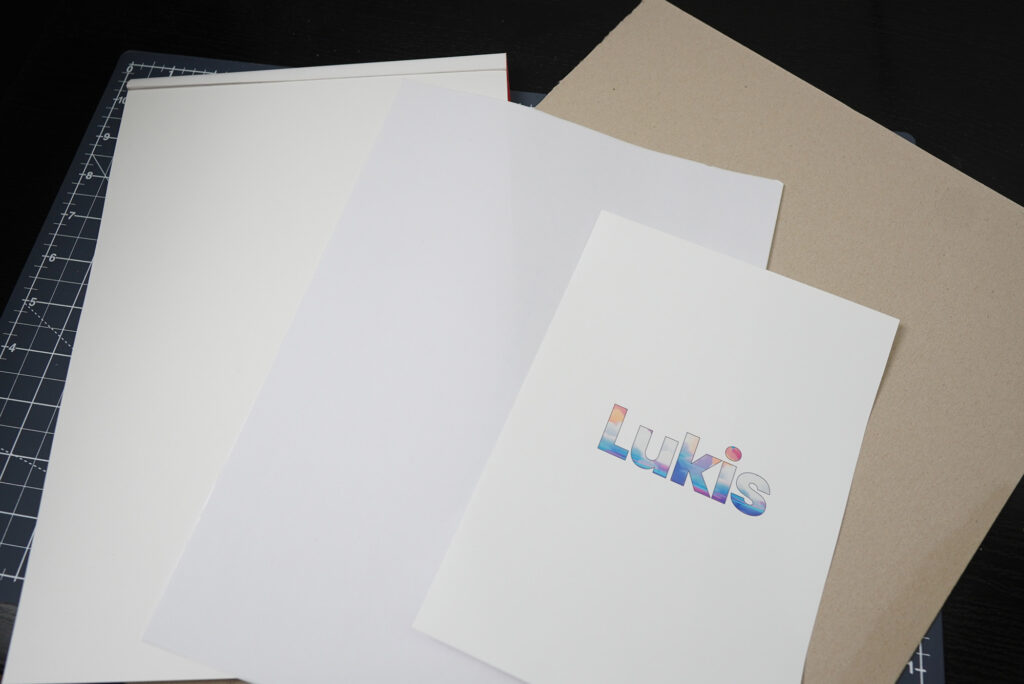
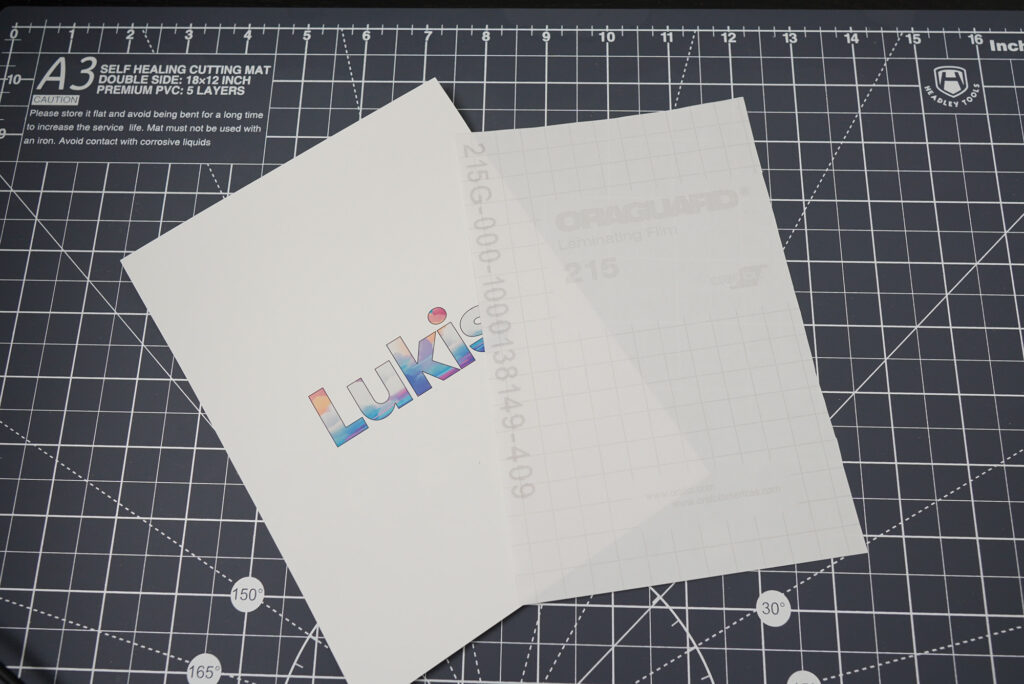
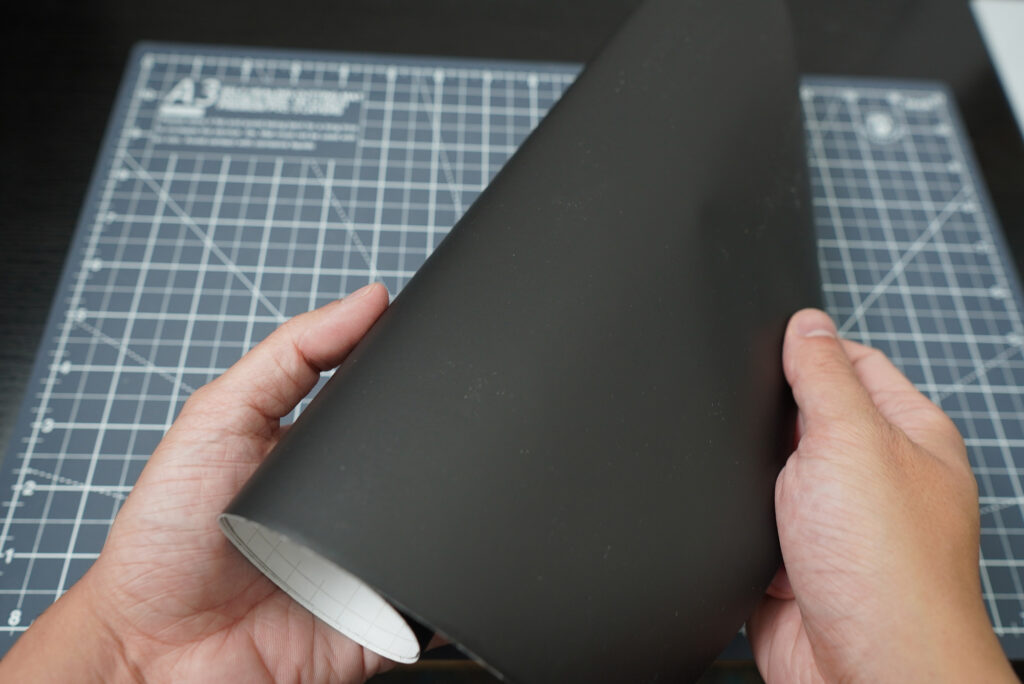
To protect the cardboard covers from fraying, you want to cover them. You can glue book cloth or faux leather to them if you want, but I’m going to use printable matte vinyl sticker paper for that. This way, I can print my own design on it, making my sketchbook more unique and personal.
Make sure to print your design on a slightly bigger vinyl sticker paper. In my case, I’m printing my design on an A5 sticker paper. I’m going to leave the back cover blank so I’ll just print my design on one sticker paper for the front cover. Click here if you want to know how to design the text.
After printing, you want to laminate both sticker papers to protect the surface. The easiest way to do this is to cold laminate them using transparent vinyl sticker. I’m using Oraguard 215 but you can get one from any brand. You can even use matte transparent vinyl sticker if you prefer, for the example the transparent Oracal 631.
You don’t want the laminate to be too thick though, since it would be harder to fold. If you don’t want to print anything, you can just use any vinyl sticker. Perhaps a matte black vinyl sticker for a minimalistic, cleaner look?
When you’re done, cut the sticker paper so that there will be a border of about 20 mm all around the cardboard cover.

Cutting the white sticker paper
The white sticker paper is meant to be the lining on the inside of your book covers. You want to cut the paper to be smaller than the cover, but big enough so it could still cover up the folded over vinyl sticker paper.
You don’t even need sticker papers; you can achieve the same thing by gluing a copy paper to the inside of the cover. Although it does make things easier if you use sticker papers.
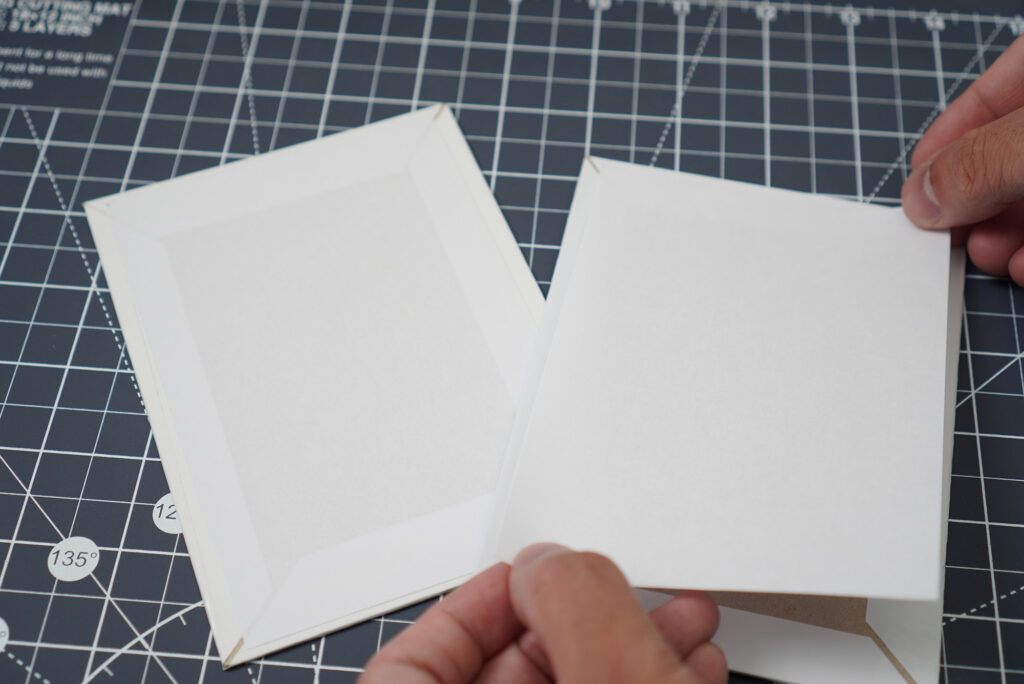
Step 3: Making the front cover and the back cover
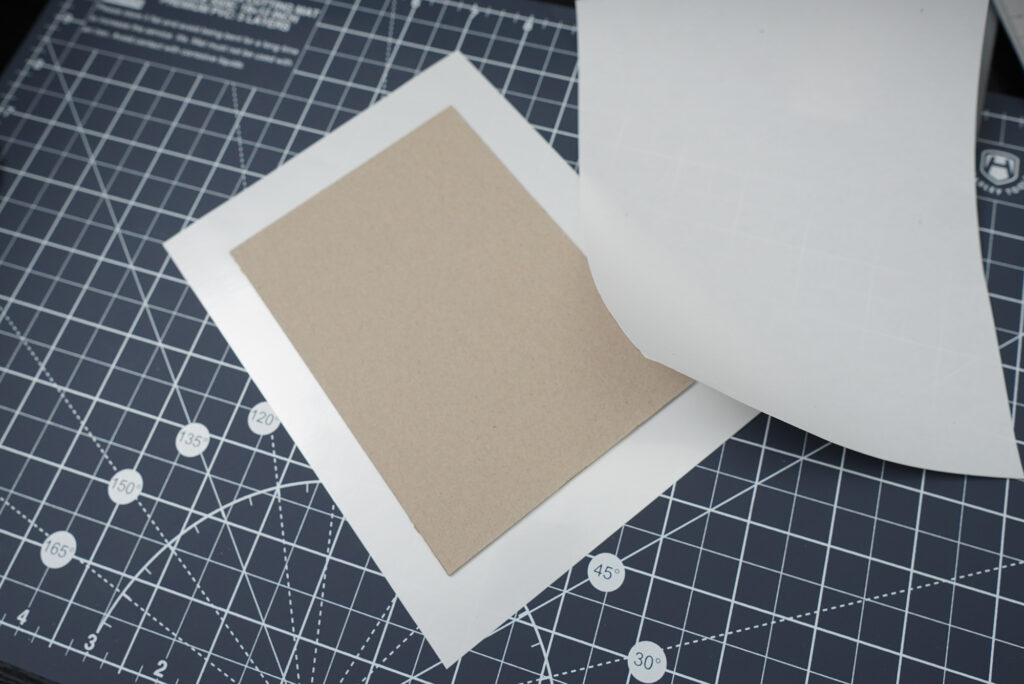
When we have all the parts for the covers ready, we can now adhere the vinyl sticker paper and paper lining to them. Let’s start with the front cover.
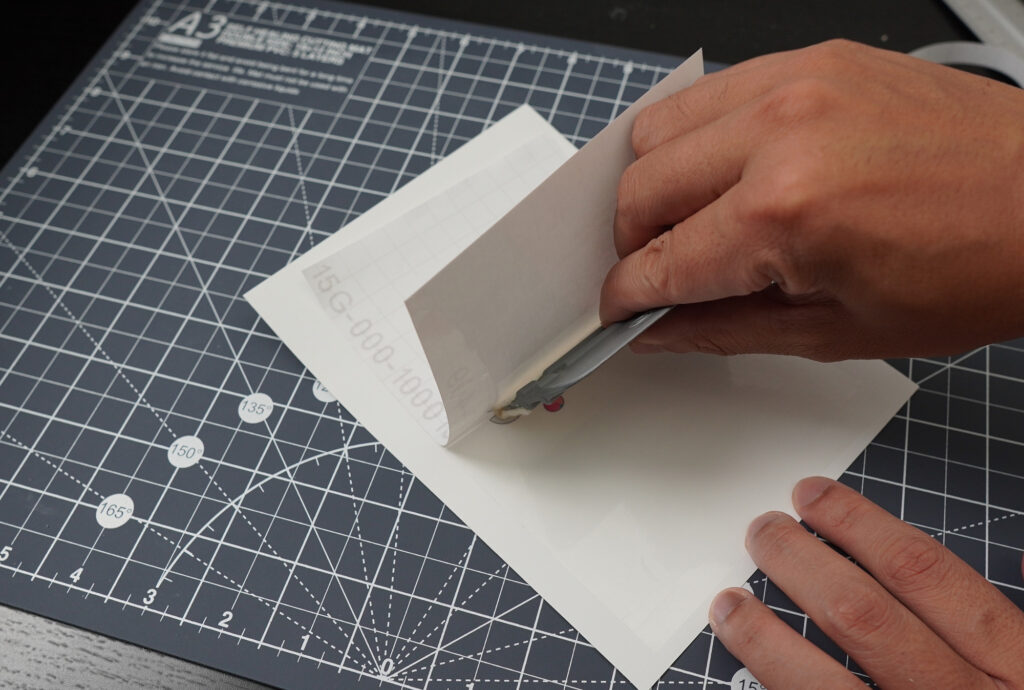
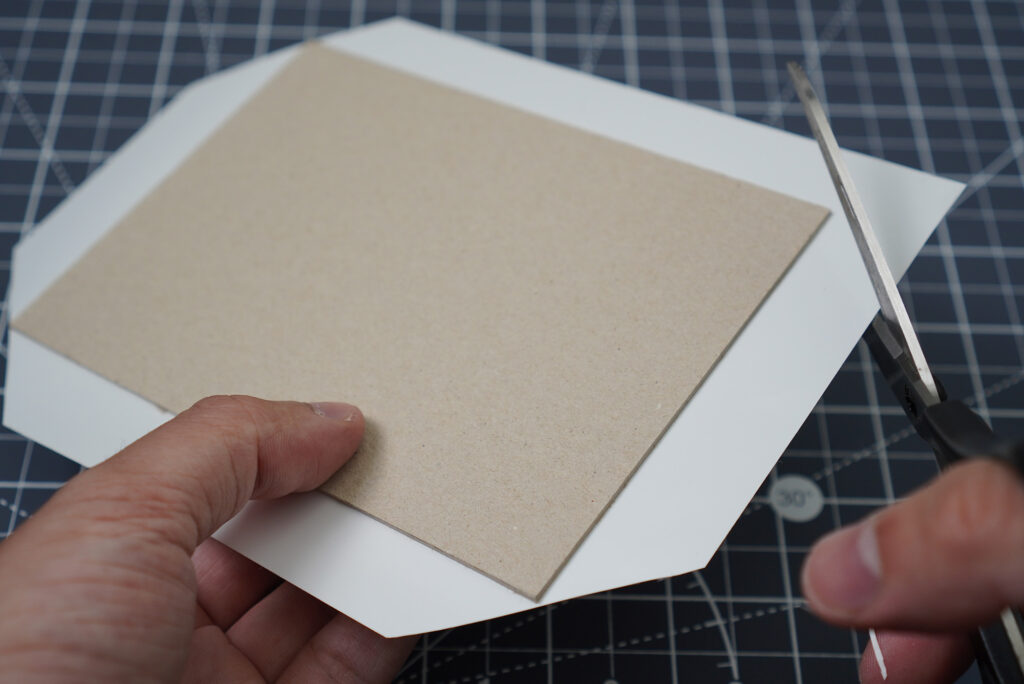
Peel off the backing of the vinyl sticker paper. Lay the sticker paper on a flat surface, adhesive side facing up, then carefully place the cardboard on it. Now you want to cut the corners of the sticker paper diagonally with a pair of scissors.
Fold the sticker paper over the cardboard until all edges are covered. You can use a bone folder to tidy things up.
Next, peel off the backing of the white sticker paper and stick it to the inside of the cover.
Do the same thing for the back cover, and you are now ready for the next step!
Step 4: Punching holes
Now comes the fun part! We are now ready to punch holes with our machine. My machine makes square holes (I prefer them over round holes). It comes down to your personal preference, really. The Multi Cinch can even punch different hole shapes including the heart shape!
We R Memory Keepers Multi Cinch Kit
- includes 2 cartridges
- small and compact

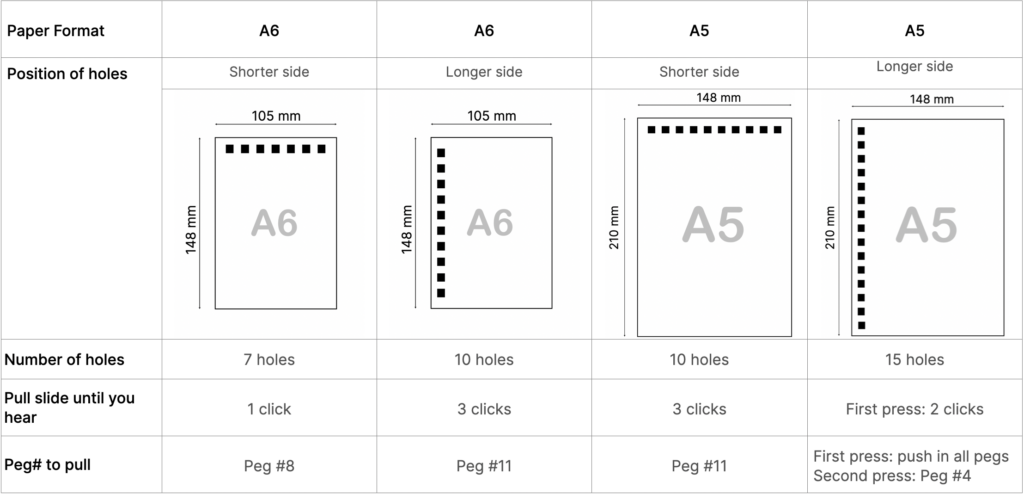
If you’re punching US format papers, just use the guide on the Cinch. It will tell you which peg you should pull or push in to get perfectly centred holes. Since we’re making an A6 sketchbook, there’s an extra step we need to take.
If we want the holes to go to the shorter side of the page, this is what we need to do:
- Pull the sliding guide slowly until you hear it clicks 1 time
- Pull peg #8
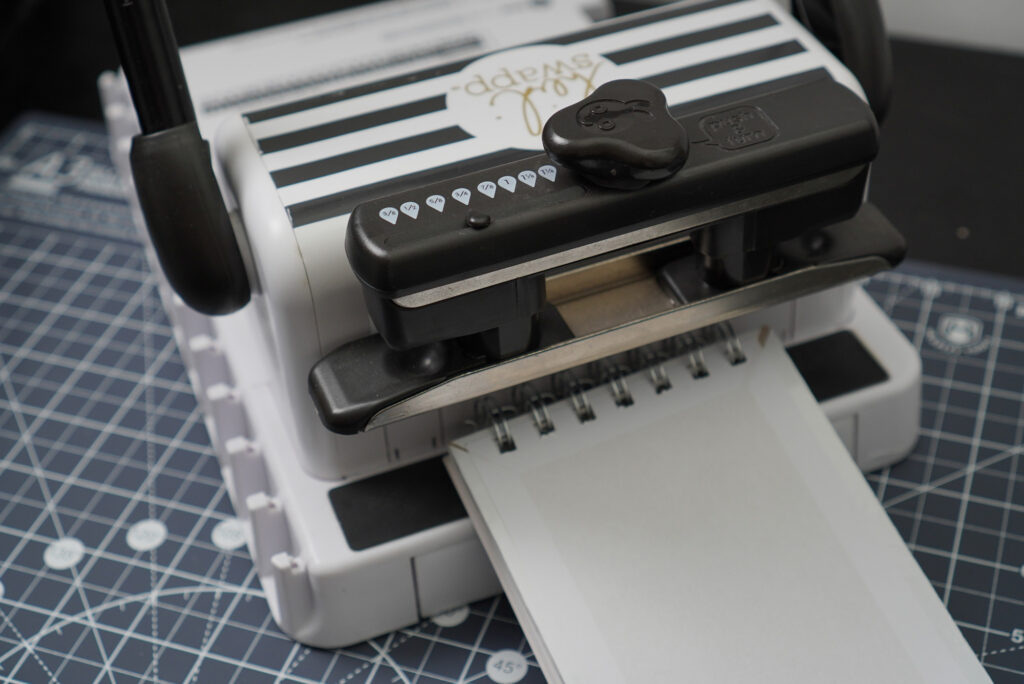
- Insert the papers into the slit of the machine
- Hold the papers so they won’t move and press the handle down
- You now have punched perfectly centred holes into your A6 pages!

But what If you want to punch the holes into the longer side of your pages? What about A5 papers? Don’t worry, i got you covered. You can refer my guide down below:
The Cinch can punch 20 pieces of copy paper at a time, but since we’re punching thicker papers, try to reduce the number of papers so you won’t break your machine! For the covers, you want to punch one cover at a time.
Step 5: Choosing the right binding wire
Wire Pitch
Since we are binding our sketchbook using the Cinch, we would need a spiral binding wire. You could either get it from We R Memory Keepers (the brand that makes the machine) or from a cheaper third-party brand. If you’re going to go for the cheaper alternative, make sure to get a compatible wire.
How to know if a wire is compatible with your machine? For that, you might want to know a little bit more about binding pitch. Binding pitch refers to the spacing of the holes.
The Cinch is a 2:1 pitch binding machine. 2:1 binding pitch means that the machine can punch 2 holes per inch. So make sure you get a 2:1 wire! A 3:1 or a 4:1 wire won’t fit in the holes of your sketchbook.

Wire Diameter
To choose the correct wire diameter, you need to know the final thickness of your sketchbook. So it makes sense to plan it ahead of time. Don’t forget to take the measurements of the covers into account too.
There are many wire sizes available, but keep in mind that The Cinch can only work with binding wires of up to 1 ¼” (32 mm) in diameter. The Mini Cinch and the Multi Cinch however, can only work with 5/8” (16 mm) wires.
So which wire size should you choose? You can use the table below as a rough guide:
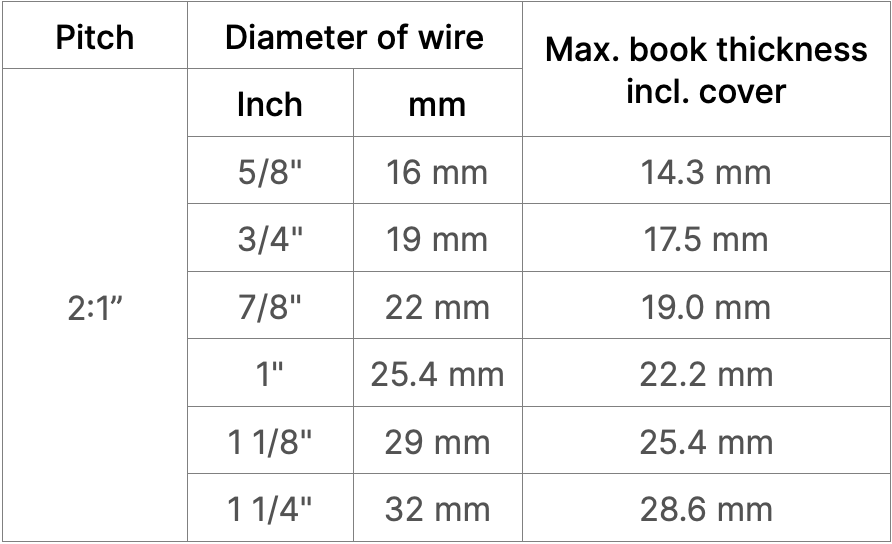
My A6 sketchbook including the covers measures a little bit over 10 mm in thickness. According to the table, i would need a 5/8″ wire, but i prefer a slightly bigger wire so lets go with the 3/4”.
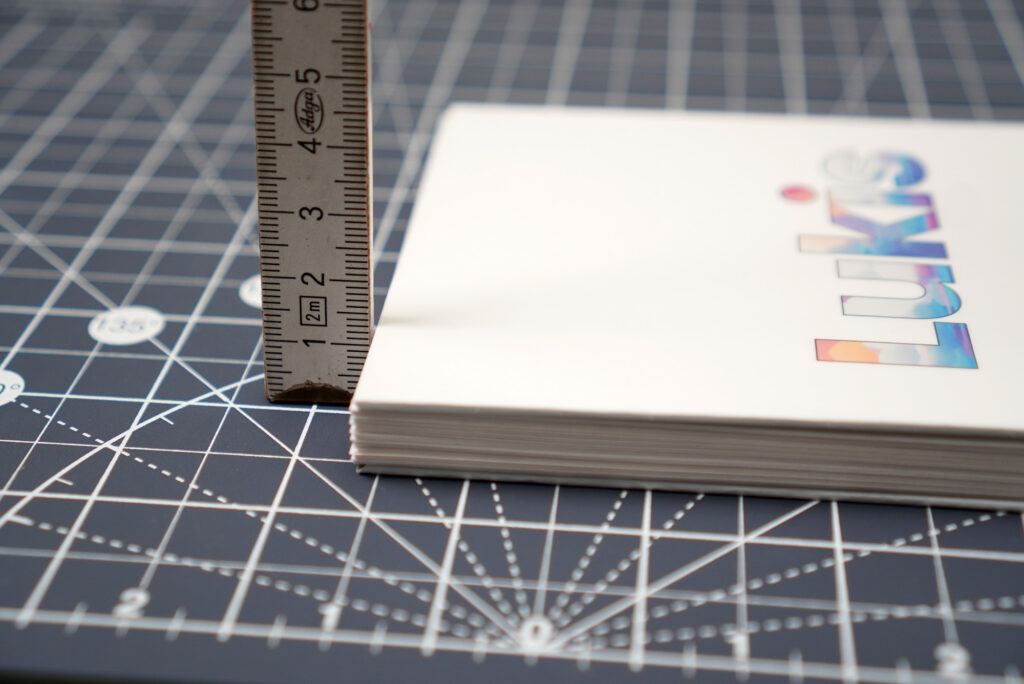
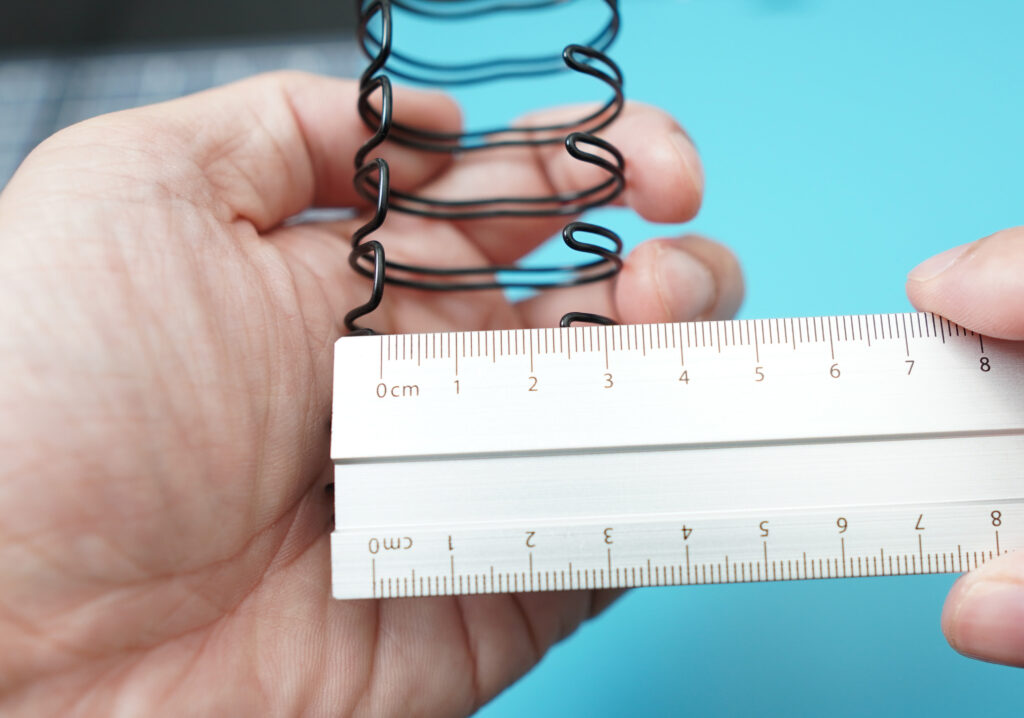
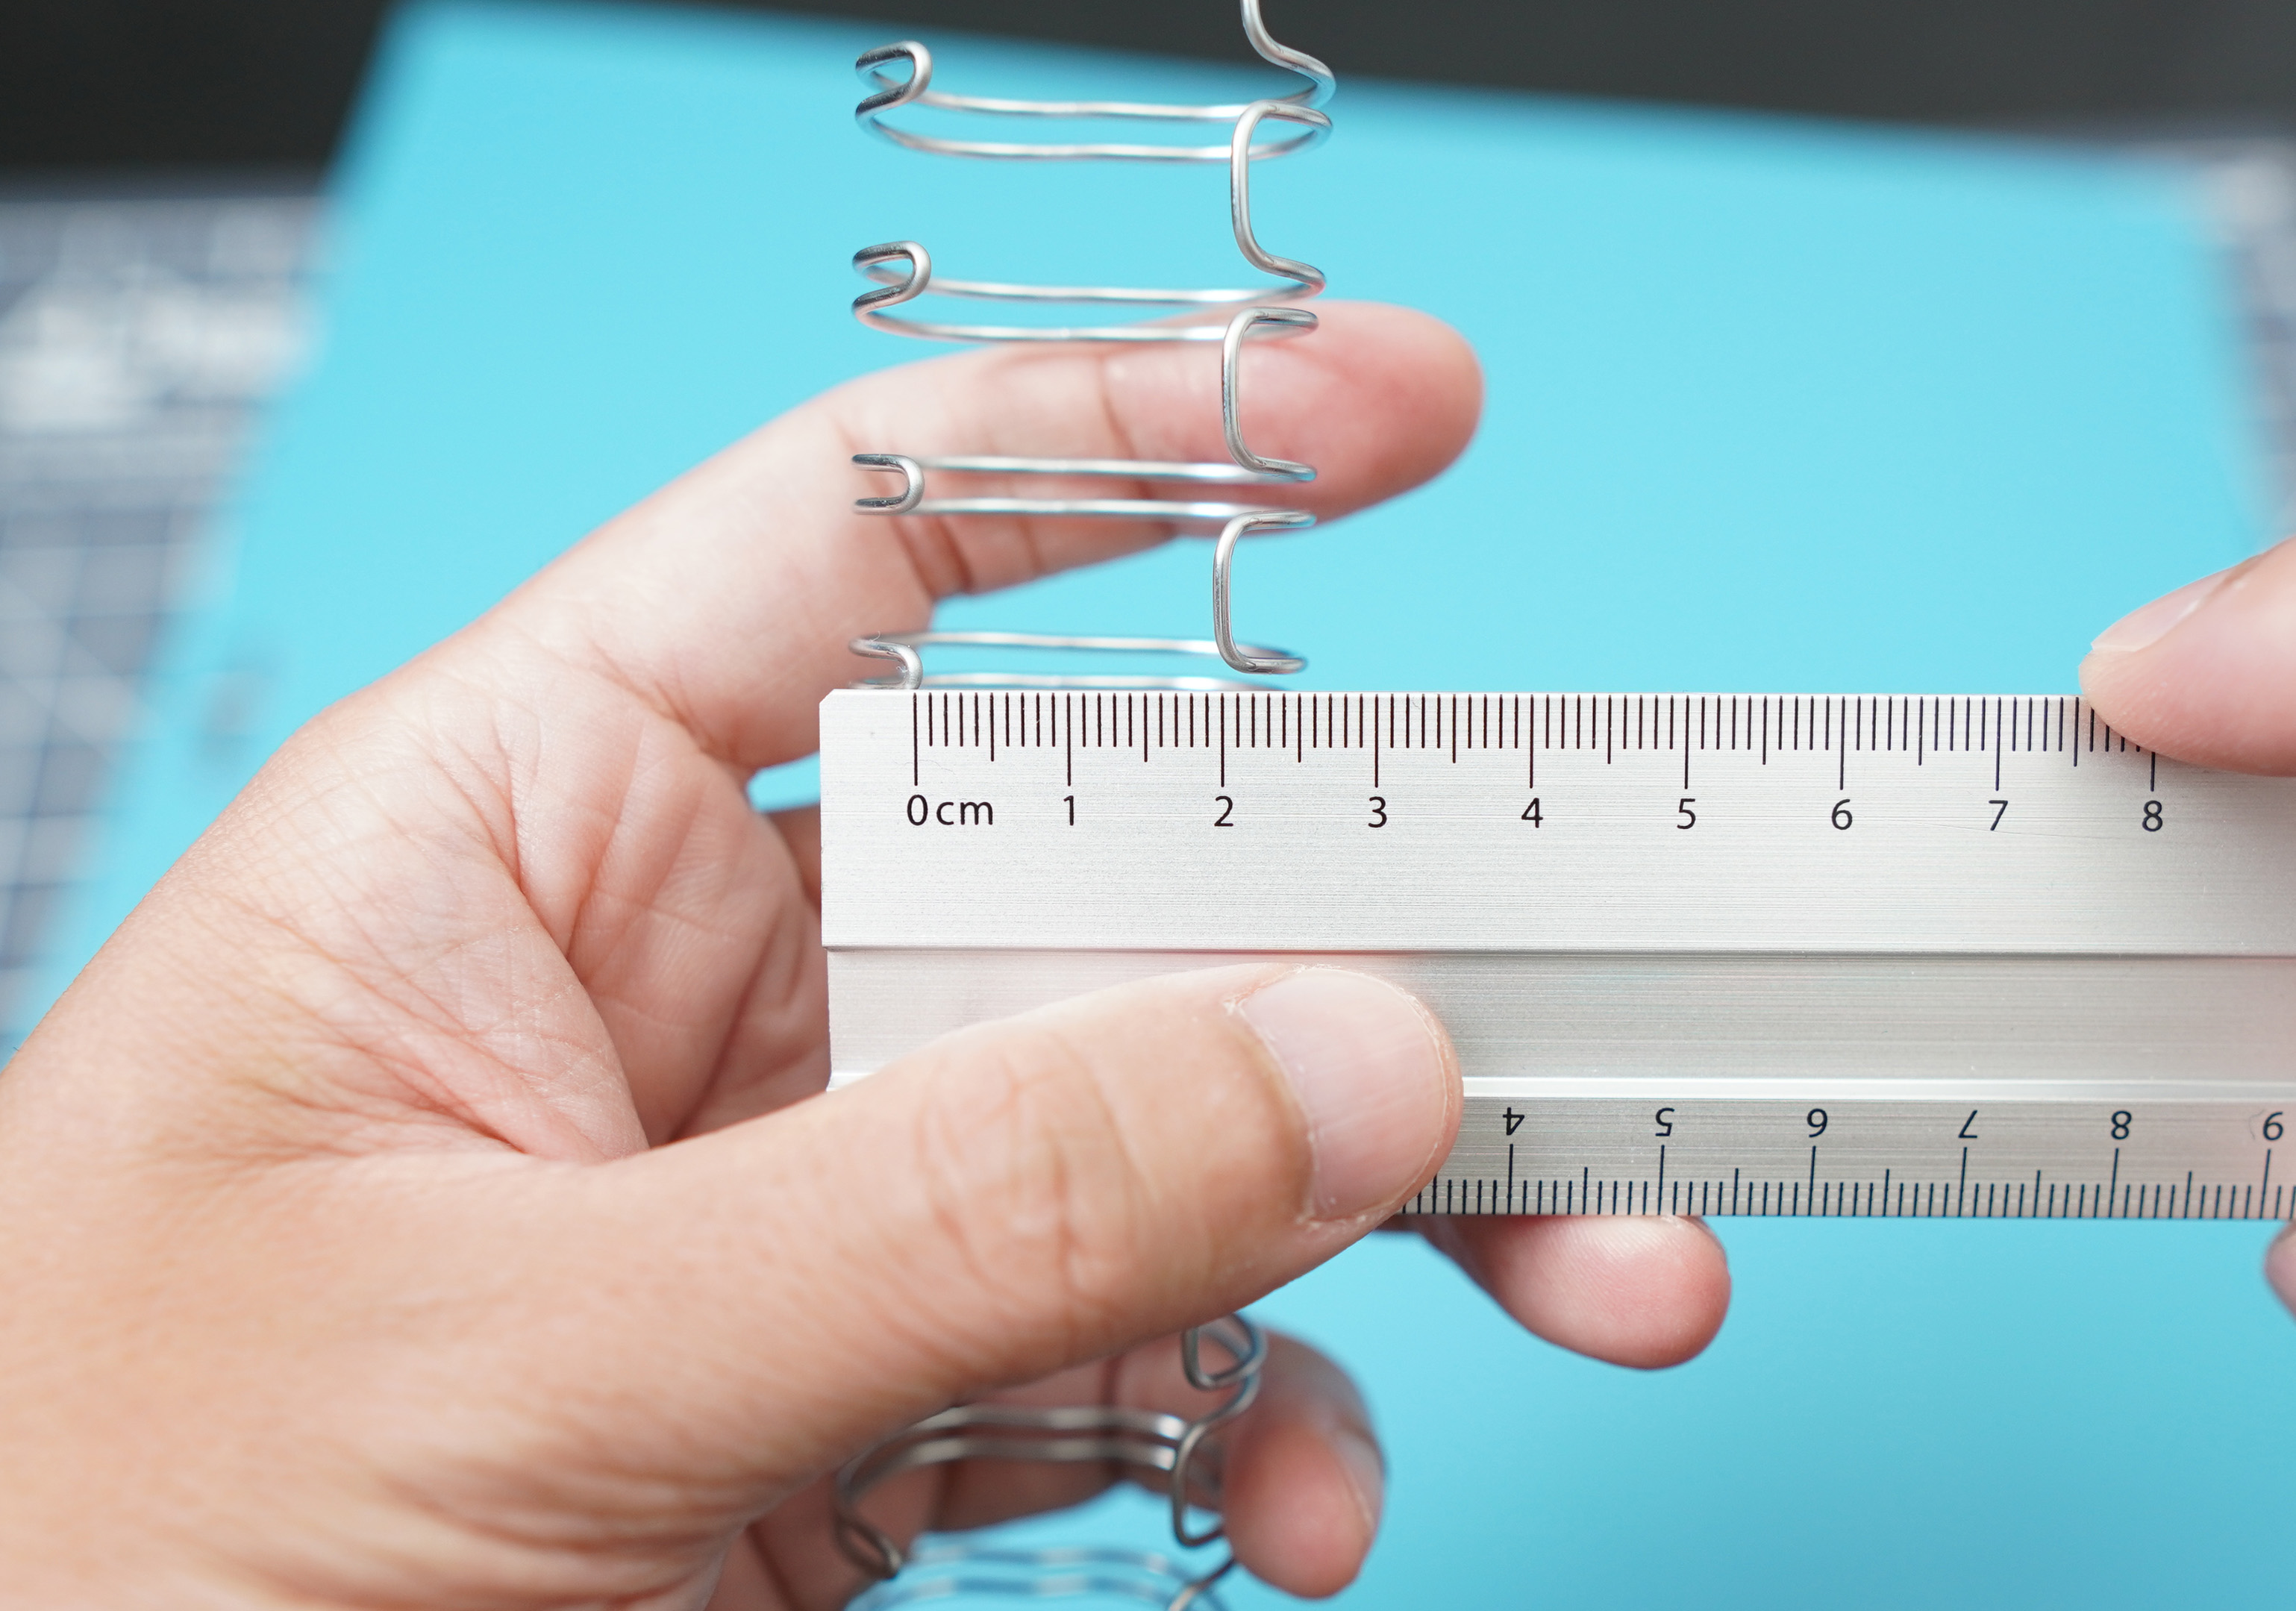
The diameter of a wire is measured when it is clamped. There’s another trick you can use to measure the diameter if the wire it is unused- Just measure the opening of the wire.

Wire length
You would normally get long wires when you buy them. Most of the time, you wouldn’t need the whole length. So you need to cut it to the correct length.
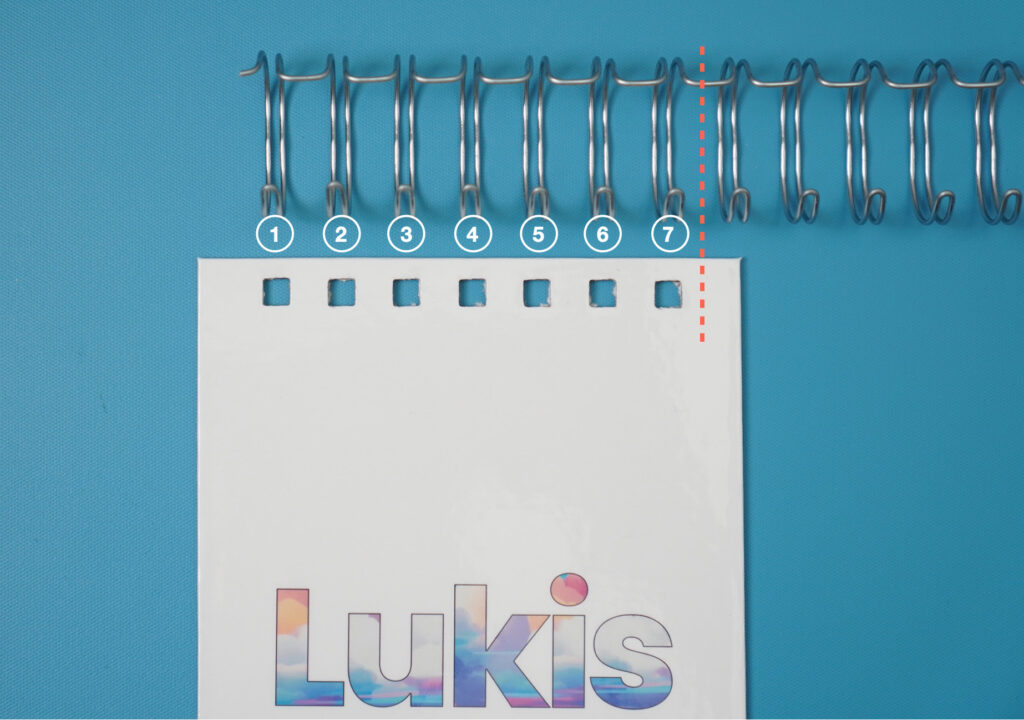
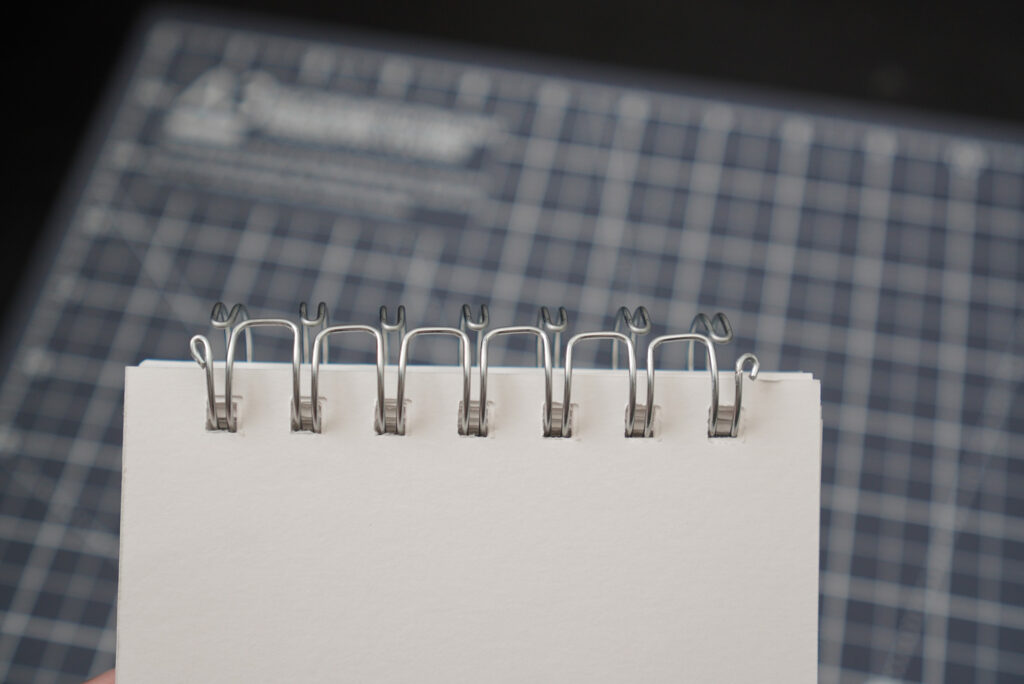
In order to do this, we need to count the holes that we just punched in our project. There are 7 holes so we’ll need 7 spiral rings on the wire, as simple as that!
Cut the wire with a wire cutter. Don’t throw the excess wire away, you can use it for your next project later!
Step 6: Binding your sketchbook
Now it’s time to finish our sketchbook and bind everything together! You can do this using the The Cinch with ease!
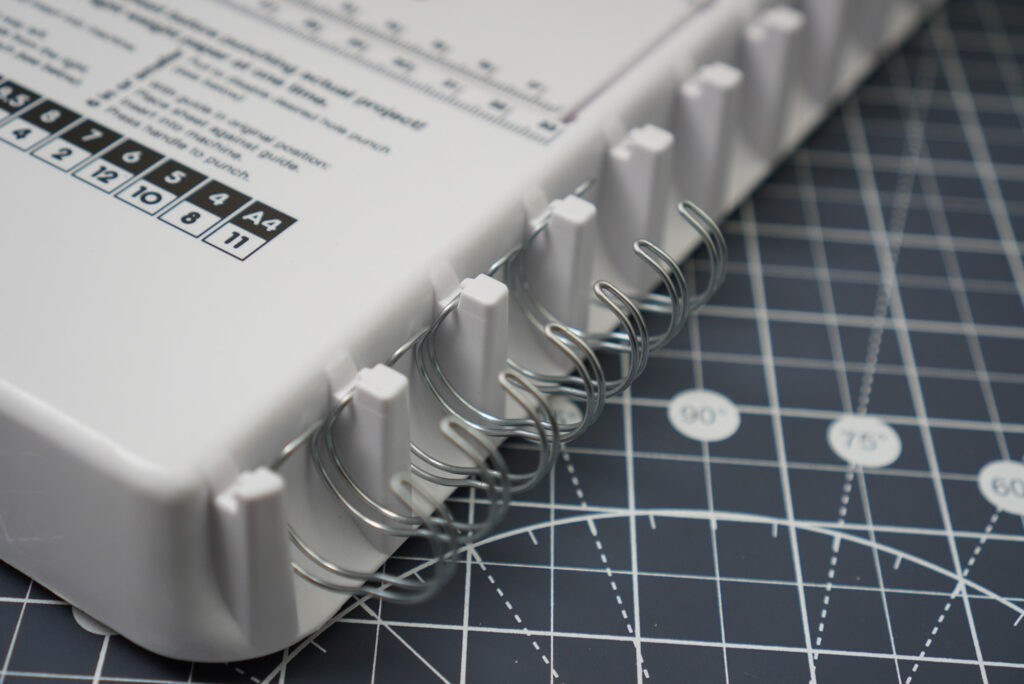
The binding wire has wider and thinner loops. You want to place the wider side of the loop on those little plastic hooks on the right side of the machine.
Now place all your blank pages on the rings. Then place the front cover of your sketchbook. You want to make sure that the front cover is facing up. Lastly, place the back cover, but this time, place it face down. This is to make sure the that the seam where the loops come together will be hidden inside of our sketchbook.
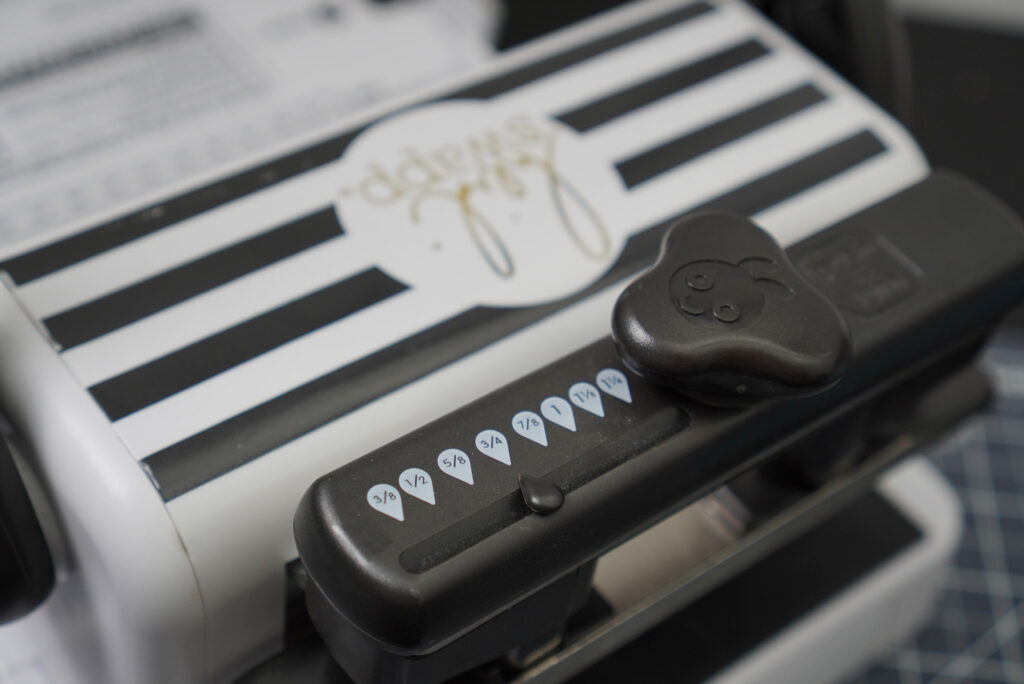
We then need to set the cinching bar to correct height. Do you notice the numbers printed on top of the bar? These numbers indicate the wire diameters. Since we’re using the 3/4” wire, we’re going to push and turn the knob until the indicator points to 3/4”. This will adjust the cinching bar to correct height.
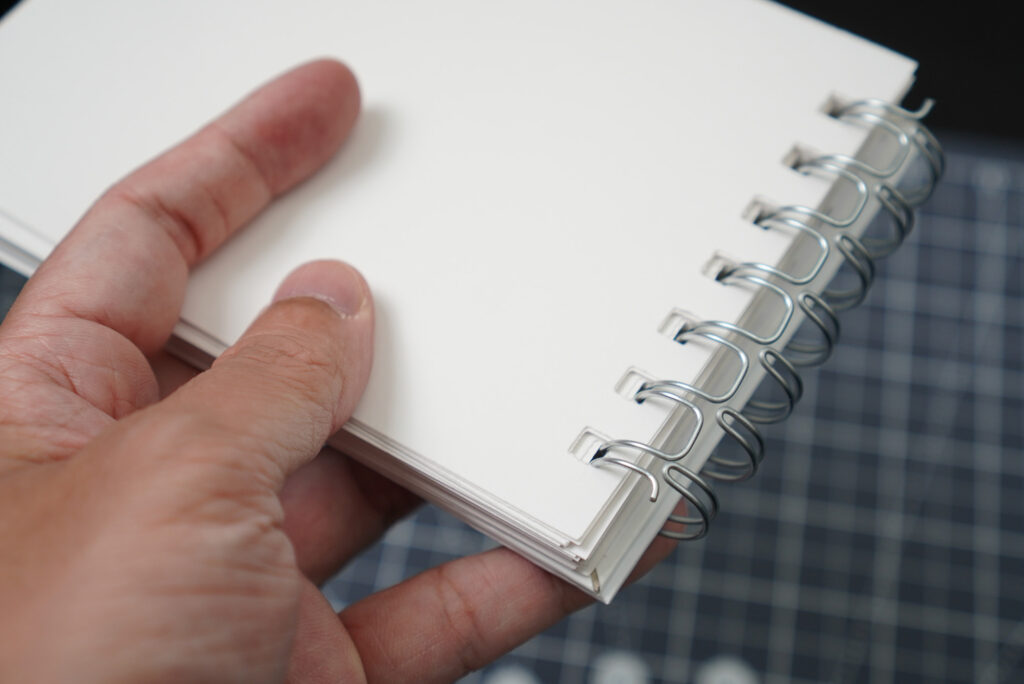
Take everything off the hooks carefully and place the wire under the cinching bar. The open end needs to be flushed with the back wall of the machine. Now slowly press the handle down. This will clamp the wire, closing the spiral rings. You now have successfully bound your sketchbook!
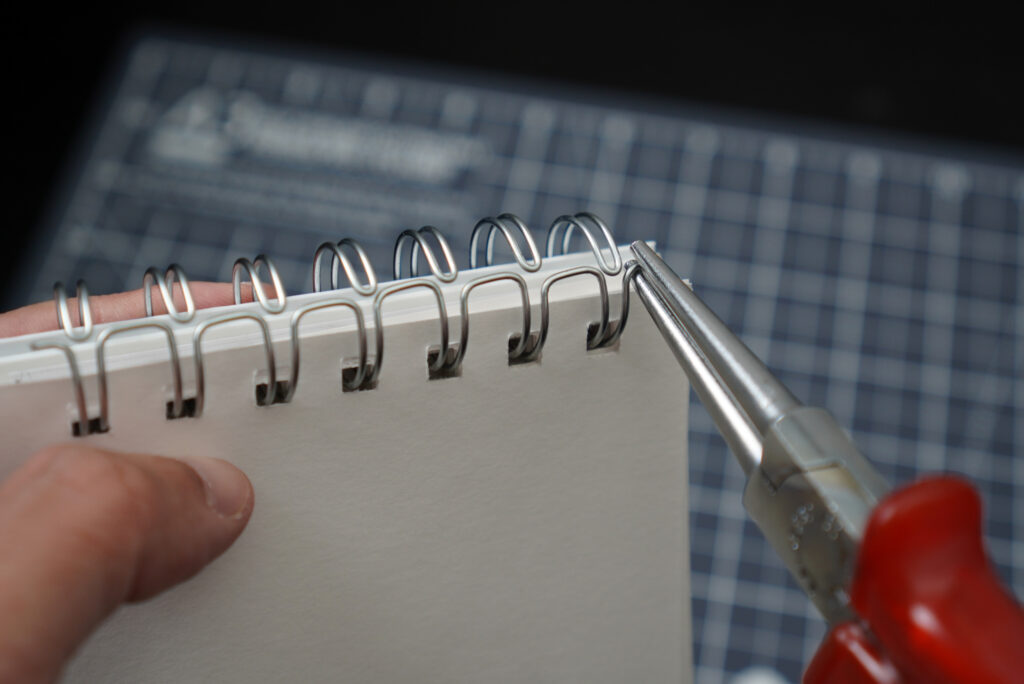
We still have one final step, though it’s kinda optional. The ends of the wire tend to be sharp and pointy – We don’t want them to snag and hook onto something. So let’s use a round-nose plier to bend the edges, rounding them off.
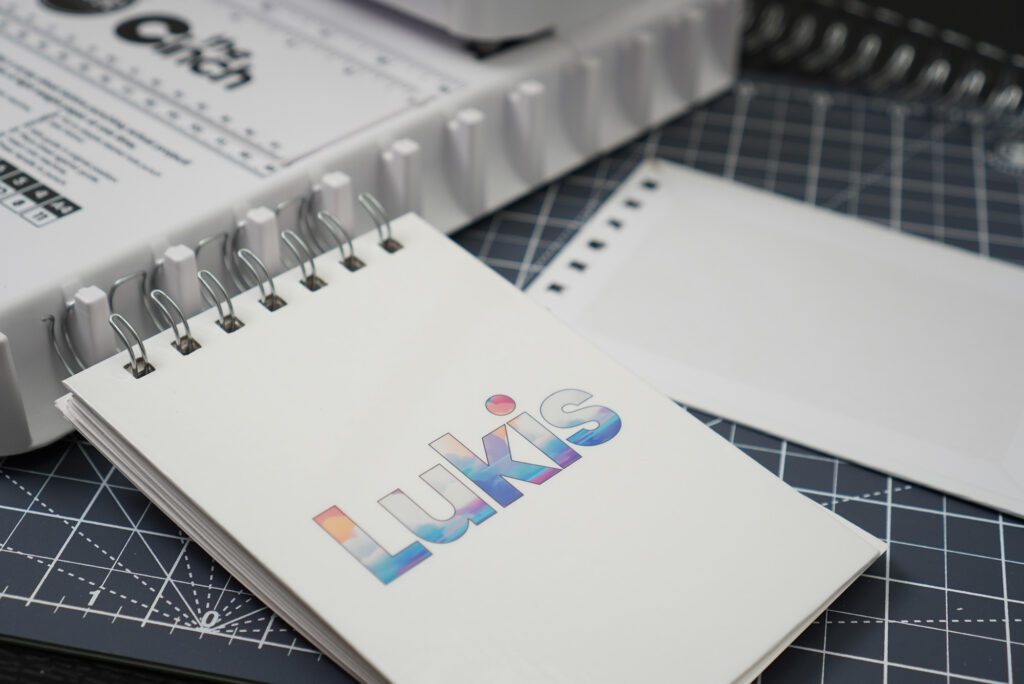
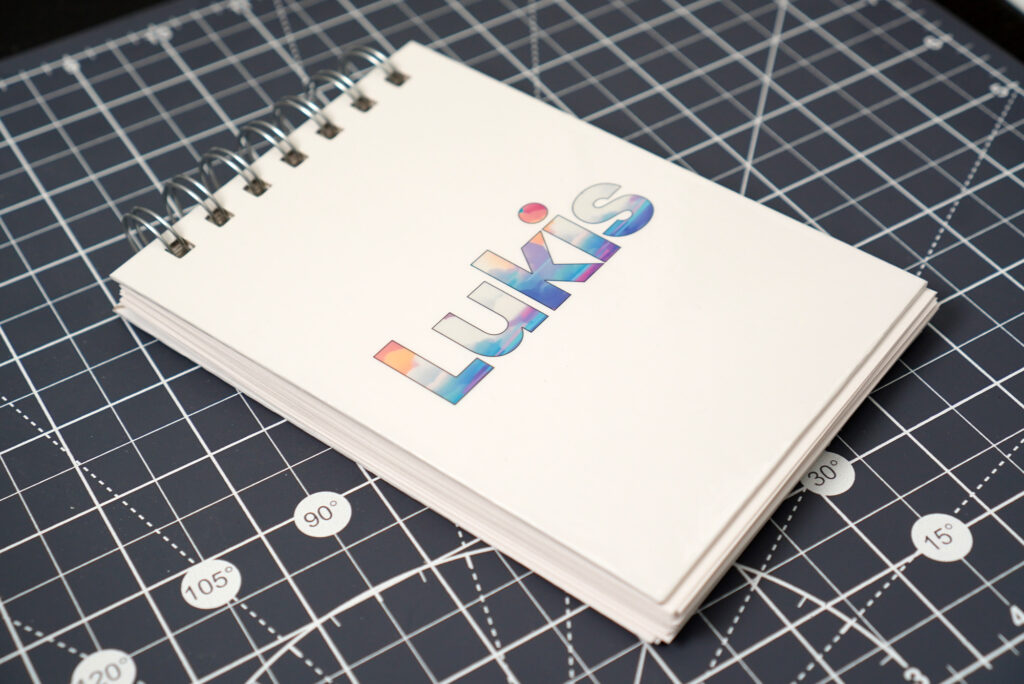
And we are done! I love how my personalised sketchbook turned out.
You can follow the same tutorial to create your own notebook, journal or even a scrapbook! I did this sketchbook in under one hour so you can certainly do it too!