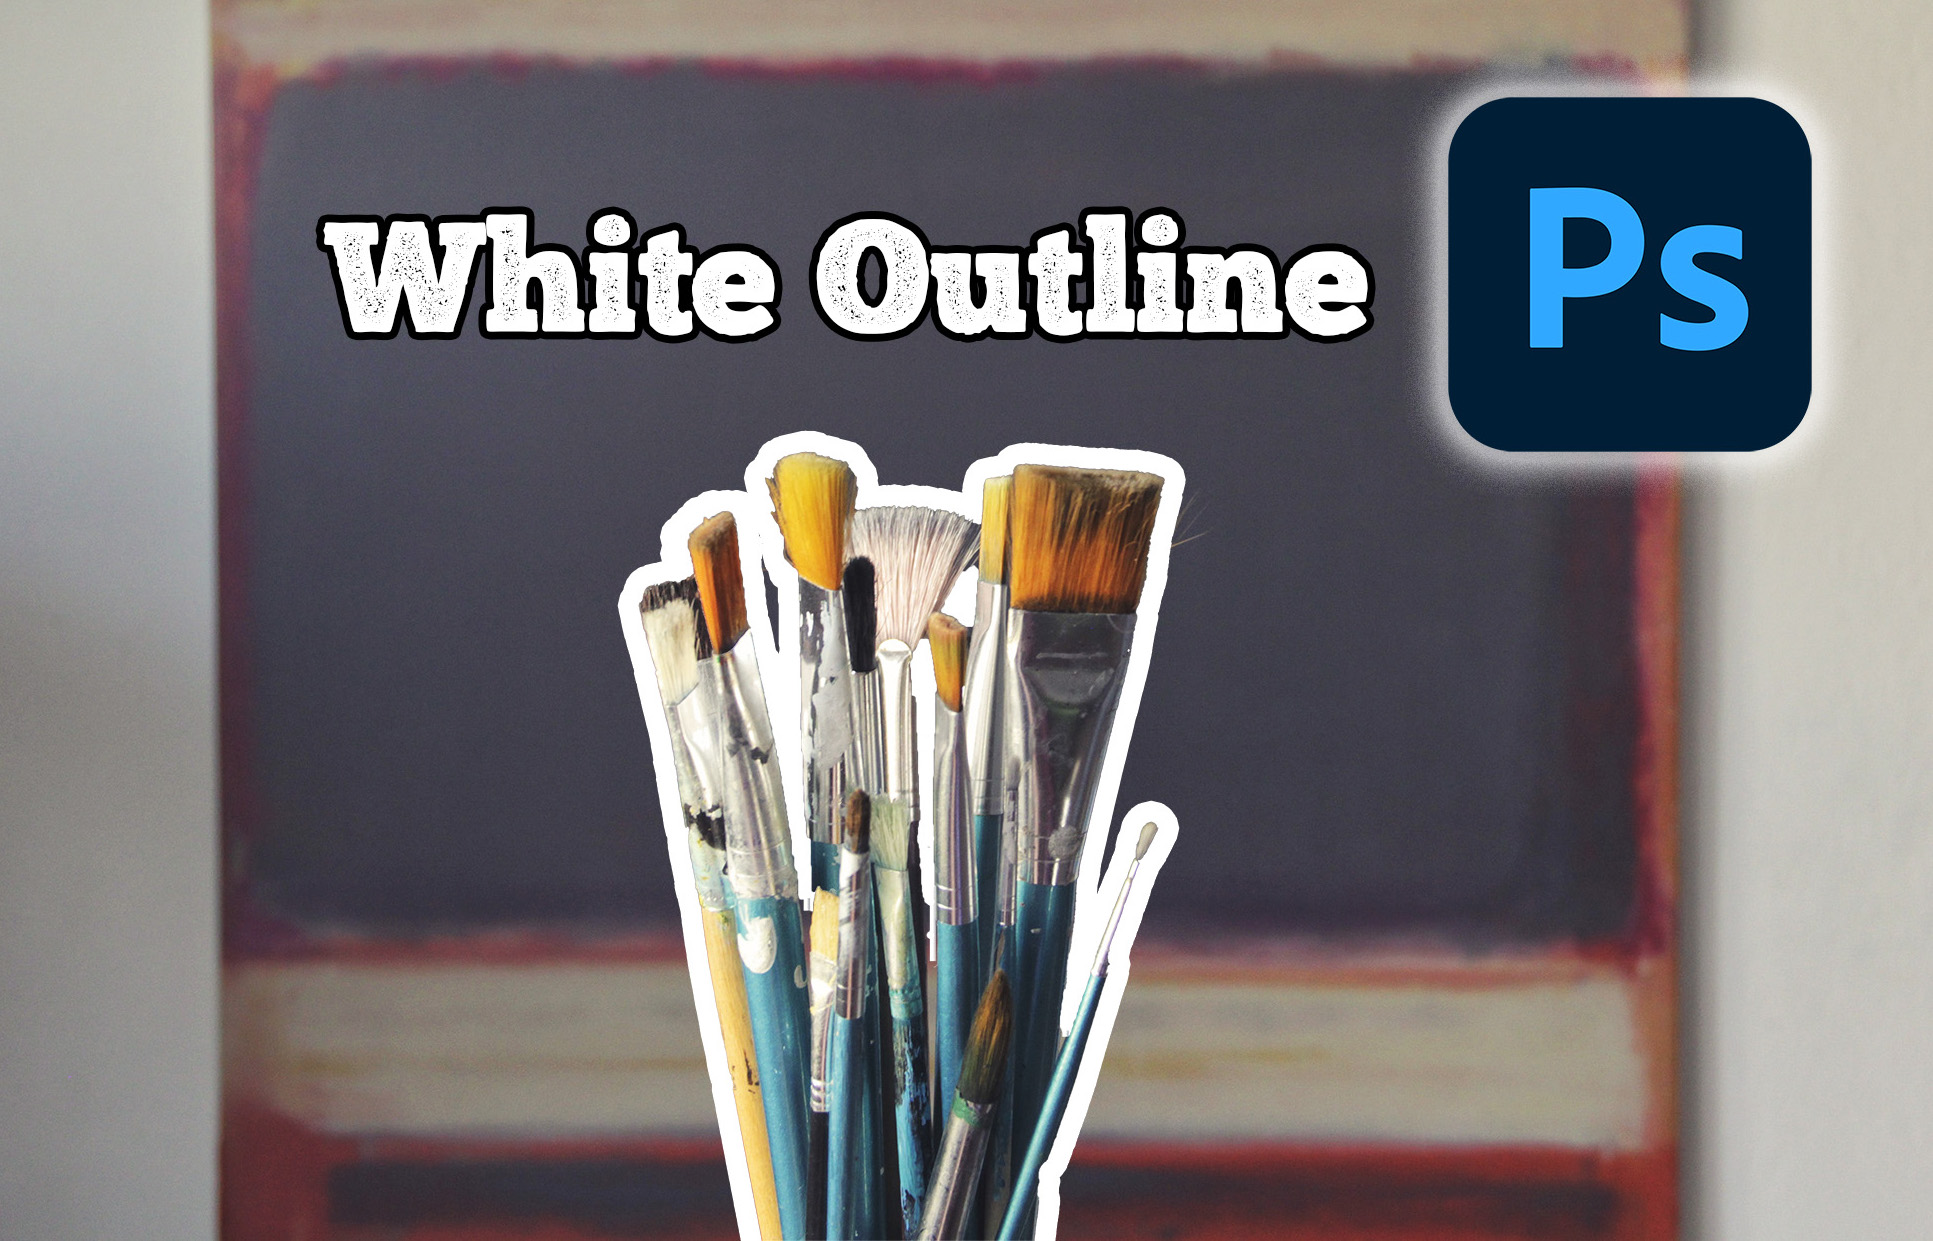
In this tutorial, I’m going to show you how to add a white outline in Photoshop to your photo and text. I will be using Adobe Photoshop CC, which is the subscription-based version of Photoshop. You can get it here:
So let’s get started!
Table of Contents
How to add a white outline to a subject in a photo
Adding a white outline to a subject in a photo is a great way to highlight or emphasize that certain subject. If your photo has too many things going on in the background, adding a white outline will separate your subject from the background and make it pop and stand out more. It will draw the viewers attention to your subject.
let’s say if you’re creating a thumbnail for your YouTube video or a featured image for your blog, you might want to consider giving this a go.
For this part of the tutorial, let’s use the sample picture of paint brushes and add a white outline to them. I’m going to show you how to do it step-by-step.
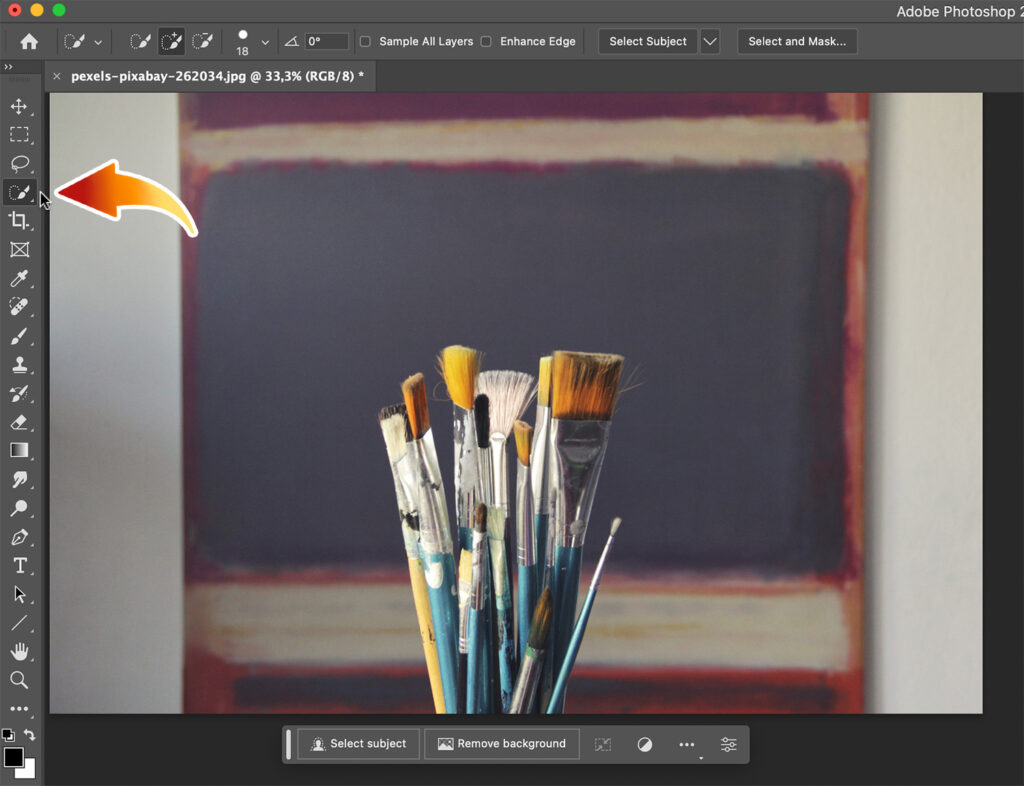
Step 1: Selecting the subject
First, you want to select your subject. If you’re using the latest version of Photoshop, a small window automatically pops up right after you’ve imported your photo. Simply click on”Select Subject” and the program will automatically select your subject.

If you don’t see this window, just click on the Quick Selection Tool on the left tool bar.
Sometimes it selects some other objects around it, so to fix this, click the Substract- option in the Option Bar to get rid of the objects in the background that we don’t want. Click an object to deselect it or you can click and drag to deselect multiple objects at the same time.

To reselect, use the Add+ option.
Depending on the size of the object, you may want to change the size of the selector:

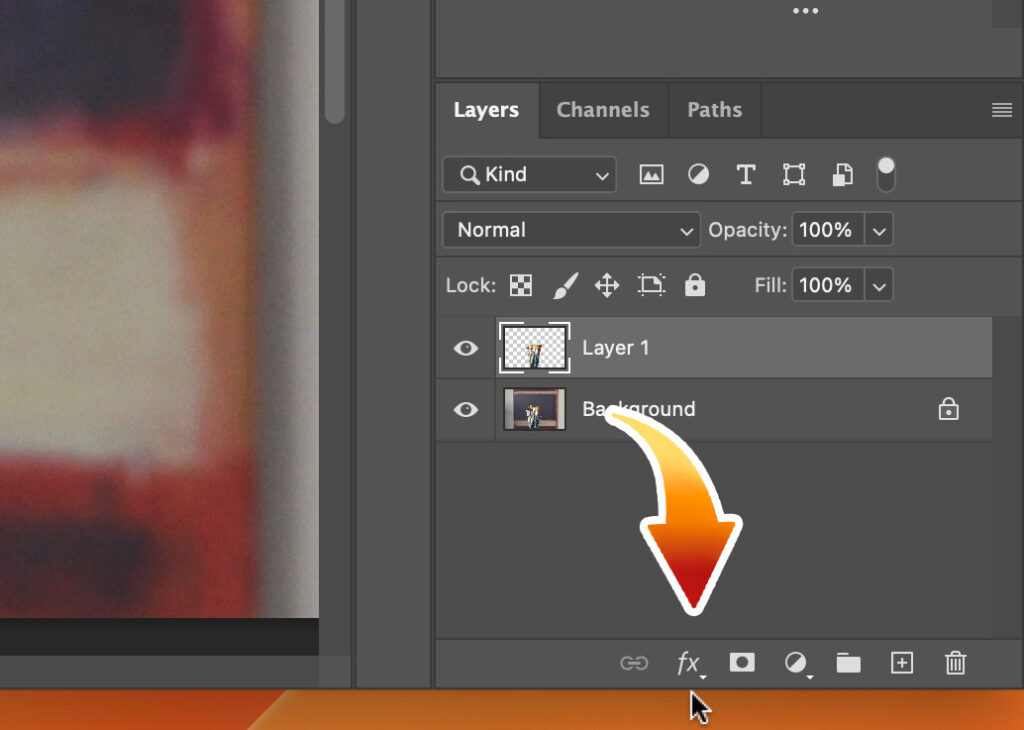
Step 2: Copying the selected subject
Once you’ve selected your subject, hit Cmd + J (PC: Ctrl + J) to create a copy of it. The copy of your subject can then be found in a newly created layer.

Step 3: Creating a white outline
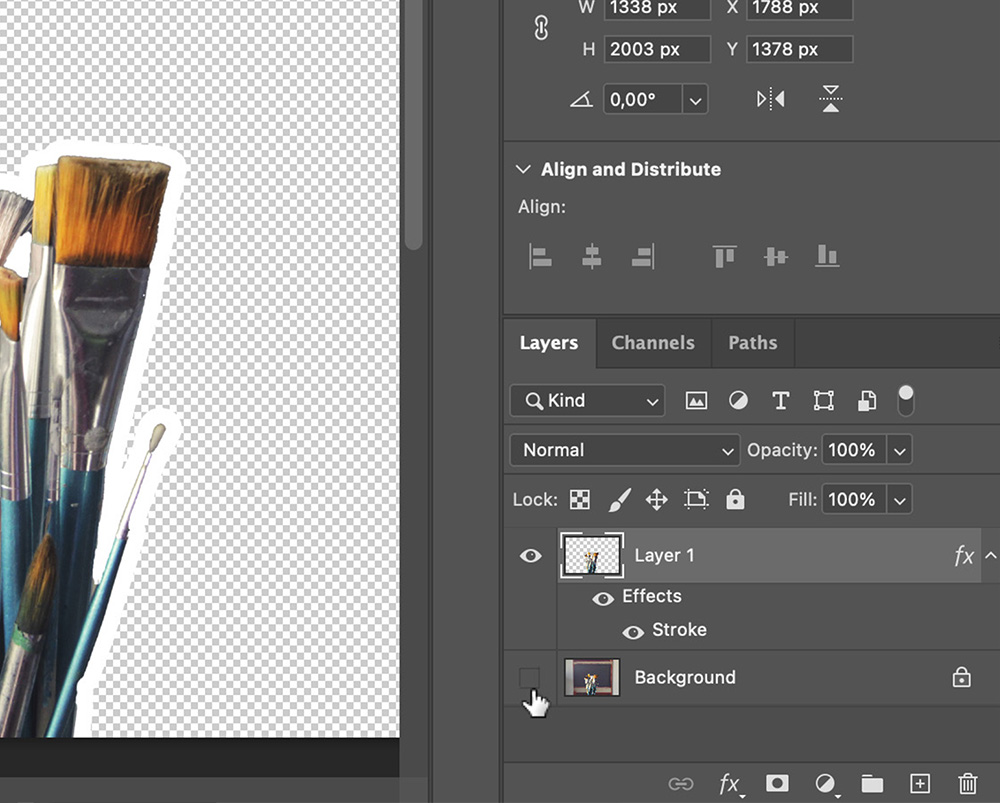
If the newly created layer is not currently selected, select it and then hover to the bottom of the layer toolbox where you can find the fx button. Click on it, then select Stroke.

A window will pop up. You can change the thickness, the color, and the opacity of your outline here. Make sure to set [Position] to Outside and [Blend Mode] to Normal.

And you are basically done! Look how much difference does that make:


Bonus Tips #1: Creating a Glow around your subject
If you want to be more subtle, but you still want to emphasize your subject, you can try to add a white glow around your subject instead. You can simply do this by selecting “Outer Glow” instead of “Stroke”.


Bonus Tips #2: Exporting your subject as a backgroundless PNG image
If you do not care for the background, you can deactivate the first layer by clicking the eye icon on the right-hand side of the layer. If you’re only seeing the cut-out image of your subject with a white outline, you’re on the right track.
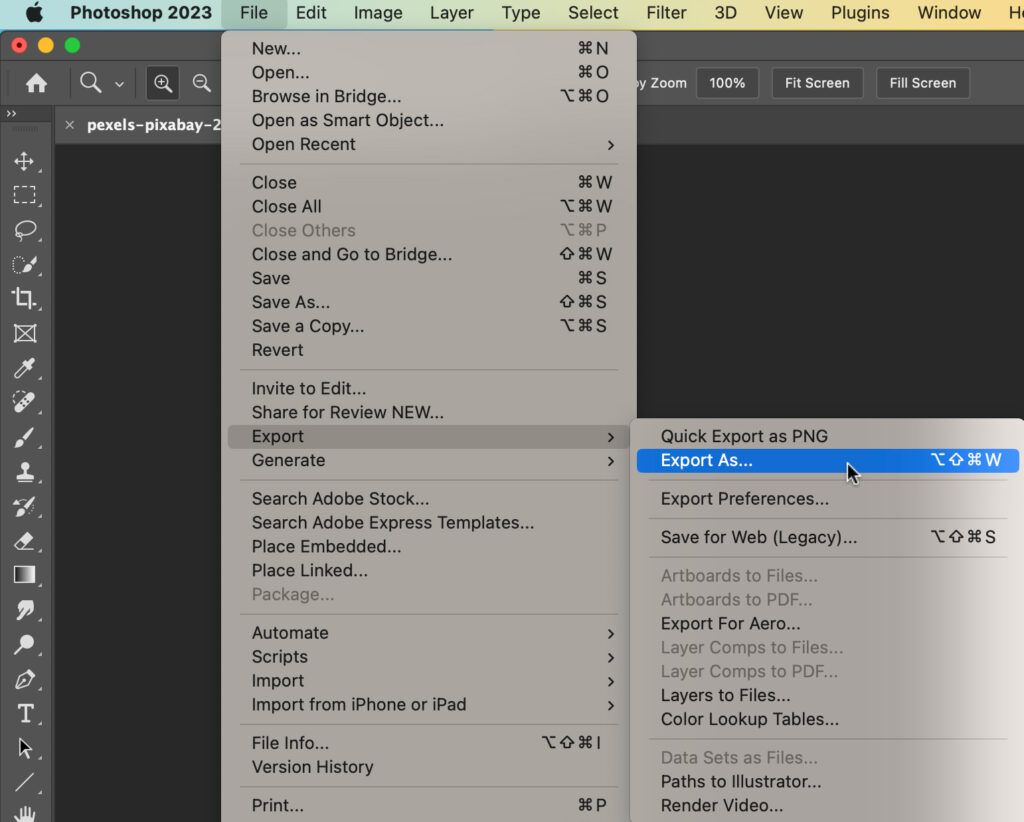
Hover to File, click Export and choose Export As and save it as a PNG file. You now have a backgroundless image of your subject!


How to add a white outline to a PNG Image
It’s even easier to add a white outline to a backgroundless PNG image. You are basically skipping the step where you need to separate the subject from the background.
Step 1: Create a white outline
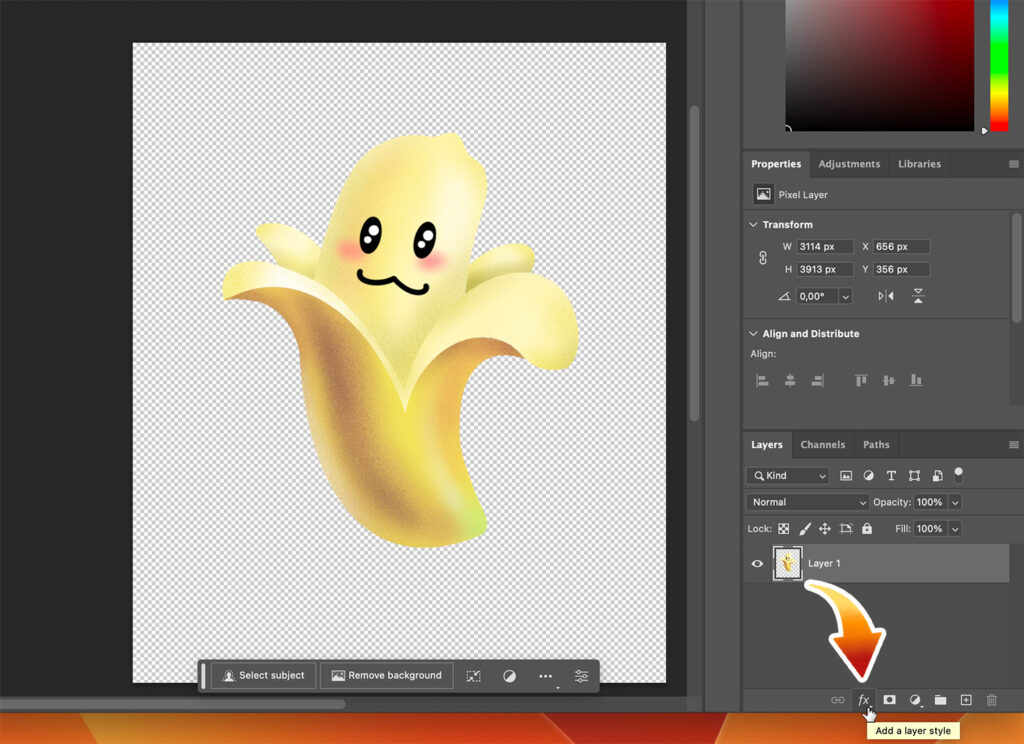
Let’s use this PNG image of a banana drawing I made on Procreate and add a white outline to it. Just like Step 3, click the fx button and select Stroke.
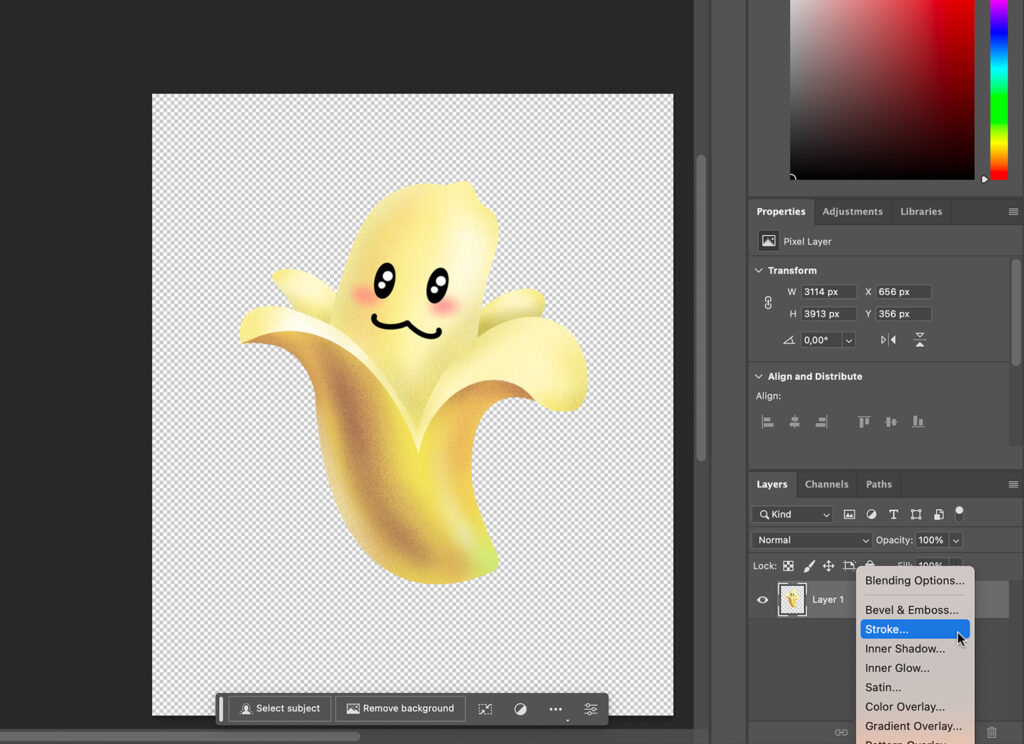
Then adjust the color, the thickness and the opacity of the stroke (I had to change the stroke color to gray so you can see the outline).


This would make a great sticker!
I like to create stickers in Procreate and add white outlines to them later in Photoshop. It’s much more intuitive to do it in Photoshop than in Procreate. While you still can do it in Procreate using a workaround, it’s still such a hassle to do it on that app. If you want to learn on how to create a white outline in Procreate, click here.
How to add a white outline to a text
You can outline a text the same way would outline a photo. To demonstrate this, let’s add the text “Paint Brush” to this photo and add a white outline to it to make it pop.
If you want to learn on how to place an image in text, click here.
Step 1: Type in text
Use the Type tool to type in your text. Simply click on the T icon on the left toolbar. You can then move it around using the move tool.

Step 2: Creating a white outline
Select your text layer if it’s not currently selected, then hover to the bottom of the Layers panel and click fx. Select Stroke and a window will pop up where you can adjust the thickness, the color and the opacity of your outline just like we did in Step 3 above. It’s that easy.
Here’s the result:

So to wrap things up, the key tool that lets you add a white outline to your subject is the Stroke tool which can be accessed from the fx menu in the bottom part of the Layers panel.