In this post, i will cover how to reduce background noise for free. If you’re not in a completely sound-proof room when you’re recording a video, the chances are, you’ll end up with a video with all sorts of background noises.
If you have a microphone that’s super sensitive, it could even pick up the ambient noise of the room or that humming noise from the fan of your computer etc.
That could be super annoying because it could easily ruin the quality of your video. You want to give your viewer the best experience when they’re watching your video without having them listen to the awful noise that may distract their attention.
Removing the background noise in your video before posting it online is simply a must. And the good thing is, you don’t need to be a tech genius to do it, and you don’t even need to spend any money!
In this tutorial, i’ll be going over how to reduce background noise for free using the free audio editing software Audacity. You can download the software here:
https://www.audacityteam.org/download
(Disclaimer: I’m not affiliated with Audacity. I find that the software is super easy to use and it is perfect if you don’t want to invest in paid softwares like Adobe Audition or Final Cut Pro.)
Table of Contents
The first thing you want to do when you’re recoding the audio is to record the first few seconds in silent so your mic can pick up the background noise.
Your background noise could be a humming sound from a fan of your computer for example. We want a clean audio without that humming sound so let’s jump right in!
Recoding the audio seperately
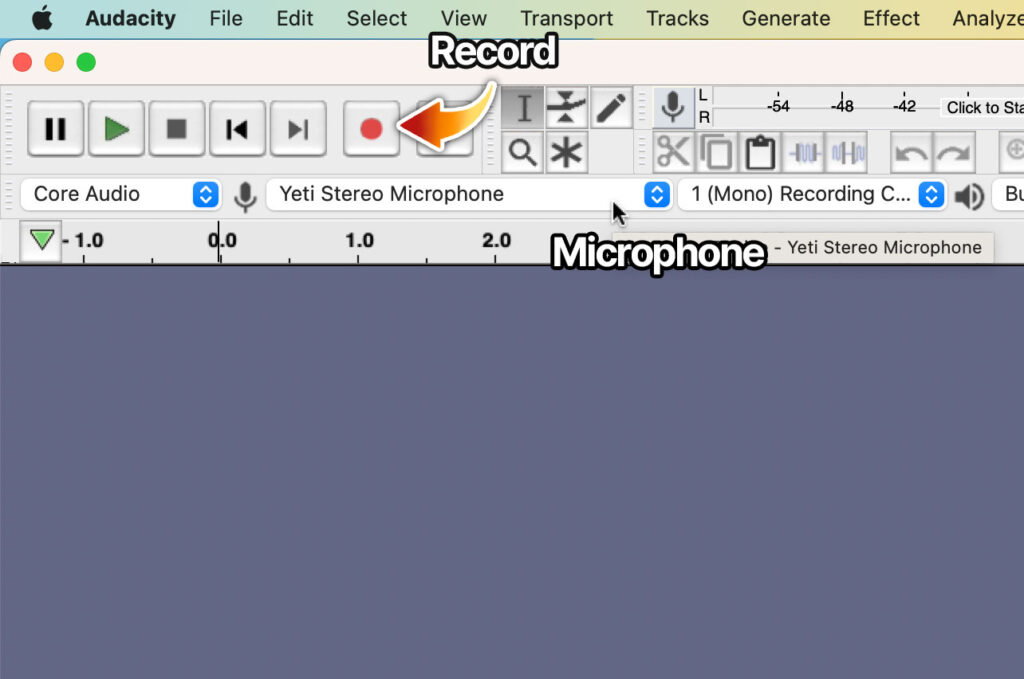
If you’re recording the audio separately, you can even use the Audacity software to record your audio. Just make sure to select the correct microphone, if you’re using an external microphone, before recording.
Just hover to top bar where you’ll see a microphone icon. Click the drop-down list next to it and select the microphone you want to use for recording. To start recording, simply click the record button and click the stop button to stop recording.
You also have the option to record your audio in Mono or Stereo. If you record in Stereo, you’ll get the audio from both left and right channel.
Alternatively, if you’re on a Mac, you can use the QuickTime Video Player to record the audio. Open QuickTime Player, hover to file and choose New Audio Recording.

If you’re on a PC, use the Sound Recorder app. However, you can only record the audio for up to three hours each time.
Extracting the audio from a video
If it’s too much of a hassle to record the audio separately and you don’t want to deal with the daunting process of synchronizing your audio and your video in post-production, you can just extract the audio from your recorded video.
If you’re on a Mac, we can use the QuickTime Player to extract the audio. Simply open your video in QuickTime Player by double-clicking your video. Hover to the menu bar, click Export As and select Audio Only. Give it a new name if you want and save it to the destination of your choosing.
Now if you’re on a PC, you want to download the VLC media player software. The software is completely free to download and use.
Open the VLC media player and hit Ctrl + R. Then click Add and select the video that you want to extract its audio from. Click Convert/Save and set the Profile to Audio – MP3. Save it to the destination of your choosing.
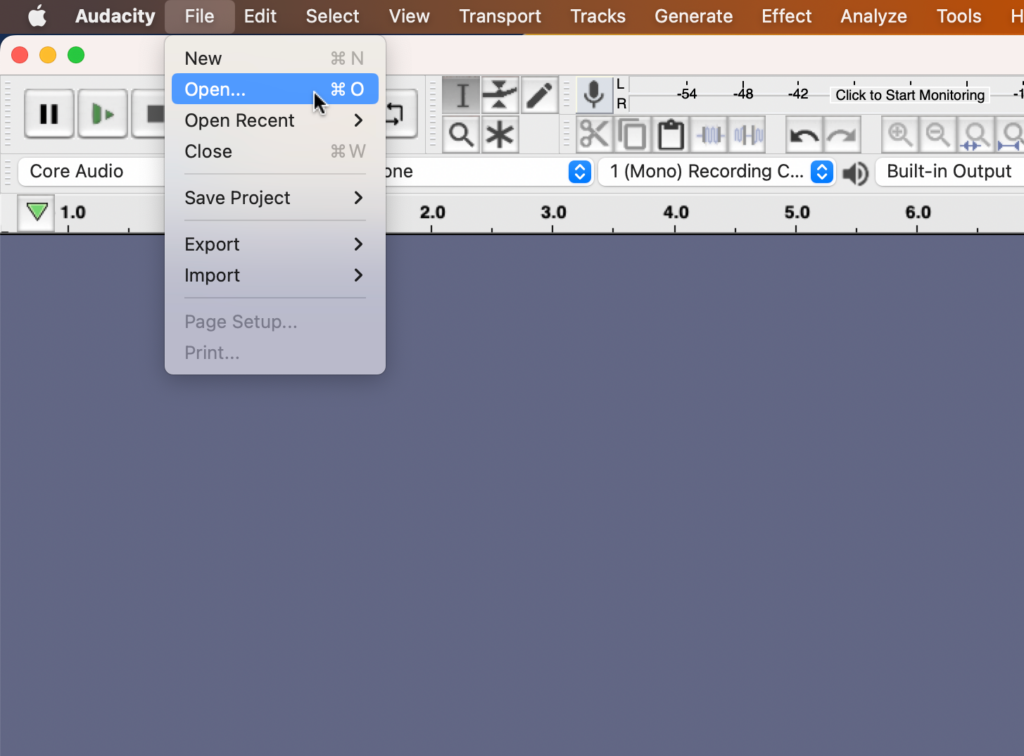
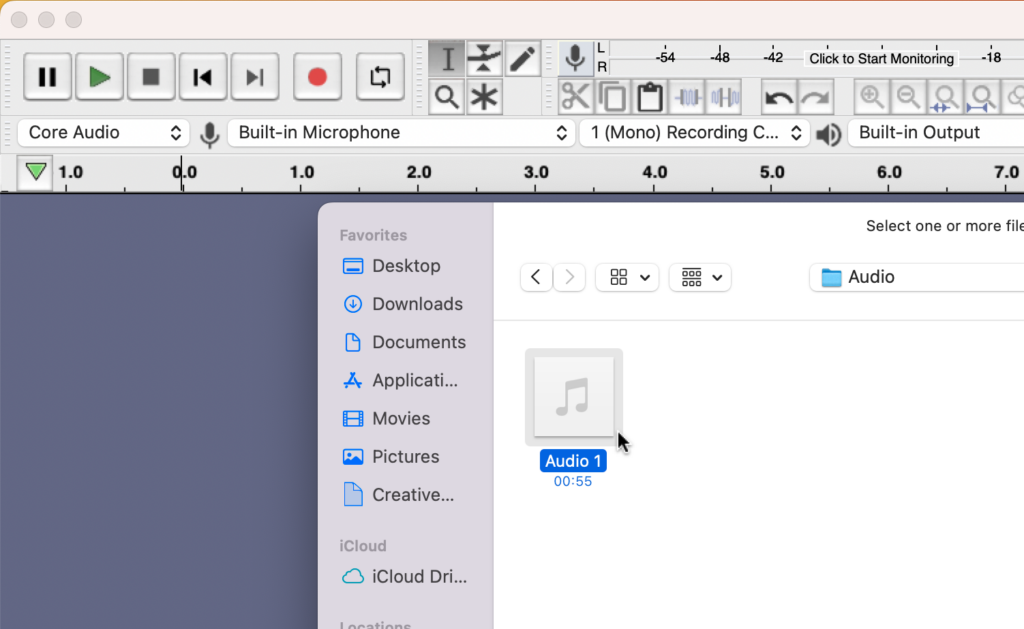
Step 1: Opening the audio file
Now that you’ve learned how to record the audio or extract the audio from a video, let’s open the audio file. In this example, i’ve recorded a sample audio under one minute, where the first 5 seconds was completely silent.
Hover to File and click Open. Then select your audio file to open it.
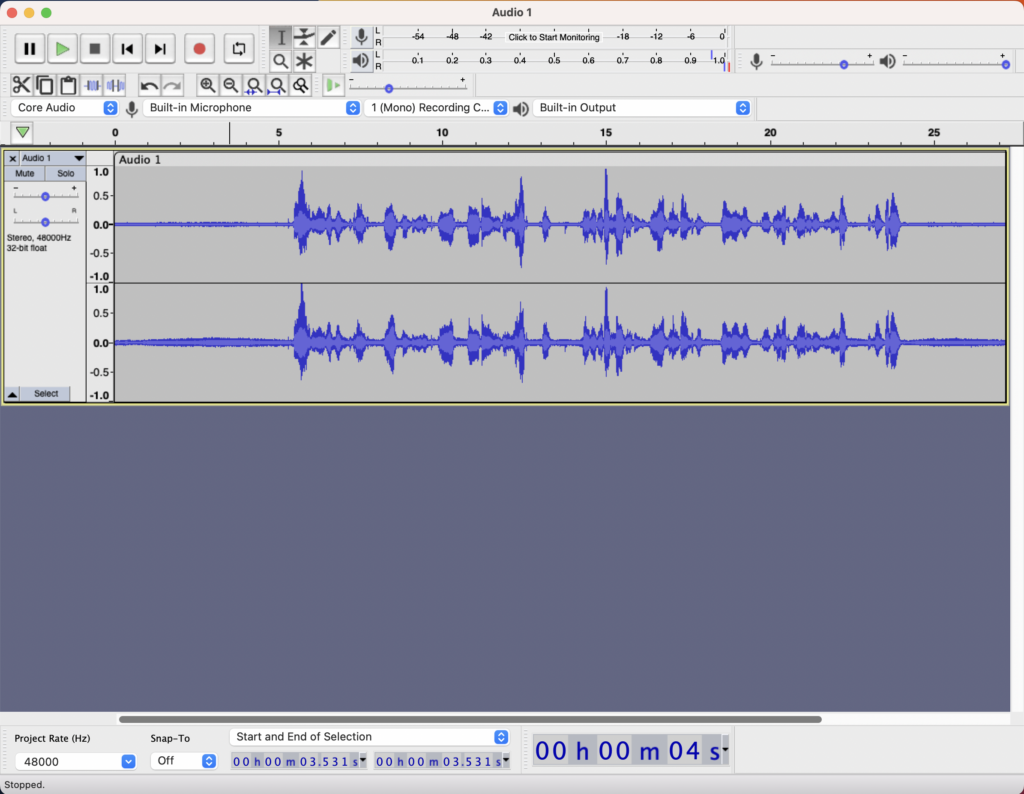
Since my audio source was recorded in stereo mode, you can see both audio from the left and right channel here. See this post if you wan’t to know which microphone i used to record this audio.
Step 2: Define the Noise
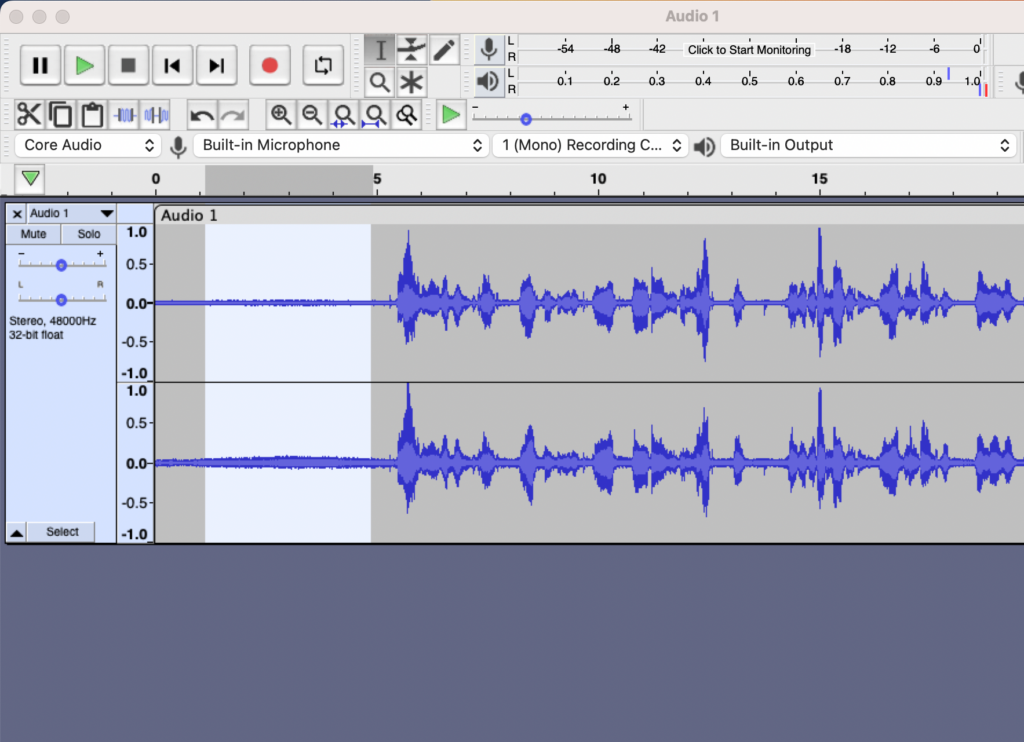
Audacity doesn’t know what noise is, so you need to tell it what you consider to be noise. In order to do this, you need to define the noise by selecting the sound wave profile of the first 5 seconds using the selector tool.
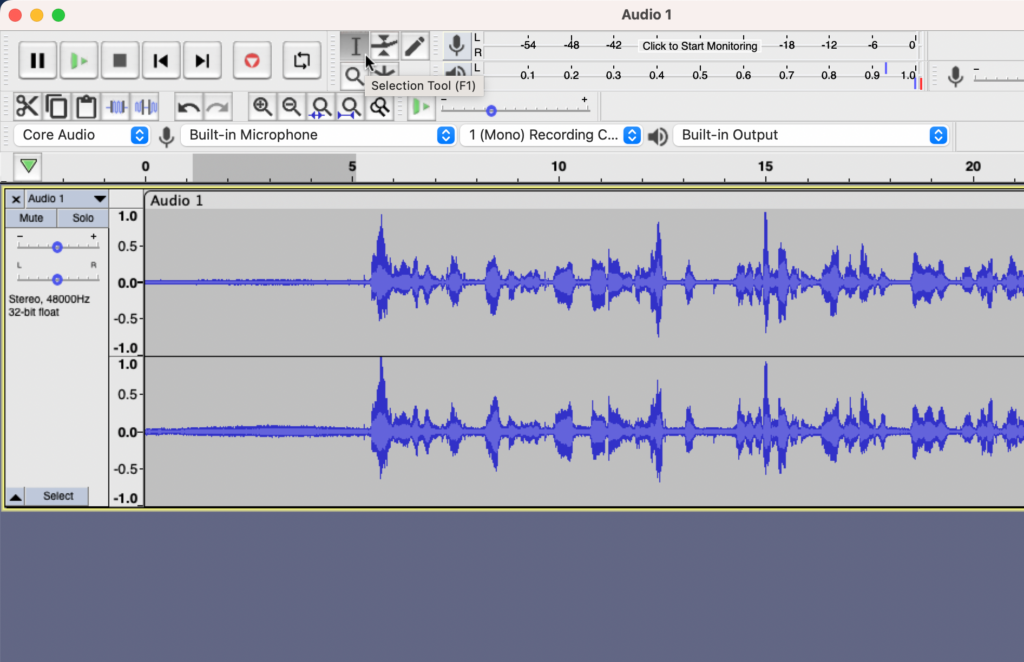
Select the sound profile by dragging your mouse. The selected profile will be highlighted.
Now hover to the Effect menu and click Noise Reduction.

Now click Get Noise Profile.

You are basically telling Audacity that the now-selected sound wave profile is what you consider to be noise.
Step 3: Selecting entire track
You now need to select the entire track. You can do this by pressing the cmd + A keys at the same time if you’re on a Mac. If you’re on a PC, press Ctrl + A.
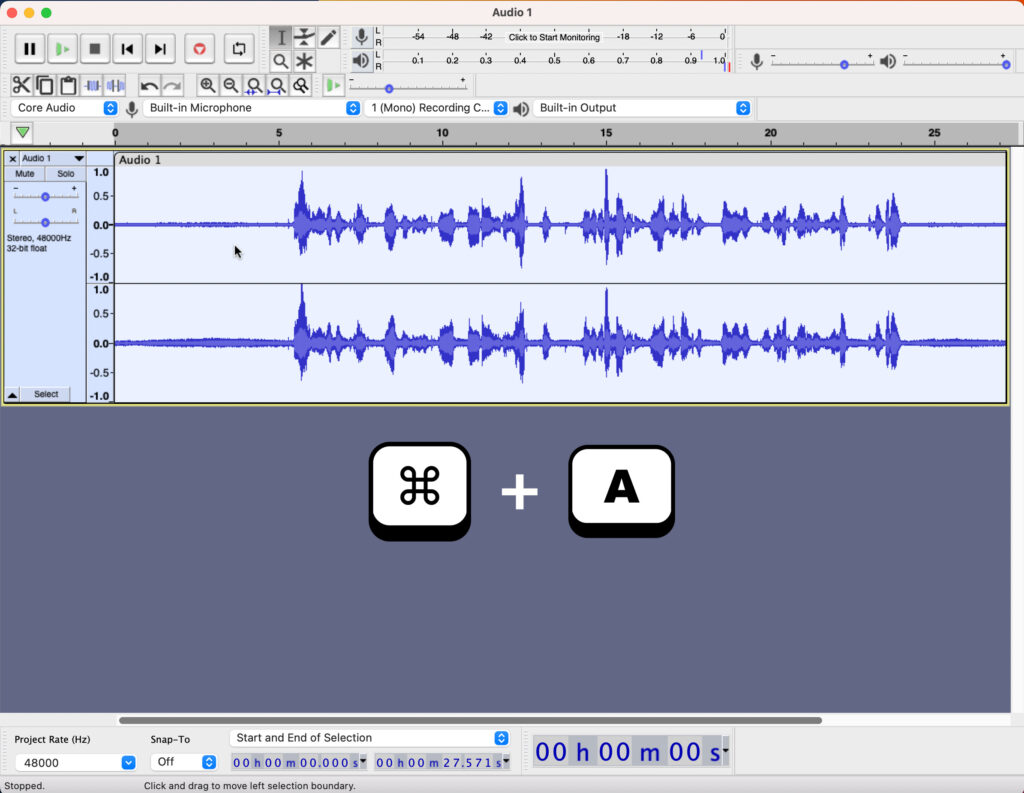
The entire track will then be highlighted.
Step 4: Noise Reduction
Now you are going to hover to Effect menu and choose Noise Reduction again. But this time, you want to click OK. You may leave the setting as it is without changing any value.
If you’re not happy with the result, you can always repeat the same process again.


This is what my audio looks like after cleaning:

The noise profile is definitey reduced, but i still see (and hear) the humming background noise. So i repeated Step 2 to Step 4 a few times and got a super clean audio!

Don’t overdo it though or you’ll end up distorting your original audio file. Listen to it a few times and only make further changes if necessary.
Step 5: Exporting Audio File
The last step is to export your audio file. Hover to File and choose Export. Here, you have the option to export your audio file to different type of formats. In this example, i’ll go with .wav.


Give it a new name and click Save. You now have a clean audio file, ready to be imported into your favourite video editing software!